

At twenty parts, printing is usually the obvious answer. At five thousand, it usually is not. The interesting part is everything between, where the comparison depends on the part rather than on the process: the volume, the geometry, the material and whether the units have to be saleable rather than merely representative. This guide is written for teams planning an initial production run and trying to decide when to move from printed parts to a molded tool, and it sets out the cost structure, the material question and the sequence that usually works.
At what volume should a program switch from printing to molding?
Where the tool’s cost is repaid by the parts.
The crossover is the quantity at which the tool cost divided across the run plus the lower cost per part falls below the printed cost per part at the same volume.
That point moves with the part. A small component produced several per cycle in a cheap tool crosses over at a much lower quantity than a large part with a long cycle and a more complex mold. It also moves with the resin: printing offers a limited material range, so where the production resin matters, molding wins on suitability before it wins on cost.
The practical way to find the crossover is to price both routes at three quantities, for example one hundred, one thousand and five thousand units, and to look at where the curves meet. That exercise takes less time than the debate it replaces, and it exposes the assumption that most often drives the wrong decision: that a mold has to be a production tool. In practice, a low volume tool built for the run changes the arithmetic substantially.
Below the crossover, printing remains the sensible route, provided the design or the application does not depend on the production material. Above it, molding produces better parts at lower cost, and the tool itself becomes useful evidence about how the design behaves in production.
How do the cost curves differ?
One has no tool cost; the other has almost no variable cost.
Printing spreads a low setup cost across every part, while molding front-loads a tool cost and then produces at a much lower cost per unit.
Printed parts carry a cost per unit that is roughly constant, because each part consumes machine time and material in proportion to its size. There is no tooling to amortise, so small quantities are inexpensive and large quantities are not. The cost also depends on the process chosen and on the finishing the part needs, which for appearance parts can be significant.
Molded parts behave in the opposite way. The tool is a fixed cost that has to be paid once, and the running cost per part is then low, because the machine cycle produces the part in a single operation with no per-part programming. The cost per part falls steeply as quantity rises, which is what creates the crossover.
Two qualifications matter when comparing quotes. Printed quotes often exclude finishing, which appearance parts usually need, while molded quotes often exclude secondary operations in the same way. And printed parts cannot use the full range of production resins, so a comparison that assumes material equivalence is not comparing like with like.
| Factor | 3D printing | Low volume molding |
|---|---|---|
| Tooling cost | None | Fixed cost amortised over the run |
| Cost per part | Approximately constant | Falls sharply with quantity |
| Material range | Limited to printable polymers | Full engineering resin range |
| Surface finish | Process texture; needs finishing | Reproduces the cavity surface |
| Change cost | A new file | A tool modification |
| Best fit | Validation, small batches, complex geometry | Saleable parts in the production resin |
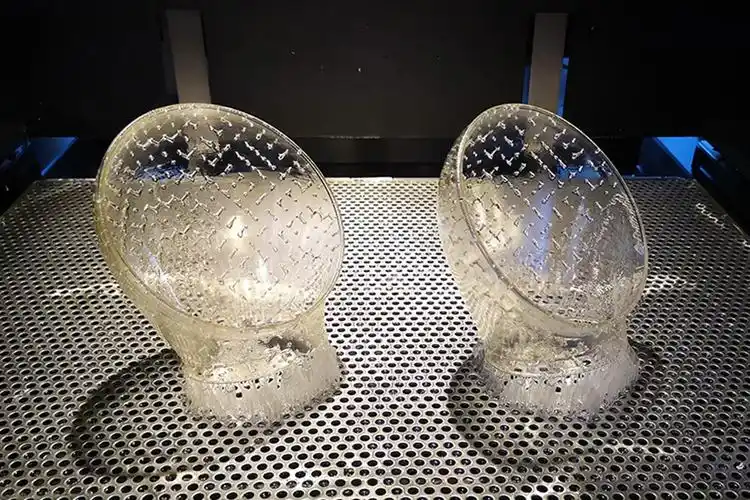
How does tooling investment pay back?
Through the cost saved per part, multiplied by quantity.
The tool pays for itself at the quantity where the accumulated saving per part equals its cost, and that quantity is different for every part.
The calculation needs three inputs: the printed cost per part, the molded cost per part and the tool cost. The payback quantity is the tool cost divided by the difference between the two unit costs. Where that quantity is below what the program expects to produce, the tool is justified; where it is above, printing or an alternative low-volume route is the better answer.
Two refinements improve the estimate. Printed parts rarely need no finishing; where they need sanding, coating or dyeing, that labour belongs in the printed unit cost. And molded parts usually need some secondary work as well, so the comparison should include the same scope on both sides.
The calculation also ignores two benefits that often decide the question. Molded parts can be sold as production units, whereas printed parts usually cannot, which changes what the spend delivers. And the molded tool establishes the process window for the eventual production tool, which shortens that program later. Neither appears in a unit cost table, and both matter. The manufacturing quality practices behind that handover are described by NIST MEP.
How close is material equivalence between printed and molded parts?
Close in shape, limited in behaviour.
Printed parts reproduce the geometry faithfully but use polymers whose properties depend on the printing process, so shrinkage, surface finish and impact behaviour do not match a molded production resin.
The gap shows up in three places. Dimensions differ, because printed parts do not shrink like molded parts, and the difference is large enough to affect fits when a component has to mate with a molded counterpart. Surface differs, because printed parts carry process texture rather than the cavity’s finish. And mechanical behaviour differs, because printed polymers have directional properties that molding does not produce.
Where the application tolerates those differences, printing remains the right choice for the volume. Where it does not, the material question settles the decision before the cost question is asked. A part that has to match a molded housing, survive a drop test in the production resin or carry a load cannot be validated in a printed material regardless of how many units are involved.
The honest approach is to state which requirements depend on the material and to treat them as unproven until a molded part exists. That is not an argument against printing; it is an argument for using printing for the questions it can answer. The resin specifications behind those comparisons are published by ASTM committee D20, the test methods by ASTM committee E28, and the materials engineering context by ASM International.
How do surface finish and tolerance expectations differ?
Molding reproduces the tool; printing reproduces the model.
A printed part carries the texture of its process and needs finishing to look molded, while a molded part carries the cavity’s surface directly and holds dimensions through the tool.
Surface finish is the most visible difference and the one that most often pushes a program toward molding at a lower quantity than cost alone would suggest. A molded part in a polished cavity has a consistent, glossy surface. A printed part shows layer lines or a matte grain, and making it look molded means sanding, priming and painting, which adds cost and changes dimensions slightly.
Tolerance behaves differently as well. Printed parts hold feature detail well but vary with orientation and process. Molded parts hold dimensions that follow the tool, and the variation across a run comes from the process rather than from the part’s position in a build. Where a component has to interface with others, that predictability is worth more than a tighter number on a drawing.
For parts that will be seen or handled, the practical threshold for molding is often lower than the cost calculation suggests, because the finishing that printed parts need to match a molded appearance can cost more per part than the molding itself.
How does lead time compare?
Printing is faster at first, molding is faster at volume.
A printed batch can be produced in days with no tooling, while a molded batch waits for a tool to be designed, machined and sampled before the first parts are produced.
The printed advantage is real and front-loaded. There is no tool to design or machine, so the first parts arrive quickly, and design changes cost a new file rather than a tool modification. For programs still validating the design, that speed compounds because several iterations can be completed in the time a tool would take to build.
The molded advantage appears once the tool exists. Producing a batch is then a matter of machine time, and the parts arrive at a rate printing cannot match. The tool build is a one-off delay that the program pays once, after which the schedule is determined by production capacity rather than by part-by-part build time.
That structure suggests the sequence most programs follow: print while the design is moving, then build a tool once it is settled. The risk to manage is building the tool too early, which converts a cheap design change into an expensive one, and building it too late, which costs schedule.
When does a hybrid sequence work best?
When printing covers the period before the tool is ready.
A hybrid program prints the parts needed for early validation and early customers, then switches to molded parts once the tool has been sampled and approved.
The sequence works because the two routes have different strengths at different stages. Printing supports the design phase, when changes are frequent and the volumes are small. Molding supports the production phase, when the design is settled and the parts have to be consistent, saleable and reproducible.
The transition point should be defined by evidence rather than by a date. The design should be settled, the interfaces validated, and the requirements that depend on the production material confirmed. Where those conditions are met, the tool is being built on a known design and the printed parts have done their job.
Where a program needs parts before the tool is ready and cannot wait, the intermediate option is a low volume tool built for the bridge quantity, which produces molded parts earlier than a production tool would. The route that suits a given volume is described in the 6CProto article on low volume molding for 100 to 10,000 part runs, and the printed side of the comparison is covered on the 3D printing services page.
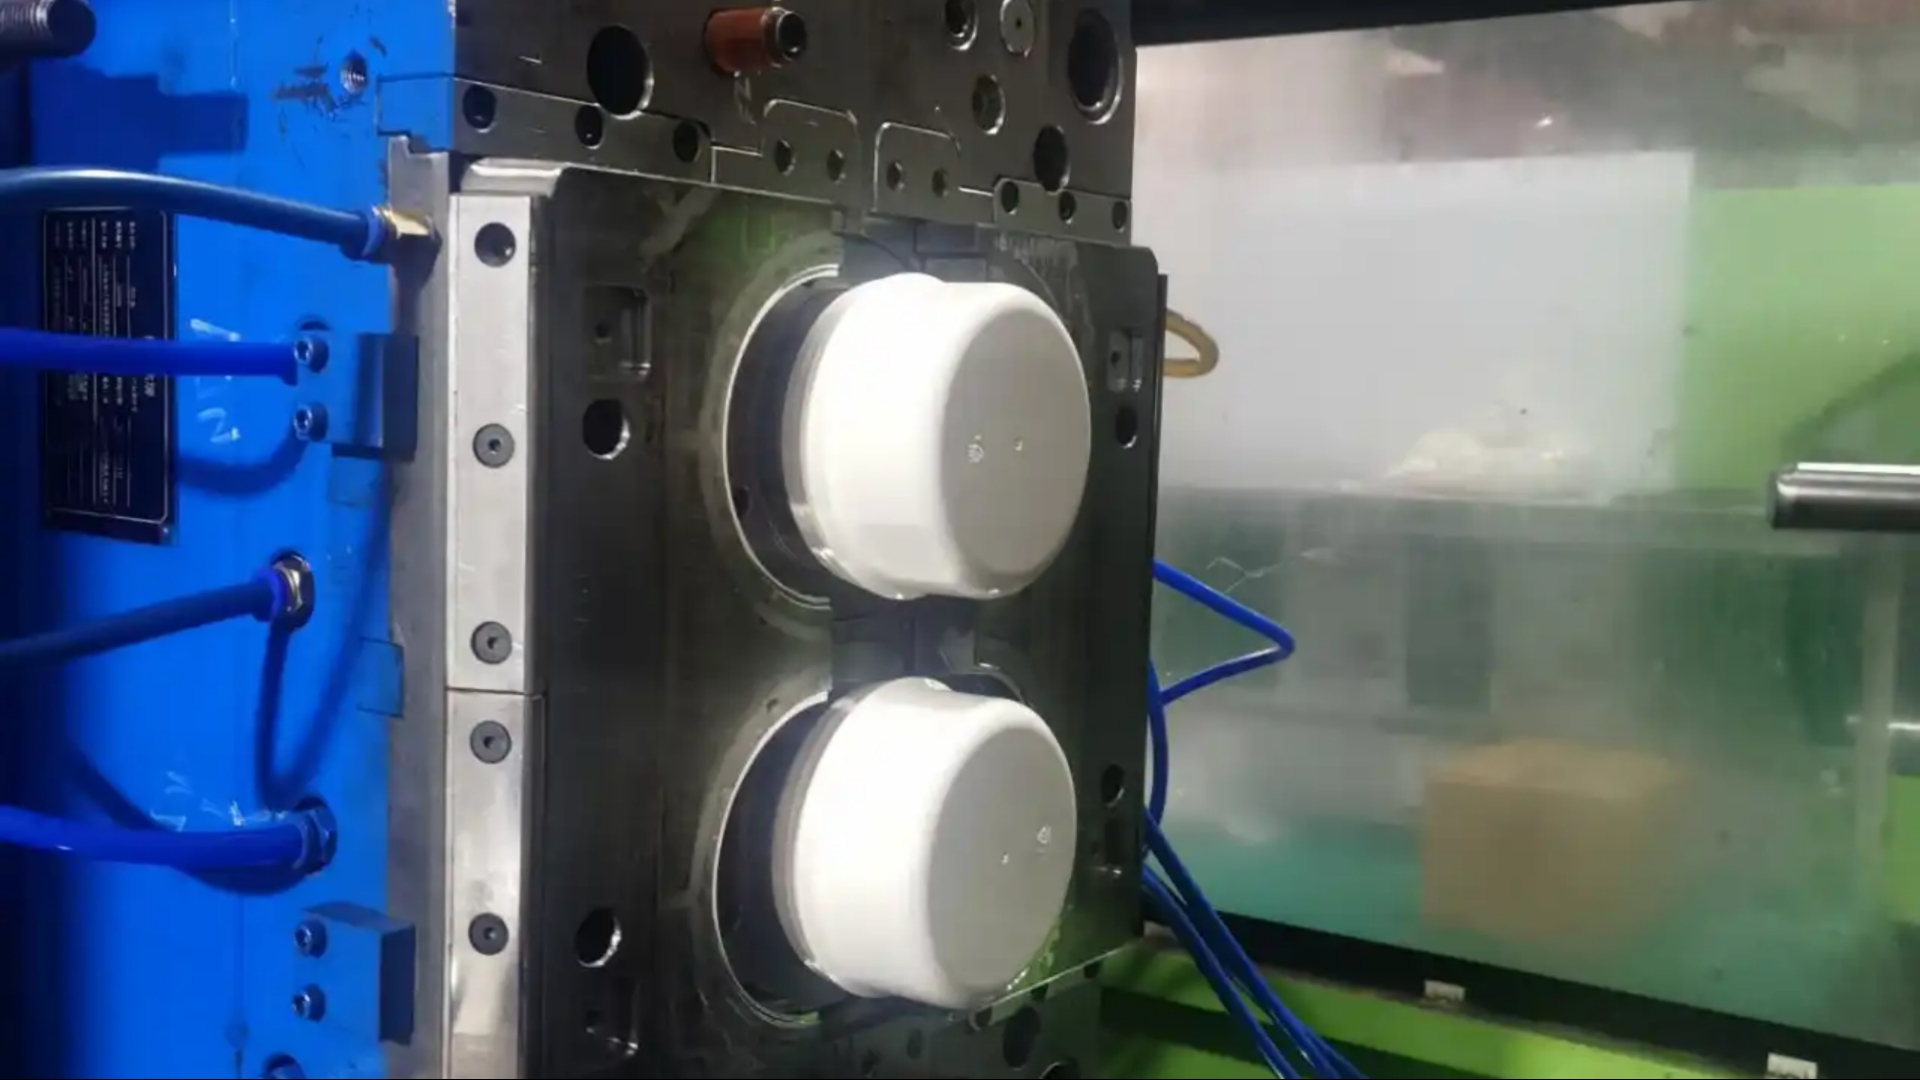
Choosing between the two routes
The decision has two parts, and they are usually asked in the wrong order. The first is whether the part’s requirements depend on the production material or on a molded surface; if they do, molding is required regardless of volume, and the question becomes how large the tool should be. The second is cost, which only matters once the first question is answered.
Where neither requirement applies, the cost curves decide, and the crossover is found by pricing both routes at three quantities. Where the crossover sits above the expected volume, printing remains the answer, and the tool decision can wait until the volume or the requirements justify it. What should not happen is committing to a tool before the design and the material questions are settled, because the tool converts cheap changes into expensive ones. The wider low-volume production context is described on the low volume manufacturing page.
FAQ
What is low volume injection molding?
It describes molded production in the hundreds to a few thousand parts, produced from a tool built for that run rather than for the product’s life. The tool is usually a single cavity in aluminium or with steel inserts at the wear points, and the parts are molded in the production resin, which makes them usable as saleable units rather than samples. It is the route that sits between printing and full production tooling.
Is injection molding cheaper than 3D printing at 500 parts?
It can be, and often is, but the answer depends on the part rather than the number. A small component in a simple single-cavity tool can cross over well below 500 units, while a large part with a long cycle may not. The reliable method is to price both routes at the volume in question, with the same finishing scope on each side, and compare the totals rather than the unit prices alone.
Can printed parts be sold as production units?
Sometimes, where the application accepts a printed material and a printed surface. Where the product has to match a molded component, carry a structural load or present a molded finish, printed parts usually serve as validation rather than sale. That distinction matters for the cost comparison, because molded parts deliver saleable units while printed parts often deliver evidence.
How long does it take to move from printing to molded parts?
The transition depends on the tool rather than on the parts. A low volume tool must be designed, machined and sampled before production begins, and that schedule is the critical path. Programs shorten it by settling the design before the tool is cut and by defining the sampling criteria in advance, so the first molded batch is approved rather than iterated. The test methods referenced in this article are published by ASTM committee B08.
If a program is deciding when to move from printed parts to molded ones, send the model with the quantity you expect and the requirements that depend on the material. 6CProto runs 3D printing and low volume injection molding in the same facility, so both routes can be compared from one manufacturing review. Upload the file at the 6CProto quote page or send it to projects@6cproto.com.