





Validate the Part, Not Just the CAD Model
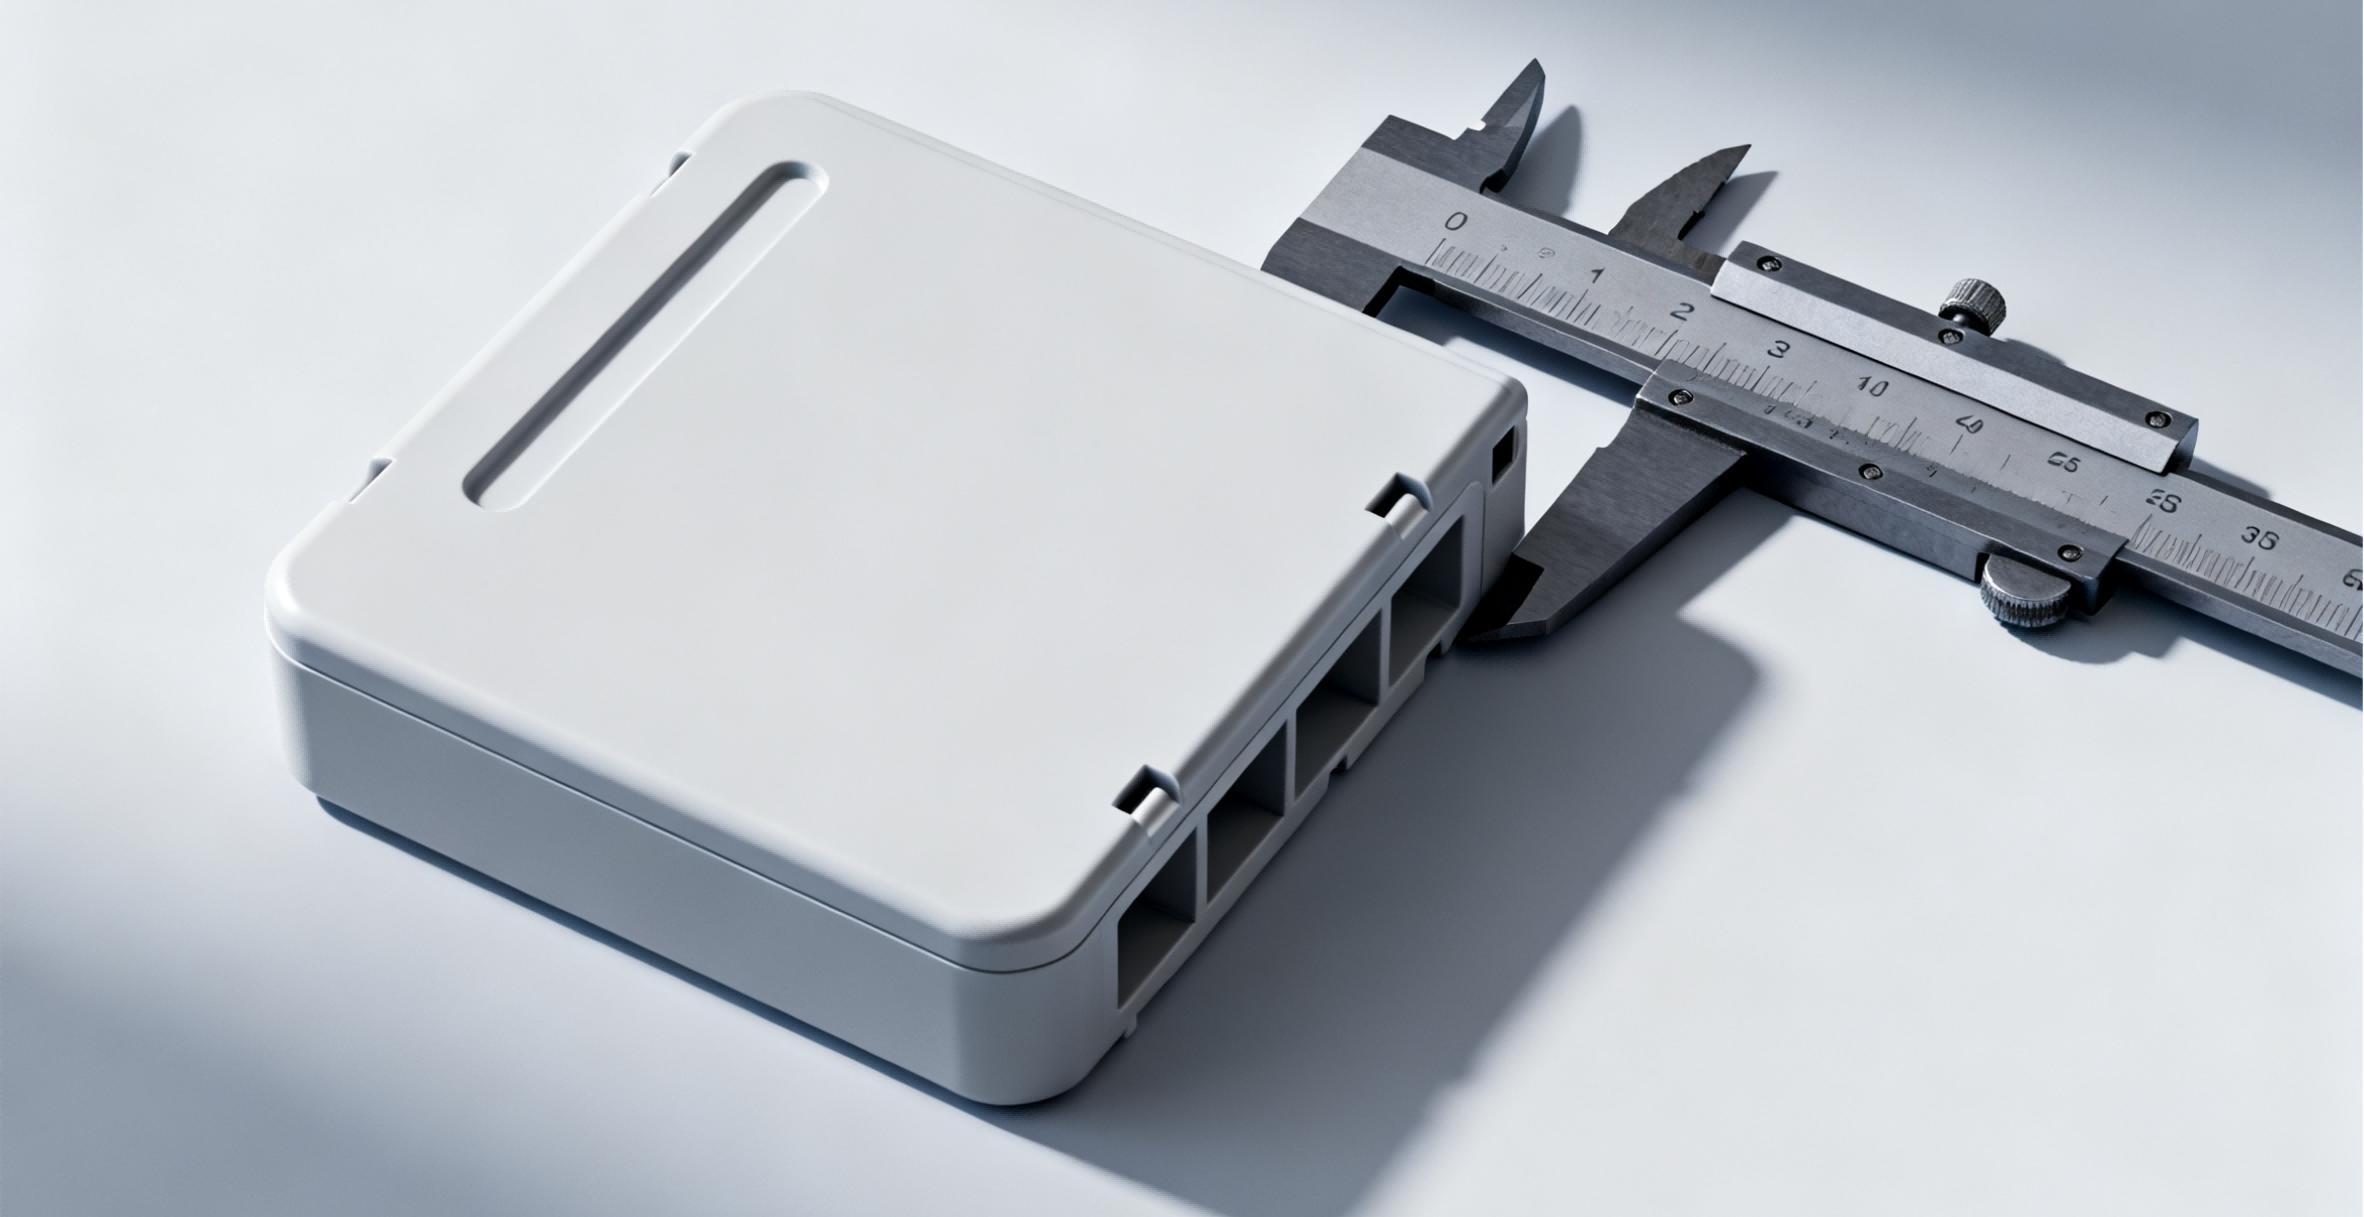
Prototype injection molding is appropriate when printed or machined stand-ins cannot answer the remaining design questions. It produces parts in the selected molding resin so teams can evaluate snap fits, living features, sealing, assembly, stiffness, color, texture, and molding-related appearance.
This page is about learning from molded parts. For a mold-centered build and qualification program, use Rapid Tooling Services. For a frozen design that needs scheduled repeat batches, use Low-Volume Injection Molding.
Explore Prototype Molding Resources
Jump to the information most relevant to your mold or molded-part program.
What Should the Prototype Prove?
Define the questions before ordering parts so the resin, finish, sample plan, and inspection effort support a real design decision.
Geometry and Appearance
Evaluate molded contours, visible surfaces, gate witness, parting lines, texture, color, and overall product presentation.
Assembly and Interfaces
Check snaps, bosses, holes, inserts, mating components, gaps, fasteners, and stack-up against real assemblies.
End-Use Behavior
Test stiffness, flex, impact behavior, sealing, handling, heat exposure, and other project-specific performance.
Process Evidence
Observe fill, warp, sink, flash, weld lines, release, and other effects that additive prototypes cannot reproduce.
A Validation-Led Prototype Workflow
The process ends with an engineering decision, not merely a shipment of sample parts.
Define Validation Goals
Identify the assemblies, environments, cosmetic criteria, and critical dimensions the molded parts must verify.
Prepare a Moldable Design
Review draft, wall transitions, ribs, bosses, undercuts, gates, ejection, inserts, and expected surface marks.
Mold T0 Parts
Build the agreed tool, run the selected resin, and deliver initial parts for measurement and physical testing.
Review and Iterate
Compare evidence with the validation plan, then approve, adjust molding conditions, revise the part, or correct the tool.
Prototype in the Intended Molding Material
The value of a molded prototype comes from testing the geometry together with the actual process and material family.
Commodity Thermoplastics
Materials such as polypropylene, polyethylene, ABS-type families, and polystyrene-based options support many consumer, packaging, enclosure, and general product evaluations.
Engineering Thermoplastics
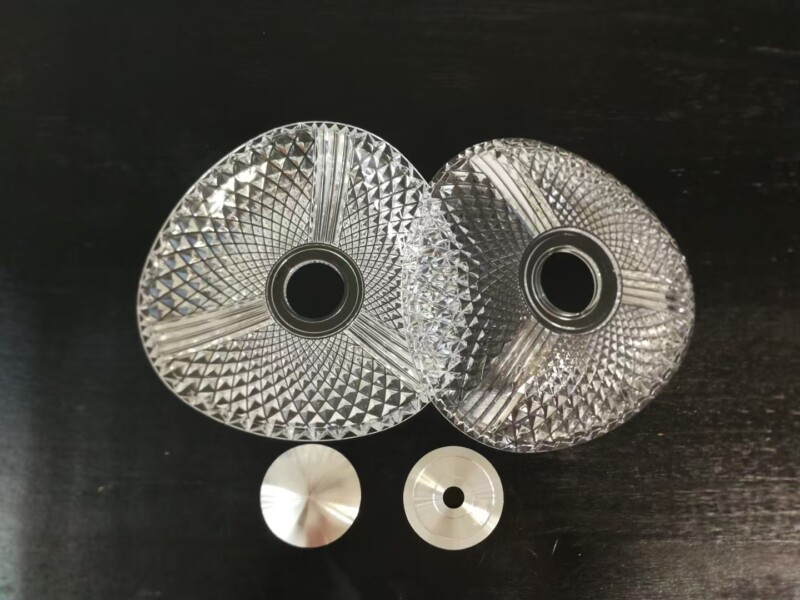
Polycarbonate, PC+ABS, nylon, POM, PET, PMMA, and other engineering options help test stiffness, impact, wear, clarity, or dimensional behavior.
Special Requirements
TPU, reinforced grades, high-performance polymers, liquid silicone rubber, inserts, and overmolding require review of grade, geometry, bonding, and process needs.
Turn Sample Findings into Controlled Changes
A prototype cycle is useful only when the team can connect a result to its cause and the next revision.
| Finding | First Review | Possible Next Action |
|---|---|---|
| Part does not fill or shows weld-line risk | Gate, venting, wall path, resin, and molding conditions | Adjust process, revise flow path, or approve a tool change |
| Sink, warp, or dimensional drift | Wall transitions, ribs, packing, cooling, and material shrinkage | Change geometry or process, then remold and remeasure |
| Assembly interference | Datums, tolerance stack, shrinkage, and mating-part revision | Correct CAD or tool steel only after root-cause review |
| Cosmetic result is unacceptable | Texture, gloss, gate, parting, ejection, flow, and handling | Approve finish or tool changes and define a visual standard |
Parts Commonly Validated by Prototype Molding
Prototype molding is especially useful when material behavior and molding features influence the design decision.
Enclosures and Housings
Validate bosses, snaps, vents, displays, connectors, fasteners, interfaces, and cosmetic Class-A surfaces.
Handles and Multi-Material Parts
Test grip, soft-touch areas, substrate bonding, insert retention, sealing, and ergonomic performance.
Clips, Covers, and Functional Components
Evaluate flexibility, repeated assembly, wear surfaces, part release, dimensional stability, and real-use loading.
DFM and Test Planning Must Work Together
A moldable part can still be a poor prototype if the sample quantity, inspection, or test conditions do not answer the project questions.
Design for Moldability
- Add draft in the release direction
- Keep nominal walls as uniform as practical
- Use ribs and bosses without creating heavy intersections
- Plan undercuts, inserts, shutoffs, and side actions deliberately
- Review gate, parting, ejector, and weld-line locations
Design the Validation Plan
- Name the critical dimensions and functional interfaces
- Specify the exact resin grade and conditioning state
- Define sample quantity by each planned test
- Provide mating components or interface data
- Set visual standards for color, texture, gloss, and acceptable marks