

Explore CNC Programming & Process Engineering Guides
A sinker electrode can reach the programmed depth while its smallest details no longer match the approved tool shape. The resulting cavity may have an acceptable overall size yet rounded corners, altered ribs or a floor that no longer transfers the intended form. Sinker EDM electrode wear therefore needs local geometric evidence, not only a depth compensation value.
The electrode is a consumable part of a manufacturing system. Material, workpiece, electrical settings, motion and debris removal all influence the result. No single wear percentage tells a buyer whether a specific corner remains acceptable, especially when the cavity combines broad faces with fragile details.
A useful production review connects the electrode before use, its assigned roughing or finishing role and the cavity after machining. Establish which features control function and where they will be measured. Then evaluate whether the proposed electrode sequence can preserve those details through the required work. This article focuses on wear and compensation; electrode material selection and blind cavity flushing need their own detailed assessment when they become the controlling problem.
Wear on faces corners and ribs
Face recession, edge rounding and local rib damage describe different changes to the electrode. Uniform axial compensation may address a simplified face loss, but it cannot recreate a corner that has changed shape. Inspect the local details that matter to the cavity rather than assuming that one length correction restores the original tool.
A 2020 university repository study abstract describes evaluating copper and graphite electrode corners and edges under selected workpiece materials and electrical variables. Its findings belong to that experiment. They support treating local shape wear as a measured characteristic, not transferring a single wear ranking to every cavity.
Identify the critical tool zones on the electrode drawing and compare them before and after the assigned operation. Use consistent references so a mounting shift does not look like material loss. If a narrow rib chips during handling or electrode manufacture, classify that damage separately from discharge wear; both can affect the cavity, but they call for different corrective actions.
Map a damaged corner back to its corresponding cavity zone rather than averaging the observation into the overall electrode wear result.
Rough and finish electrode strategies
Assign electrodes by role and remaining work. A roughing tool may remove most of the stock while leaving a controlled allowance for a finishing tool. The finish electrode then needs enough geometric integrity to produce the required cavity detail under the selected finishing conditions.
Do not approve a finishing sequence merely because it uses a fresh electrode. Check the incoming electrode profile, intended gap allowance, motion and locating relationship. A new but incorrect tool can reproduce the wrong geometry consistently. Similarly, multiple electrodes do not automatically improve accuracy if their offsets or holders differ.
Makino’s ram EDM process discussion describes the relationship among electrode, gap, dielectric and resulting cavity. Apply that system view when planning finish stock. The allowance must be sufficient for the intended correction without requiring excessive work from the finishing details. For an EDM process review, identify which electrode produces each critical face, corner and floor rather than listing only a total tool count.
Identify the intended stock distribution after roughing; an unexpectedly heavy local allowance can overload a detail that was sized only for finishing.

Material and polarity documentation
Record the exact electrode grade and the workpiece material and condition. Also identify the electrical polarity and technology settings used for each stage. These are process inputs; an article or material chart cannot establish a universal polarity or wear ratio for every combination.
A program name alone may be insufficient if it can refer to different technology libraries or revisions. Preserve enough controlled information to connect a trial to its machining condition. If the supplier maintains proprietary settings, agree the traceable process identifier and the changes that require approval or renewed verification.
Makino’s electrode material discussion highlights differences among graphite grades that can look similar. Specify the actual grade rather than simply graphite. Keep tool manufacturing condition in the record as well: damaged edges, burrs, contamination or inconsistent seating can resemble a wear compensation problem in the finished cavity. Inspect those inputs before concluding that the discharge settings are responsible for the deviation.
Preserve the holder and locating identification with each tool record so an electrode change can be distinguished from a shift in the mounting chain.
Inspect cavity size and local detail
Measure cavity size and local detail after the final EDM stage, using the product references. A size measurement across opposing walls may conceal a rounded corner, an altered floor transition or a localized feature that never reached full form. Place inspection sections where those errors affect function.
Where probe access is limited, assess whether a different instrument, qualified replica or representative destructive sample can establish the required geometry. Name the method’s limitation. A visible opening measurement cannot prove the shape at the bottom of a deep cavity.
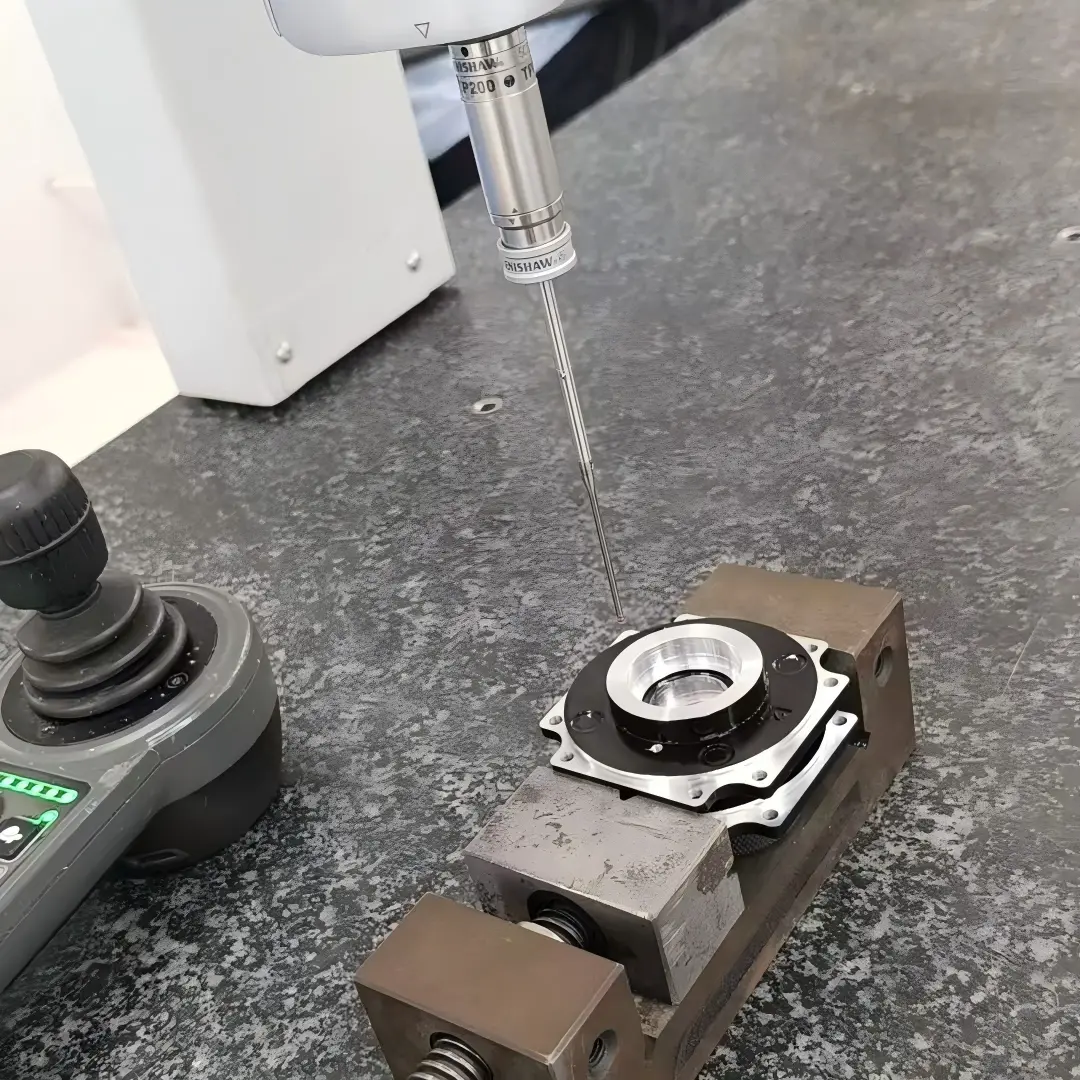
Keep setup effects distinct from wear. Renishaw’s metrology fixturing guidance describes repeatable holding for dimensional inspection. In this case, stable location helps separate a cavity offset from local profile loss. Compare the incoming electrode, process alignment and finished cavity in compatible references where practical. A correction to machine position may shift the whole cavity but cannot repair missing local tool detail without a suitable subsequent operation.
When cavity error appears only at depth, compare the relevant tool region and access conditions instead of adjusting the entire cavity offset immediately.
Assign rough and finish electrodes to critical cavity zones
Map the operation from electrode manufacture through final verification. Identify each tool, mounting reference, preinspection and assigned cavity stage. Show the available approach and motion envelope so the process does not rely on an electrode or holder that cannot reach the feature in the actual workpiece.
A hypothetical cavity might use one tool to rough a broad recess and a separately inspected tool to finish a narrow corner and rib. The purpose is to protect the detailed tool from unnecessary stock removal. The suitable allocation still depends on the real geometry and process; the example is not a fixed electrode count recommendation.
Show any upstream turning operation that creates locating surfaces and any downstream polishing that can alter the EDM detail. Record the remaining stock at stage boundaries. A finish electrode should not be blamed for shape loss caused by an incorrect preform, while a satisfactory EDM profile should not be assumed to survive an uncontrolled manual finishing step unchanged.
Retain electrode inspection results before rework, because reconditioning removes evidence needed to explain the original cavity deviation and assess its cause.
Compare electrode recession with finished local cavity form
Use separate evidence for electrode condition, cavity geometry and surface texture. These measurements help explain one another but cannot substitute for one another. A smooth floor may still have the wrong depth, and an unworn tool face does not prove the cavity’s corner is within its profile boundary.
| Item | Verification focus | Misleading shortcut |
|---|---|---|
| Electrode face | Recession from a stable reference | Assuming all loss is uniform |
| Electrode corner or rib | Local profile before and after use | Using overall length as proof |
| Cavity | Size, depth and critical local detail | Inspecting only the opening |
| Surface texture | Named parameter and measurement conditions | Accepting visual gloss as roughness |
Mitutoyo’s surface texture guide explains why profile processing and parameter choice matter. Agree the applicable method and accessible region before asking for a finish result on a narrow internal feature. Report any unmeasured zone explicitly in the acceptance evidence.
Approve compensation from the actual wear distribution
A representative trial should reproduce the material, cavity depth, critical details and intended electrode sequence. Measure the tool before use and retain the final cavity report. If wear is the concern, measurements after defined stages can help identify when the local detail changes.
Compare any compensation change against the actual error distribution. A uniform offset may improve one dimension while moving another outside its requirement. Avoid accepting a correction solely because the average cavity size moves closer to nominal; examine the controlling corners and ribs as well.
The public scope of ASME Y14.5 concerns the consistent expression of geometric requirements. Use the released drawing to establish what the trial must demonstrate, then align the inspection report to those characteristics. Approval applies to the tested configuration. A different tool grade, electrical stage, workpiece condition or finishing allocation can change the local wear problem and may need a renewed trial.
Use a defined replacement trigger for a critical local detail; waiting for overall tool length to change may miss the first functional failure.
Cavity details and electrode controls needed for quotation
Provide the cavity model and sections, material condition, critical radii and ribs, surface requirements and inaccessible regions. Identify the features whose local form matters more than the overall cavity size. A request for low electrode wear without a finished acceptance boundary is difficult to evaluate commercially.
Ask how the proposed process distinguishes roughing, finishing and tool replacement. The supplier should identify the evidence used to decide whether an electrode can continue, rather than offering an unsupported universal number of cavities per tool. Include the required first article and production inspection records in the scope.
Resolve whether polishing, reworking or local repair is permitted after EDM. Those operations can change the very feature used to judge wear. Establish how tool substitutions are controlled and how the relevant trial evidence remains linked to the released process. The RFQ should make the required cavity result observable, while leaving appropriate tool and machine choices to the specialist responsible for producing it.
FAQ
Can Z compensation correct all sinker electrode wear?
It can address a defined axial correction, but local edge rounding and rib damage change the electrode shape. A single position offset cannot restore that geometry. Compare the actual wear distribution with the required cavity profile before approving compensation. A new finishing electrode or a revised sequence may be needed. Verify the finished local details as well as overall size so an improved depth reading does not conceal a different geometric error.
How many cavities can one electrode make?
The useful count depends on the electrode grade, geometry, workpiece, process stages and permitted cavity error. Do not accept a universal number without representative evidence. Define the tool condition or finished feature limit that requires replacement, then establish the production control from trials. A tool that remains usable for rough stock removal may no longer be suitable for the smallest finishing detail, so its remaining role matters as much as its age.
Should a worn electrode always be discarded?
Its disposition depends on the assigned task and the approved process. A tool unsuitable for critical finishing might still serve an approved roughing role, while a damaged datum or chipped detail may make reuse inappropriate. Identify and segregate tools by condition and role so a worn tool cannot return to finishing accidentally. Any rework should be followed by the relevant electrode inspection and an updated traceable designation before reuse.
Conclusion
Judge electrode wear by what it does to the cavity. Face recession, corner rounding and rib damage need different responses, and a successful depth correction does not establish restored local form. An inspected tool sequence and a cavity report tied to the critical sections provide a clearer acceptance basis than a generic wear percentage.
Keep roughing and finishing responsibilities explicit, and control the inputs that can alter the result. When a trial fails, compare electrode shape, locating condition and cavity error before changing offsets. For a review with 6CProto, submit the cavity sections, critical details and verification requirements for quotation. Include any permitted finishing or repair so the proposed process preserves the geometry that actually governs acceptance.
{“@context”: “https://schema.org”, “@type”: “FAQPage”, “mainEntity”: [{“@type”: “Question”, “name”: “Can Z compensation correct all sinker electrode wear?”, “acceptedAnswer”: {“@type”: “Answer”, “text”: “It can address a defined axial correction, but local edge rounding and rib damage change the electrode shape. A single position offset cannot restore that geometry. Compare the actual wear distribution with the required cavity profile before approving compensation. A new finishing electrode or a revised sequence may be needed. Verify the finished local details as well as overall size so an improved depth reading does not conceal a different geometric error.”}}, {“@type”: “Question”, “name”: “How many cavities can one electrode make?”, “acceptedAnswer”: {“@type”: “Answer”, “text”: “The useful count depends on the electrode grade, geometry, workpiece, process stages and permitted cavity error. Do not accept a universal number without representative evidence. Define the tool condition or finished feature limit that requires replacement, then establish the production control from trials. A tool that remains usable for rough stock removal may no longer be suitable for the smallest finishing detail, so its remaining role matters as much as its age.”}}, {“@type”: “Question”, “name”: “Should a worn electrode always be discarded?”, “acceptedAnswer”: {“@type”: “Answer”, “text”: “Its disposition depends on the assigned task and the approved process. A tool unsuitable for critical finishing might still serve an approved roughing role, while a damaged datum or chipped detail may make reuse inappropriate. Identify and segregate tools by condition and role so a worn tool cannot return to finishing accidentally. Any rework should be followed by the relevant electrode inspection and an updated traceable designation before reuse.”}}]}