

Explore Gear, Thread & Fastener Feature Design
A closed wire-cut profile needs an entry route before the finished contour can be produced. Putting that entry hole wherever drilling is easiest can leave too little stock for the lead-in, obstruct the wire guides or create a slug that cannot be removed without damaging the part. These are setup decisions with consequences for the finished surface.
Wire EDM start hole design begins by separating the temporary access feature from the functional geometry. Specify what the finished part must preserve, then let the specialist propose an entry and cutting sequence that respects those boundaries. A start-hole diameter without thickness, wire and threading conditions is an incomplete instruction.
This guide focuses on closed-profile threading and scrap management. It does not replace machine instructions or establish a universal minimum hole diameter. The relevant manufacturing route is EDM machining; the acceptance target remains the released part drawing.
Before requesting a quote, identify whether the hole disappears with the scrap or remains in the delivered part. That single distinction determines whether it is a process proposal, a controlled product feature or a potential deviation requiring design approval.
Closed profiles and wire threading
An enclosed cut needs an accessible wire entry.
Match the proposed start hole to the selected wire, work thickness, guide arrangement and threading method, then confirm that access remains available throughout the planned machining sequence.
The wire must reach both sides of the work through a usable opening. A drilled hole that appears adequate in a top view may be tapered, obstructed by a burr or inaccessible below the workholding. Review the complete section, including support plates and any stacked workpieces.
Makino’s UPN-01 machine description associates small-hole threading performance with a particular machine architecture and wire range. This is evidence that threading capability is configuration dependent, not a general permission to specify that model’s minimum on any EDM job.
Ask the specialist to confirm the practical entry size for the proposed setup. Reliability can matter more than the smallest demonstrable hole, especially if the cycle depends on automatic rethreading. Keep the initial threading requirement separate from recovery after a wire break. Both need consideration when unattended operation is part of the manufacturing proposal.
Start hole placement away from finished edges
Place the entry where the approach can reach the contour without sacrificing the finished boundary. That generally means reviewing the hole, lead-in and offset path together rather than approving the hole center in isolation. The temporary opening must leave the stock needed by the chosen cutting strategy.
A start hole within removed material can be relatively unconstrained by the final product, but the remaining land still has to survive preparation and handling. A start that intersects the finished edge can create a local condition requiring deliberate blending or a revised contour acceptance decision.
Show any prohibited entry zones on a supplementary process view. Do not add a permanent hole to the product model merely to make an internal machining proposal visible. Where an access feature remains in the finished part, give it a controlled designation and acceptance requirement.
The ASME dimensioning-and-tolerancing framework provides a language for specifying product geometry. It does not prescribe an EDM lead-in length. Keep finished-feature requirements explicit and identify proposed process geometry separately so the manufacturing route can evolve without accidentally changing the delivered design.

Slug support and removal
The scrap core remains part of the setup until its release is controlled. Its weight, shape, material and freedom to move determine whether it can drop, tilt or pinch the wire. A narrow surrounding wall may also be vulnerable to contact during extraction.
Makino’s wire EDM programming webinar description explicitly includes slug-removal strategies and no-core machining. These are alternative planning topics, rather than a reason to assume every enclosed feature should be cut free in one continuous path.
A specialist may propose retained bridges, a machine-supported retention function, a staged cut or another controlled method. Review what each method leaves for finishing and how the core is removed. If handling requires access beneath the work, that access must exist after the fixture is assembled.
Record who removes the core and at which process stage. Instructions to stop and remove scrap need a defined machine condition and the applicable machine procedures. Do not describe reaching into an operating work zone as part of an ordinary production step. The drawing review establishes the scrap-management requirement; the machine-specific procedure governs execution.
Document the setup in the part drawing
The production drawing should distinguish functional requirements from process information. Locate the finished profile from the product datums, specify its permitted form and surface condition, and identify any edge that must not carry an entry witness or retention-tab remnant.
A supplementary setup sketch can show the proposed start, approach direction, retained core and removal route. Give that sketch a revision and link it to the manufacturing plan. If the supplier changes the start location without affecting the final geometry, the team can then review the process change without confusing it with a product revision.
Mitsubishi Electric’s wire-cut EDM system brochure describes model-specific slug-retention and threading functions. Such options help explain why the proposed sequence needs equipment confirmation; they should not be represented as capabilities of every supplier or machine.
For rotational blanks prepared through CNC turning, identify which references transfer to the EDM setup. A convenient blank diameter is not automatically the finished datum. State whether it remains available after the profile is cut and how the part will be located for subsequent inspection.
Threading, cutting and core-removal sequence
The process sketch should make changing access visible. Before cutting, the stock may offer broad clamping surfaces. After roughing and core removal, only a thin ring or several flexible webs may remain. The fixture must continue to support the accepted part through that transition.
Represent each meaningful stage rather than drawing one static section. Include hole preparation, initial threading, rough cutting, retention release, core extraction and any finishing passes. The purpose is to expose dependencies, not to prescribe the specialist’s machine code.
For a hypothetical internal window, mark the entry within scrap, the proposed retained region and the extraction direction. Check whether a later skim pass can re-enter without the removed core or whether another threading route is needed. Also show any clamping feature that is removed before the final pass.
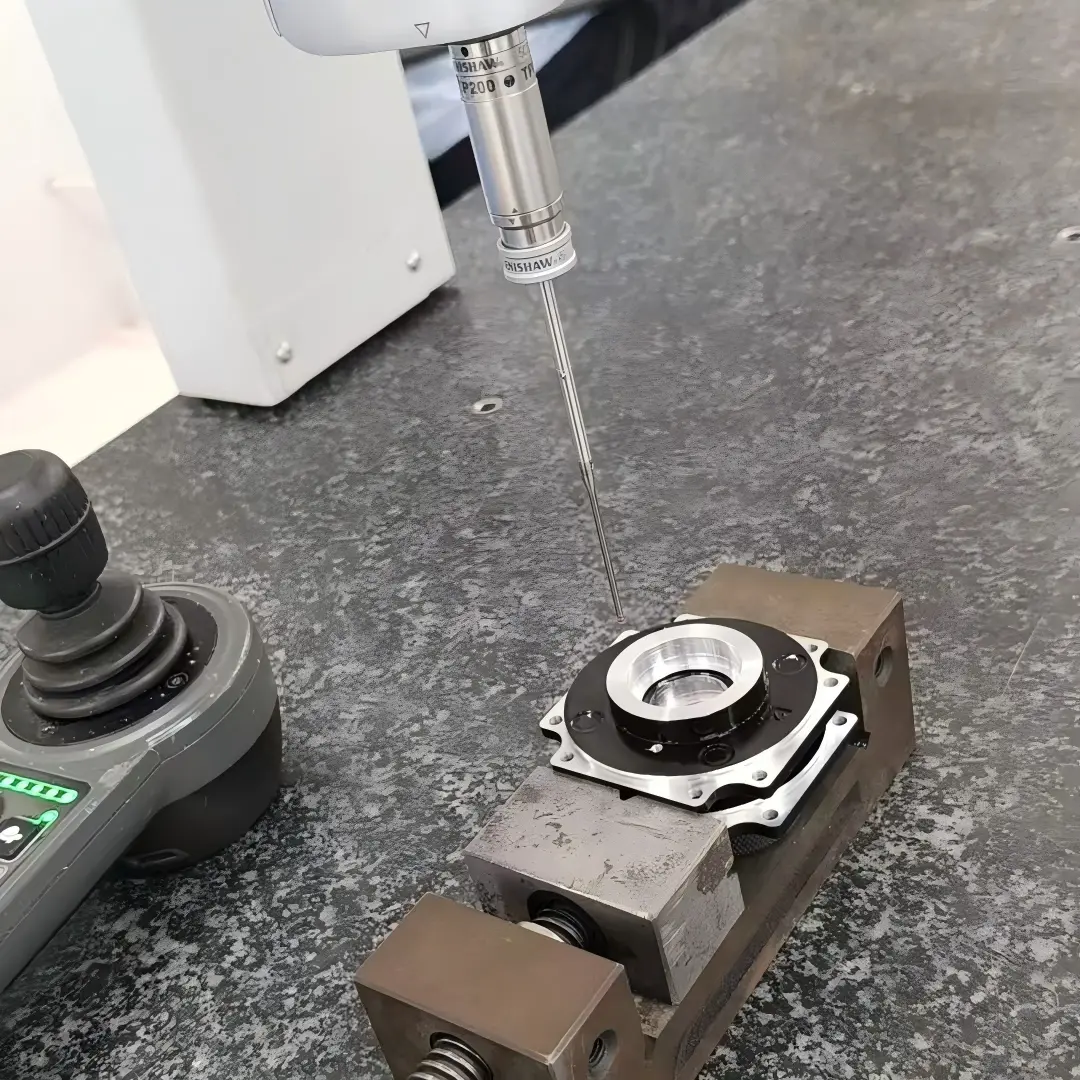
Renishaw’s metrology-fixturing overview emphasizes repeatable locating arrangements for inspection. Carry the same clarity into the inspection-stage sketch while recognizing that a measurement fixture serves a different purpose from machining workholding. The two setups can use different hardware, but their references must connect to the same product requirements.
Profile location, taper and entry-witness verification
Separate profile size, profile location, taper, corner shape and surface condition in the inspection plan. A single width result cannot prove all of them. Also distinguish a visible entry witness from a surface-texture value measured elsewhere on the wall.
The matrix below connects the reported quantity to its location and state. Establish actual limits from function and the drawing rather than borrowing a machine brochure’s best-case result.
| Requirement | Inspection location | Condition to record |
|---|---|---|
| Profile location | Defined datum references | Released part after core removal |
| Taper or wall relationship | Specified elevations through thickness | Measurement direction and support |
| Entry witness | Lead-in intersection with contour | Final finishing state |
| Surface condition | Designated functional wall | Method and evaluation area |
If a probe cannot reach the full wall, agree how the inaccessible requirement will be assessed before machining begins. Sectioning a development specimen and inspecting a delivered part answer different questions. Make the evidence boundary clear in the approval record, including any limitation on what the proposed method can demonstrate.
Trial boundaries after the core is removed
Use an initial trial to test the proposed access and release sequence, especially when the finished wall is flexible or the core is difficult to extract. Record whether threading, cutting, removal and final inspection were completed under the proposed production conditions.
Measure after the relevant constraint has been removed. A profile that meets its requirement while held in the EDM fixture can move after unclamping; that distinction matters if the accepted product is specified in its free state. Record restraint explicitly where the design instead requires a defined assembly condition.
NIST’s uncertainty-analysis guidance connects measurement quality to the fitness of a result for decisions. Apply that principle when the apparent improvement after a finishing pass is close to the variation of the inspection method.
Preserve the trial’s boundary: material condition, blank preparation, thickness, setup references and process sequence. A successful thin trial plate does not automatically demonstrate the same behavior in a deeper production section. Review changes according to the mechanism they affect, including threading reliability, core movement and the ability to inspect the finished wall.
Closed-profile details for the EDM quotation
Provide a solid model and a drawing that identifies the finished profile, datums and critical surfaces. Add the material grade and condition, stock thickness, any preceding heat treatment and the available workholding features. Identify whether the start-hole preparation is included in the requested scope.
Explain the functional reason for local restrictions. A sealing edge may prohibit an entry witness, while a mating corner may require a defined remaining radius. These requirements influence the process more usefully than a general instruction to achieve a fine finish everywhere.
Include the proposed quantity and the requested inspection evidence. For development parts, state whether a sacrificial specimen is available for investigating surface or section condition. For repeat work, identify the approved sequence and which alternatives remain open to supplier review.
Use the standards and tolerances page as context for the discussion, then keep the actual acceptance requirements in the controlled documents. Ask the specialist to return an access and scrap-management proposal with any assumptions. That makes quotation differences visible before they become machining exceptions or unexpected inspection limitations.
FAQ
Can an existing hole be reused as the wire entry?
Possibly, provided it gives usable access through the work and leaves an acceptable route to the finished profile. Check the actual hole condition, location and any preceding treatment rather than relying only on the nominal CAD diameter. Reuse can reduce a preparation operation, but an inconvenient existing hole may create a poor lead-in or complicate core control. Have the specialist confirm the proposed path and the surfaces it may affect.
Does every closed profile require a separate start hole?
That depends on whether the proposed sequence provides another acceptable threading or entry route. Several profiles can impose different scrap and access conditions, so counting holes from the drawing alone can be misleading. Ask for a process sketch that identifies how the wire enters each cut and what material remains between stages. Any connecting cut that survives in the delivered part must be approved as product geometry rather than treated as invisible process access.
What should happen if the trial leaves a visible entry mark?
Locate the mark and compare it with the actual functional requirement before deciding whether to accept, rework or change the approach. A cosmetic observation and a geometric discontinuity can have different consequences. Record the finishing state and inspection method, and preserve the affected specimen. If the mark is unacceptable, revise the entry or finishing strategy and demonstrate the corrected condition; do not erase the evidence by applying an undocumented blend.
Conclusion
A workable start hole is part of a complete cutting sequence. It must allow threading, preserve the finished boundary and support controlled scrap removal. Approval should connect those steps to the condition in which the delivered profile is inspected.
The most useful handoff is a product drawing plus a reviewable setup proposal. Keep functional limits stable while allowing the specialist to select an entry, retention and finishing strategy suitable for the actual equipment. Where a trial changes the plan, retain the reason and the evidence rather than treating a successful final dimension as proof that every intermediate risk disappeared.
For a quotation, upload the profile CAD, material condition and EDM access requirements. Include the critical walls, entry restrictions and inspection needs so 6CProto’s DFM review can address the complete feature rather than only a nominal start-hole diameter.