

A molded plastic part with a threaded feature faces a strategy decision: mold the thread directly into the part, install a metal thread insert after molding, or use a press-in or self-tapping insert. The molded thread is cheap and clean but limited in strength and geometry; the insert adds cost and a step but carries the load and survives disassembly. The choice follows the cycles, the torque, the material, and the assembly automation, and it is one of the decisions that most affects the part’s service life and its assembly cost.
Molded threads: geometry limits, draft, and strength
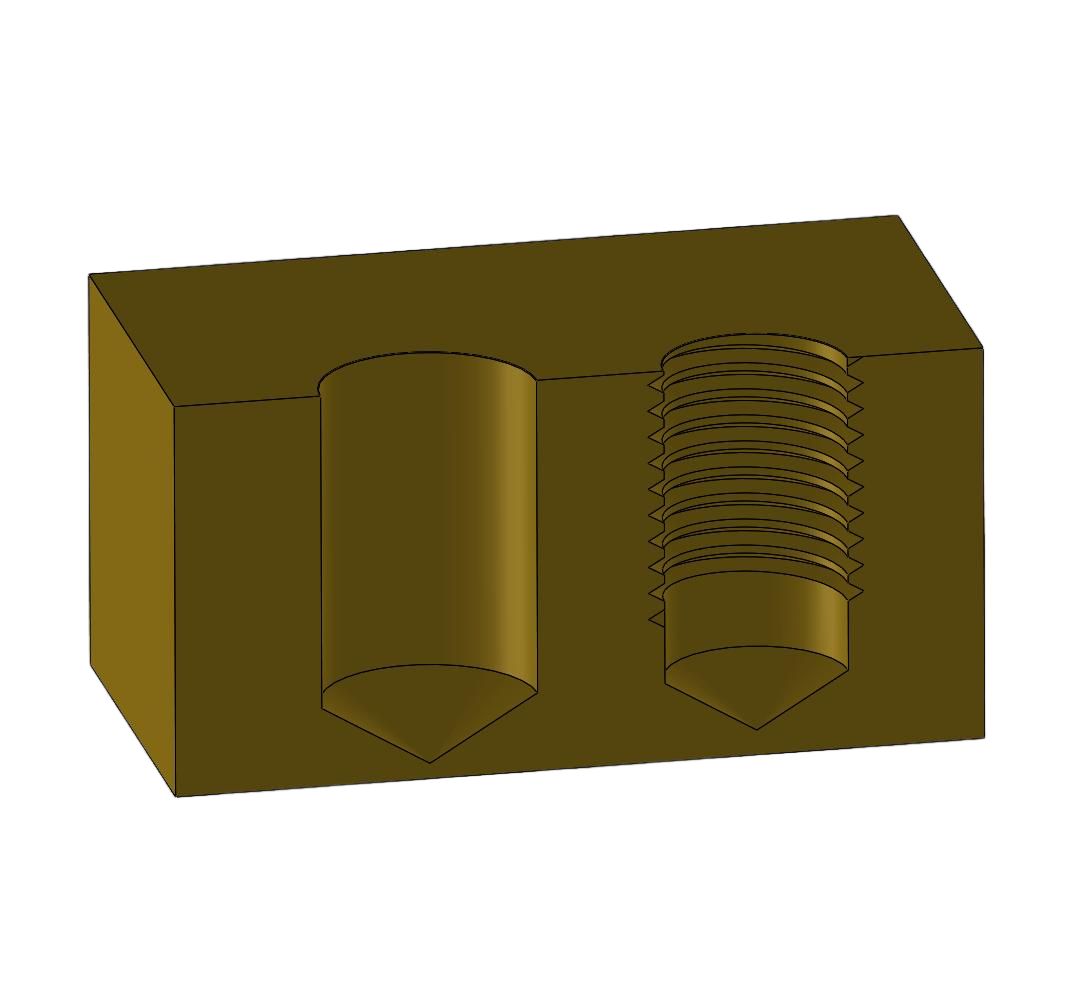
Molded threads are formed directly in the mold, either by unscrewing the part from the mold or by using a threaded core that retracts. The advantage is simplicity: no insert, no secondary operation, and a thread that is part of the molded geometry. The limits are strength and geometry: a molded plastic thread is weaker than a metal thread of the same size, it needs draft or a release mechanism that complicates the mold, and it wears under repeated assembly. Molded threads suit low-cycle, low-torque joints where the plastic’s thread strength is adequate, and they are the economical answer for a one-time or occasional assembly. The thread form and the engagement length should be sized for the plastic, because a molded thread copied from a metal standard may not carry the load.
The mold design for a molded thread — the unscrewing mechanism or the collapsible core — adds tooling cost, and the thread should be evaluated against that cost when the insert route is cheaper overall.
Heat-set and ultrasonic inserts for repeated assembly
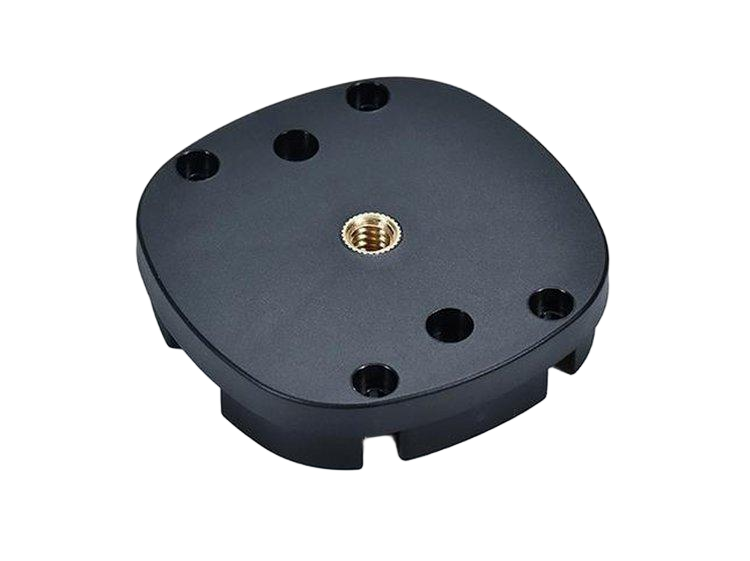
Metal thread inserts are the standard answer for plastic joints that are assembled repeatedly or carry higher loads. Heat-set inserts are heated and pressed into a molded boss, melting the plastic around the insert’s knurls to lock it in place; ultrasonic inserts use vibration to generate the heat, with a faster cycle and less heat damage to the surrounding plastic. Both provide a metal thread that survives torque and disassembly, and both require a boss geometry sized for the insert. The insert choice between heat-set and ultrasonic follows the material, the volume, and the automation: ultrasonic suits automation and heat-sensitive materials, while heat-set is simpler for lower volumes. The insert data sheet provides the hole, the boss, and the installation parameters, and the boss design should follow them.
Insert retention is verified by a pull-out or torque test on the actual material and boss, because the retention depends on the plastic’s flow into the insert’s features.
Press-in and self-tapping inserts for service-friendly designs
Press-in inserts are pushed into a molded hole, and their barbs or knurls hold them in place; they are simple and fast but generally carry less load than heat-set or ultrasonic inserts. Self-tapping inserts cut or form their own thread in the plastic as they are installed, providing a metal thread without heat; they suit repair and field installation, where a heat-set tool is not available. The service plan decides the route: a joint that is assembled once at the factory can use a press-in insert, while a joint that is serviced in the field may need a self-tapping insert that standard tools can install. The insert’s holding strength and the boss design should be verified for the chosen route.
Self-tapping inserts in brittle plastics can crack the boss if the pilot hole is too small, and the installation torque should be controlled.
Choosing by cycles, torque, material, and assembly automation
The thread strategy is chosen from four inputs. Cycles: a joint assembled once can use a molded thread; a joint serviced repeatedly needs an insert. Torque: the insert carries higher torque than the molded plastic thread. Material: soft, ductile plastics accept inserts and molded threads differently than stiff, brittle ones. Automation: the assembly line’s equipment decides whether heat-set, ultrasonic, press-in, or self-tapping fits the process. The comparison should include the part cost, the insert cost, the installation step, and the failure cost, because a joint that strips in the field costs more than the insert it avoided. The drawing should name the strategy and the insert, so the molder, the assembly line, and the service team all reference the same joint design.
The boss design guide covers the boss package; this page is the threaded-attachment strategy decision for the part as a whole.
Cost and lead-time notes for prototype vs production quantities
At prototype quantities, the thread strategy can differ from production. A prototype may use a molded thread or a hand-installed insert to test the joint, while production adds the insert installation automation or changes the mold for a threaded core. The prototype should validate the joint — the torque, the cycles, and the boss — with the production-like thread, because a joint that works with a hand-installed insert can fail with the production automation. The cost comparison should be run at the production quantity, where the insert cost and the installation step amortize differently than at prototype scale. The thread strategy is a production decision, and the prototype is the evidence that supports it.
Validating the thread strategy on production-like samples
The thread strategy should be validated on samples that match the production construction. A molded-thread sample is tested with the production material and the assembly torque; an insert sample is installed with the production tool and tested for the pull-out and the torque; and the boss geometry is verified for both. The validation results decide the strategy with evidence: if the molded thread fails at the required cycles, the insert is justified; if the insert installation is inconsistent, the process needs the fix. The samples should also be tested at the service condition — the temperature, the humidity, and the chemical exposure — because the plastic’s behavior changes with the environment. A thread strategy that is validated on the production-like sample is a strategy the production run can support; one that is chosen from a catalog carries the risk into the assembly line.
The validation should also cover the assembly automation, because the insert installation method is part of the strategy. A heat-set insert installed by hand in the prototype may fail or slow down when the production line automates it, and the automation trial should be part of the validation. The torque and the cycle tests should use the production installation and the production screw, and the results should be recorded with the strategy. When the thread strategy is validated with the production process, the drawing can name the insert and the installation with confidence — and the joint that passes the validation is the joint that serves the product through its life.
The thread strategy should also consider the part’s overall assembly and its service history. A housing with several threaded joints may use different strategies for different joints: molded threads for the one-time cover screws, inserts for the serviceable components, and a self-tapping route for the field-installed parts. The strategy map should be documented on the drawing, with each joint’s screw, torque, and cycle requirement named, so the molder, the assembly line, and the service team all reference the same plan. The service history feeds the map: a joint that stripped in the field on the previous product moves to an insert in the new design, and a joint that never failed stays with the molded thread. The strategy is a living decision that follows the product’s experience, and the documentation is what carries the lesson from one product to the next. When the strategy map and the history are part of the design, the threaded joints are engineered with the product’s full service in view, and the failures of the past do not repeat in the new part.
Keep the thread strategy and the validation record with the drawing, so the molded-thread and the insert joints are consistent across the parts and the revisions. The record is the reference for the assembly line, the service team, and the next product.
The final check is the total cost per assembled joint across the product’s life: the part cost, the insert or the molded-thread cost, the installation step, and the field failures. A strategy that is cheap at the mold but fails in service is not cheap at all, and the total-cost view is what settles the choice. Document the comparison with the strategy so the decision is reviewable when the volume or the service changes.
The strategy review ends with the drawing and the assembly note naming the thread and the insert for each joint, so the part is built, assembled, and serviced as designed.
Write the strategy on the drawing per joint so the molded threads, the inserts, and the bosses are built and assembled as designed, and record the validation with the part.
If you are choosing between molded threads and inserts for a plastic part and want the cycles, torque, and assembly route reviewed, the 6CProto injection molding team can work from your joint requirement to the thread strategy and the boss specification.