

Explore CNC Programming & Process Engineering Guides
A small drill broken inside a nearly finished stainless component can be more costly than the hole making operation itself. The immediate temptation is to reduce feed or add a peck cycle, but neither change establishes why the tool failed. Small hole drilling in stainless steel needs a process envelope that connects the entry surface, chip route and exit condition to the finished feature.
Start with the exact alloy and condition, hole diameter, length and function. A short locating bore, a long fluid passage and a cross drilled restriction can have similar nominal diameters while presenting different cutting and inspection problems. Tool selection and acceptance should follow those differences.
The practical objective is a usable, verifiable hole rather than a successful toolpath simulation. A drill can reach its programmed endpoint while leaving an oversized entry, a displaced bore, an internal burr or trapped chips. Define those risks in the drawing review, then ask for trial evidence that isolates them. General stainless machining advice is useful background; it cannot establish a universal recipe for every miniature drill or hole aspect ratio.
Mark the hole identification on trial reports so size, flow and burr observations remain traceable to the same passage. Where several bores intersect, identify which manufacturing operation created each internal edge before assigning a corrective action.
Entry stability on curved surfaces
A curved or inclined entry can engage the cutting edges unevenly and move a small drill before it is fully supported by the hole. Minimize unnecessary tool projection and check holder condition, alignment and workholding. A change to cutting parameters cannot compensate for an unstable entry geometry that has not been addressed.
Sandvik's irregular surface guidance distinguishes drill constructions and entry conditions. It describes spot milling or pilot strategies in some applications, with limits that depend on the selected tool. Do not automatically pilot every small carbide drill: follow its manufacturer’s requirements for point engagement, pilot geometry and permitted unsupported length.
If a spotface is proposed, show its size and permitted location on the product drawing when it changes the component. It may affect a sealing land, wall or cosmetic face. Verify the hole position from the functional datums rather than measuring from an uncontrolled curved edge. The trial should retain entry photographs and the selected tool designation so entry damage is distinguishable from wear accumulated deeper in the bore.
Chip evacuation in small bores
Chips need room and a transport mechanism to leave the cutting zone. Austenitic and duplex stainless steels can create difficult chip formation and evacuation conditions. Sandvik’s material specific drilling guidance emphasizes suitable geometry and coolant delivery; it does not support reducing feed indiscriminately as the universal response to broken tools.
Observe the actual chip form and the tool manufacturer’s operating range. Extremely light engagement can change the cutting behavior without resolving a blocked flute or inadequate fluid route. Confirm that the machine, holder and drill provide the intended coolant path, and distinguish supply pressure from useful flow at the cutting zone.
A peck cycle changes engagement and withdrawal, so qualify it with the selected drill rather than treating more retracts as automatically safer. The drilling application guidance connects coolant, chip removal and hole quality. For long small passages, ask the planner to explain how chips leave the bore throughout the cycle and how the process will detect an interruption before the next hole is attempted.

Breakthrough and burr formation
Breakthrough changes the support and loading at the drill tip. An angled exit, thin remaining web or intersecting passage can make that change asymmetric. Plan the exit as a distinct part of the operation and assess burrs where they affect mating, flow or debris control.
Sandvik’s cross hole and inclined exit guidance identifies interrupted cutting and difficult internal deburring as specific challenges. Its numeric recommendations depend on drill type, so use the applicable product guidance rather than adopting a percentage from an unrelated tool family. The exit surface belongs in the manufacturing review even when it is hidden in the final assembly.
Specify whether burrs may be removed by an approved secondary operation and what edge change is acceptable. Aggressive deburring can enlarge an orifice or round a controlled edge. Inspect the result after cleaning, not only immediately after drilling. If the exit is inaccessible, establish how first article evidence and production controls will demonstrate the required condition before approving the process.
Check diameter straightness and blockage
Diameter, alignment and cleanliness are separate acceptance characteristics. A pin that enters the bore gives useful functional information, but its result depends on pin size, length, straightness and insertion conditions. It may not reveal a local enlargement or an exit burr outside the contact region.
For a fluid passage, flow can reveal restriction but depends on the test medium, pressure, temperature and connection arrangement. A passing flow test does not independently establish every geometric requirement. Conversely, a measured entry diameter cannot prove a long passage is clear. Define which characteristic is controlling and which observations are diagnostic.
Relate bore position and direction to the functional datums. The public description of ASME Y14.5 supports consistent communication of form, fit and location requirements; it does not select the inspection instrument. If the proposed method cannot access the required length, agree an alternative or a representative destructive trial. Do not replace a difficult measurement with an easier one without identifying the resulting limit of inference.
Map curved entry, internal intersection and drill exit
The section should identify the entry, full diameter length, any drill point allowance, exit geometry and intersecting passages. Add the smallest remaining wall and the functional direction of the hole. A drawing that displays only the nominal diameter and center coordinates leaves important tool loading conditions invisible.
Consider a hypothetical radial passage entering a cylindrical stainless body and breaking into an axial bore. The curved entry, unsupported intersection and internal burr are three different process risks. A flat entry preparation may help the first, but does not resolve the last two. Likewise, inspecting the radial opening cannot establish the intersection condition.
Show access for the tool, holder and any deburring operation. If the feature is part of a turned component, define whether drilling occurs before or after the relevant diameter and face are finished. Sequence changes can affect locating references and edge condition. Keep the example geometric: operating values must come from the actual alloy, selected drill and verified machine setup.
Compare bore measurements with functional passage tests
Compare candidate methods by the failure modes they control and the evidence they provide. Drilling, secondary sizing, visual examination and functional testing each have a role, but they answer different questions. Specify a combination that covers the required feature without implying that one passing result proves everything.
| Method or observation | Useful purpose | Boundary |
|---|---|---|
| Controlled drilling trial | Evaluate entry, chips and tool condition | Does not establish long run stability alone |
| Accessible diameter measurement | Check local size | May not reach internal sections |
| Pin or mating check | Assess defined functional passage | Does not map full profile |
| Sectioned sample | Examine bore and intersection | Destructive and sample limited |
| Controlled flow test | Assess application related restriction | Not a complete geometric inspection |
Review drilling failure symptoms alongside the dimensional results. Preserve failed tools where possible; fracture, wear and chip evidence can help distinguish an unstable entry from a problem that developed deeper in the feature.
Accept small bores by size, direction and cleanliness
Set acceptance around the finished function: permitted bore size, direction, edge condition and freedom from obstructing or loose material. Identify which checks are performed on first articles, which apply during production and how a tool change affects the inspection sequence.
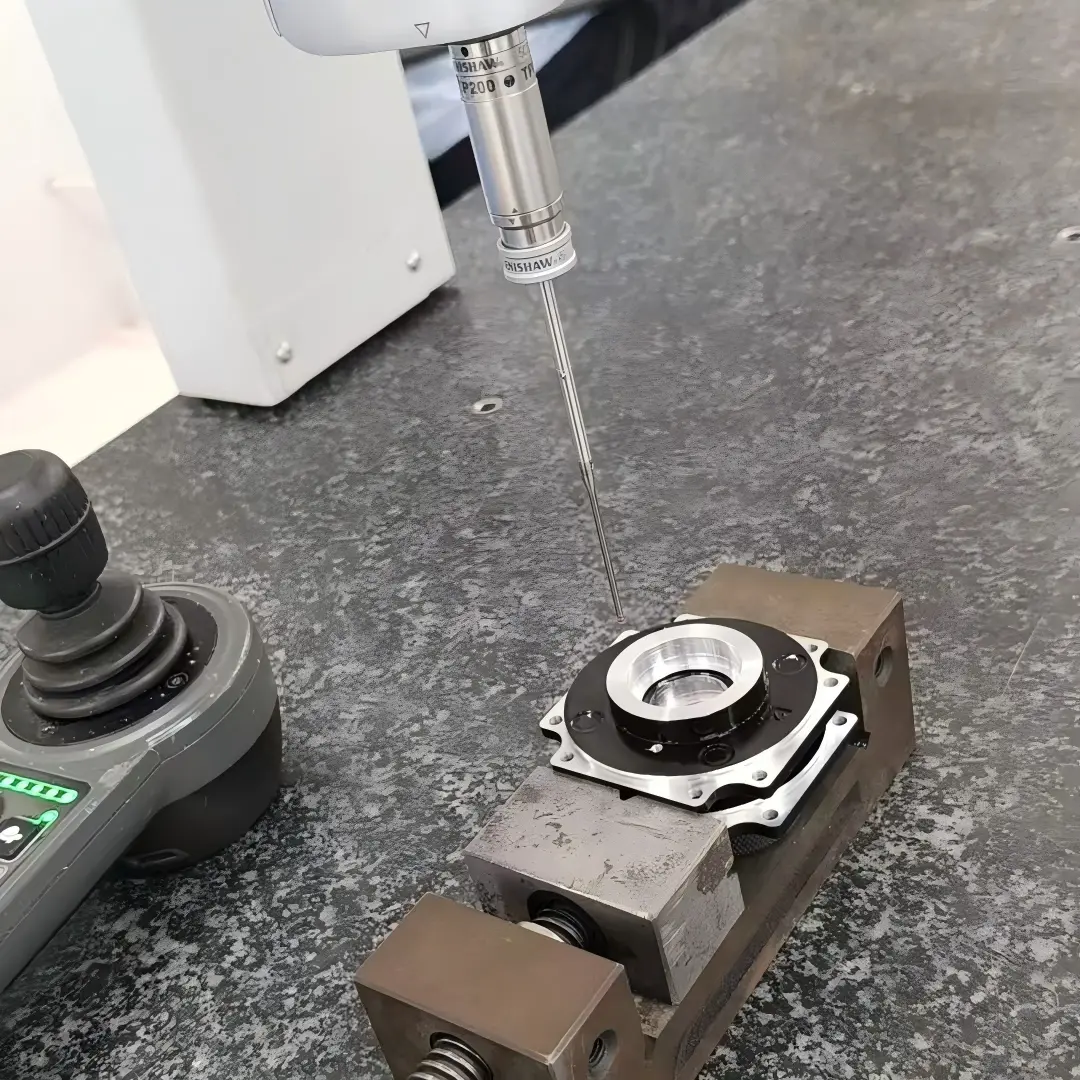
Consistent location during measurement matters when features are small and access is limited. Renishaw’s metrology fixturing information describes repeatable workholding for contact and vision systems. In this application, ensure the fixture does not hide the opening, introduce an uncontrolled angle or force inspection from a less useful side. A repeatable setup should support the specified datum relationship.
Use the agreed inspection requirements to separate a defect from an observation that needs further investigation. For example, an unusual chip form can justify checking the tool without automatically rejecting every previously made hole. Define the containment and reinspection scope from the evidence. Record where an inspection cannot establish an internal characteristic and what process or trial evidence closes that gap.
Small stainless hole details needed before quoting
The RFQ needs the stainless grade and condition, hole diameter and depth, entry and exit sections, positional requirements and cleaning acceptance. Include access restrictions and the component’s final function. Calling the feature a small precision hole does not tell the supplier which error is most consequential.
Identify whether secondary sizing, entry spotfaces or alternate sequences are permitted. For a restriction orifice, preserve the edge geometry during any deburring proposal. For a long passage, state whether a representative sectioned trial, flow test or other evidence is needed. Keep the methods tied to measurable acceptance rather than requesting inspection without a defined question.
Connect these requirements to the CNC machining review. Ask for unresolved DFM issues before release, especially an inaccessible internal burr or measurement that cannot reach the controlled region. Approve any product geometry change explicitly. The machining plan can choose tools and operating conditions, but it should not silently relax wall thickness, position or cleanliness to accommodate a difficult drilling cycle.
FAQ
Should every small stainless hole use a peck cycle?
No universal cycle suits every drill and hole geometry. A peck can help a particular chip evacuation problem, but it also changes engagement and withdrawal conditions. Follow the selected tool supplier's guidance and qualify the cycle with the actual material, depth and coolant arrangement. Inspect chips, tool condition and the finished bore. More frequent retracts do not automatically correct an unstable entry, unsuitable geometry or a blocked coolant path.
Can a broken drill be removed without affecting acceptance?
Removal may be feasible, but the method can alter the bore, nearby wall, surface or material condition. Treat it as a controlled repair requiring an agreed inspection scope. Preserve the original failure observations before removal, then establish whether the repaired feature meets all product requirements. A clear opening alone does not demonstrate acceptable size, direction or integrity. The decision to accept a repaired component should follow the applicable drawing and approval process.
Does a passing flow test prove the hole is the correct diameter?
A flow result depends on the entire test arrangement as well as the passage geometry. It can support a functional restriction requirement under defined conditions, but does not uniquely identify the bore diameter or locate an internal burr. Record the medium, pressure, temperature and connections, then use geometric inspection where the drawing requires it. A combination of functional testing and targeted measurement is often more informative than interpreting either result as complete proof.
Conclusion
A reliable small hole process starts before the drill enters the component. Stable engagement, a viable chip route and a controlled exit need separate consideration. The inspection plan must then establish the finished characteristic that matters, whether it is size, position, flow or internal cleanliness.
Keep operating changes connected to observations. A broken tool calls for evidence about its failure location and conditions; a blocked passage calls for examination of chips, burrs and cleaning. Treating both as a generic feed problem can repeat the same failure in a more expensive component. For a review with 6CProto, send the material condition, hole sections and acceptance requirements for quotation. Include the difficult internal locations so the proposed manufacturing and inspection sequence addresses them before production begins.
{“@context”: “https://schema.org”, “@type”: “FAQPage”, “mainEntity”: [{“@type”: “Question”, “name”: “Should every small stainless hole use a peck cycle?”, “acceptedAnswer”: {“@type”: “Answer”, “text”: “No universal cycle suits every drill and hole geometry. A peck can help a particular chip evacuation problem, but it also changes engagement and withdrawal conditions. Follow the selected tool supplier’s guidance and qualify the cycle with the actual material, depth and coolant arrangement. Inspect chips, tool condition and the finished bore. More frequent retracts do not automatically correct an unstable entry, unsuitable geometry or a blocked coolant path.”}}, {“@type”: “Question”, “name”: “Can a broken drill be removed without affecting acceptance?”, “acceptedAnswer”: {“@type”: “Answer”, “text”: “Removal may be feasible, but the method can alter the bore, nearby wall, surface or material condition. Treat it as a controlled repair requiring an agreed inspection scope. Preserve the original failure observations before removal, then establish whether the repaired feature meets all product requirements. A clear opening alone does not demonstrate acceptable size, direction or integrity. The decision to accept a repaired component should follow the applicable drawing and approval process.”}}, {“@type”: “Question”, “name”: “Does a passing flow test prove the hole is the correct diameter?”, “acceptedAnswer”: {“@type”: “Answer”, “text”: “A flow result depends on the entire test arrangement as well as the passage geometry. It can support a functional restriction requirement under defined conditions, but does not uniquely identify the bore diameter or locate an internal burr. Record the medium, pressure, temperature and connections, then use geometric inspection where the drawing requires it. A combination of functional testing and targeted measurement is often more informative than interpreting either result as complete proof.”}}]}