

Explore Sheet Metal Processes & Supplier Selection
A rivet can enter each sheet separately and still resist insertion through the assembled stack. The holes may be misaligned, coated after drilling, tapered, or blocked by burrs between the layers. Forcing the fastener through can damage the coating or disguise a hole-condition problem that later affects joint formation.
Rivet hole clearance should come from the selected fastener’s installation requirements and the finished assembly geometry. Nominal rivet diameter is only one input. Hole size, shape, alignment, stack thickness, edge condition, head seating, and access for setting all influence whether the joint can be formed consistently.
The procurement objective is to specify a hole that can be manufactured, assembled, and inspected in its final condition. Avoid a universal drill-size rule for every rivet family. A structural breakstem fastener, a standard blind rivet, a solid rivet, and a threaded insert can have different installation definitions.
The sheet-metal fabrication service provides the component context. The discussion below concerns clearance and hole preparation for a defined joint, rather than repeating a broad guide to rivet types or general joining methods.
How should rivet hole clearance be chosen?
Use the selected fastener’s installation specification.
Specify the permitted finished hole and stack condition from the exact product data, then verify alignment, edge preparation and setting access rather than deriving clearance from nominal rivet diameter alone.
The STANLEY breakstem-fastener catalog directs users to the individual fastener data for hole size and grip range. It also distinguishes catalog performance data from performance in an actual application. Preserve the selected product identity with the joint drawing so the hole requirement cannot drift when purchasing substitutes a different family.
GESIPA’s standard blind-rivet product data lists hole diameter separately from rivet-body diameter and grip range. That separation is useful: the fastener’s nominal size is not itself a complete drilling instruction.
State whether the hole requirement applies before or after finishing, and identify any countersink or head-seat condition separately. If a supplier proposes another fastener, review its installation requirements before accepting it as interchangeable. A matching nominal diameter does not establish matching hole tolerance, grip behavior, or installed-joint acceptance.
Stack alignment and hole quality
Evaluate the hole through the assembled stack, not only as isolated sheet features. Position error between layers can reduce the usable passage even when each hole’s diameter is acceptable. A fastener that is driven through by force can create damage or local deformation that remains hidden after setting.
Decide whether holes will be produced separately, match-drilled in a defined fixture, or aligned by controlled locating features. Each route needs an inspection strategy for the assembled relationship. Do not use an unqualified rivet as a universal alignment tool that pulls mismatched parts into an unknown condition.
Inspect shape as well as size where the process can produce taper, ovality, breakout, or local distortion. A single caliper reading across the entrance may not describe the region that controls insertion or formation. The method should correspond to the selected fastener’s requirements and the actual sheet process.
Use the ASME dimensioning-and-tolerancing framework to communicate feature relationships and datum intent where appropriate. The drawing still needs the actual hole and assembly requirements; generic geometric notation cannot substitute for a product-specific installation definition.
Coatings and burr removal
Define the final hole condition after all operations that can change its usable geometry. Coating thickness, masking, edge buildup, and burrs can affect insertion and head seating. A hole accepted before finishing may need a different check afterward, particularly when the nominal clearance is small.
Remove burrs with a controlled edge requirement that preserves the hole and seating surface. Excessive countersinking or an uncontrolled edge break can reduce bearing support or alter how the fastener forms. “Deburred” should not mean that any amount of material removal is acceptable.
Check the interface between sheets. A burr trapped in the stack can create a local gap, distort clamping, or leave the joint supported on material that later crushes or detaches. Inspect and clean the parts before they are assembled in a way that hides the interface.
Keep corrosion and finish requirements in the review. Post-finish drilling or reaming may expose substrate or damage the surrounding system, so any corrective operation needs an approved restoration or acceptance decision. Do not repair insertion trouble informally and then assume the original coating requirement remains satisfied.
Inspect the installed joint
An installed rivet needs acceptance evidence beyond the fact that the tool completed its stroke. Check head seating, the defined formed condition, material damage, and any family-specific indicator of correct installation. The visible side may not reveal a hidden gap, incomplete formation, or a problem at the blind side.
Use the selected fastener’s instructions for retained-stem or locking observations. STANLEY’s Monobolt technical information describes features specific to that fastener family; those observations should not be assigned to every blind rivet. A general rivet image is not an inspection standard.
Preserve the setting-tool and nosepiece identity for the trial. The manufacturer's riveting-tool range separates tooling choices, reinforcing that installation hardware must match the fastener and access arrangement. Correct hole geometry does not compensate for an incompatible setting setup.
For a completed assembly, define the inspection access before the joint is closed. If the blind side becomes inaccessible, identify the trial or process evidence that supports acceptance and the conditions that trigger additional verification. Avoid discovering that a critical formation feature cannot be observed only after production starts.
Joint drawing stack-up and access table
The drawing should connect hole preparation with the complete stack and setting access. A hole diameter alone leaves grip selection, head seating, and blind-side clearance unresolved. Record the final assembled condition, including any layer that changes the fastener’s clamped thickness or formation space.
Use the table to separate design inputs. Actual dimensions and limits should come from the released assembly and selected fastener data, rather than a generic nominal-size chart.
| Input | Required definition | Manufacturing check | Joint risk |
|---|---|---|---|
| Finished hole | Size, shape and finish state | Method suitable for full hole | Poor insertion or formation |
| Layer alignment | Datum and locating arrangement | Assembled passage check | Forced insertion or distortion |
| Grip stack | Minimum and maximum finished thickness | Stack measurement and identity | Wrong grip selection |
| Head seat | Contact or countersink requirement | Seating and local surface check | Gap or reduced support |
| Setting access | Tool envelope and blind-side space | Fixture and assembly review | Incomplete or obstructed formation |
Keep these inputs together when the joint is revised. A small change to coating, layer thickness, or enclosure access can invalidate an installation arrangement that was previously demonstrated successfully.
Qualification coupon and fixture example
Assume an illustrative joint joins sheets of 1.2 ± 0.1 mm and 1.5 ± 0.1 mm. The uncoated thickness stack ranges from 2.5 to 2.9 mm. Assume the specified finish adds 0.10 mm to the total clamped stack, giving a finished range of 2.6 to 3.0 mm. These assumptions illustrate stack calculation, not a fastener recommendation.
Select a product whose documented grip range covers the actual finished stack and whose hole requirement can be met in the proposed process. Then prepare coupons representing relevant stack and hole extremes, using the real coating and edge-preparation sequence. Do not choose a rivet length from the average thickness alone.
The fixture should reproduce alignment and setting access without forcing an otherwise mismatched stack together. Preserve the fastener lot and installation setup with each coupon’s results.
For the transition to fabricated assemblies, confirm the same access and sequence exist on the actual enclosure. A flat open coupon can demonstrate joint formation while failing to represent a production corner that blocks the nosepiece or blind-side expansion.
Load, visual and dimensional acceptance criteria
Choose joint tests from the expected failure modes and assembly requirements. Visual and dimensional checks can establish seating and geometry, while load or functional tests address different questions. A clean-looking head does not independently establish the joint’s performance under the intended load direction or repeated use.
Define the specimen, fixture, loading direction, and acceptance observation for a qualification test. Preserve whether failure occurs in the rivet, sheet, hole region, or another part of the assembly. A single peak-load number without that information can conceal a change in mechanism.
NIST’s uncertainty-analysis framework supports assessing the quality of dimensional and test results. Where acceptance margin is narrow, verify that measurement setup and resolution can distinguish the condition instead of adding decimal places to the report.
Use the standards-and-tolerances resource to frame inspection expectations. Keep fastener catalog data, coupon qualification, and production acceptance distinct. The qualified application and its installation controls determine what later inspections must preserve, rather than a nominal rivet diameter or catalog strength alone.
Assembly evidence to include with an RFQ
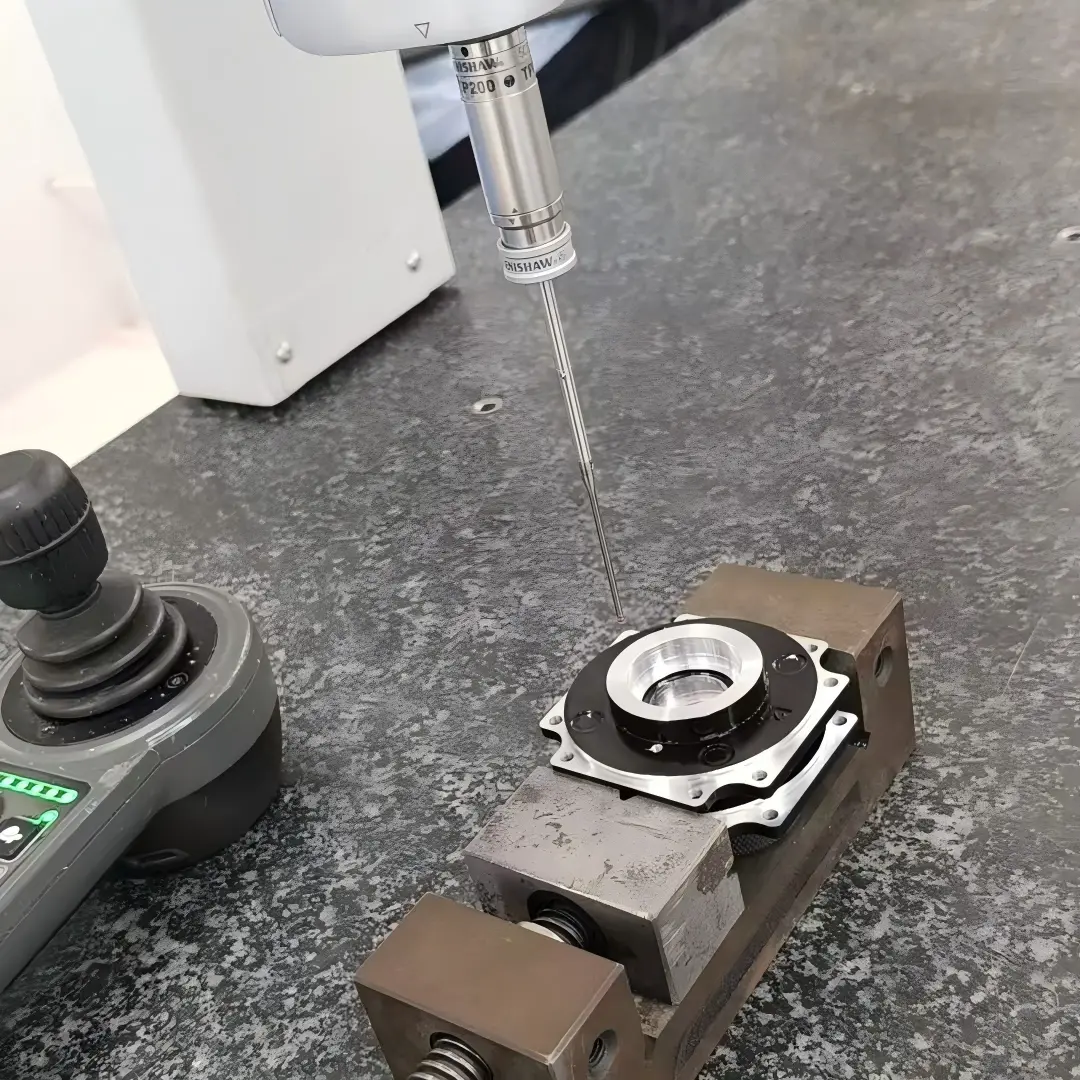
Provide the joint section, layer materials and finished thickness range, selected fastener identity, hole requirements, coating sequence, and access views. Identify whether the fastener is fixed by the design or whether alternatives may be proposed. Any alternative needs its own installation and acceptance review.
Include the assembly locating method and the order of hole preparation, finishing, cleaning, and setting. If match drilling or a special fixture is required, make that scope visible. If parts arrive prefinished, identify whether post-finish hole correction is permitted and how the exposed surface will be accepted.
Supply the required inspection records and any qualification evidence already available. Keep the conditions associated with those results, including tool, nosepiece, coupon construction, and load direction. A historical pass on another stack is useful context but not automatic approval for the proposed assembly.
Finally, define the disposition route for oversize holes, misalignment, damaged coatings, and incorrectly set fasteners. Removal and replacement can alter the hole, so rework needs a controlled acceptance decision. This information lets the supplier quote the actual joint and its verification rather than an incomplete instruction to install rivets.
FAQ
How is rivet edge distance selected?
Use the applicable joint design requirements and the selected fastener's installation guidance, considering material, thickness, load direction, hole condition, and failure mode. A general diameter multiple can be a preliminary reference in some contexts but should not replace a reviewed requirement for the actual assembly. Show how edge distance is measured on the drawing and preserve the relationship to the finished hole. Qualify the joint where performance depends on bearing, tearing, deformation, or another application-specific mechanism.
Does a 10-24 rivet-nut thread determine the drill size?
No. The thread describes the internal screw interface, while the installation hole depends on the exact insert family, body geometry, material, grip range, and manufacturer's requirements. Round and shaped bodies can require different hole definitions even when their internal threads match. Obtain the selected product's current data before drilling. A rivet nut is also a different installation system from an ordinary blind rivet, so its hole requirement should not be taken from a generic rivet-diameter chart.
Can an oversize hole be accepted by installing a larger rivet?
Only through an approved joint change or rework disposition that reviews the complete assembly. A larger fastener can require different grip, head seating, edge distance, tool access, and blind-side space, and it may change how the sheet carries load. Inspect the actual hole condition and surrounding damage before proposing a replacement. Keep the revised fastener and hole definition traceable, and repeat the evidence needed for the changed joint instead of treating larger size as an automatic repair.
Conclusion
Consistent rivet formation begins with the selected product’s installation requirements applied to the finished, aligned stack. Keep hole size, shape, coating condition, grip thickness, head seating, and setting access connected in the drawing and process plan.
The coupon should represent the actual joint extremes and the installation arrangement. Its results should distinguish geometry, formation, material damage, and relevant performance, with the fastener and tooling identified. A nominal drill size, a completed tool stroke, or a visually clean head cannot independently establish that the assembled joint meets its requirements.
6CProto supports sheet-metal fabrication, assemblies, and DFM review within its company scope. For a riveted assembly, send the joint section, selected fastener data, finished stack range, coating sequence, and qualification requirements for quotation. Include access views and any permitted rework so the proposed hole-preparation and setting route can be reviewed as one complete joint process.
{“@context”: “https://schema.org”, “@type”: “FAQPage”, “mainEntity”: [{“@type”: “Question”, “name”: “How is rivet edge distance selected?”, “acceptedAnswer”: {“@type”: “Answer”, “text”: “Use the applicable joint design requirements and the selected fastener’s installation guidance, considering material, thickness, load direction, hole condition, and failure mode. A general diameter multiple can be a preliminary reference in some contexts but should not replace a reviewed requirement for the actual assembly. Show how edge distance is measured on the drawing and preserve the relationship to the finished hole. Qualify the joint where performance depends on bearing, tearing, deformation, or another application-specific mechanism.”}}, {“@type”: “Question”, “name”: “Does a 10-24 rivet-nut thread determine the drill size?”, “acceptedAnswer”: {“@type”: “Answer”, “text”: “No. The thread describes the internal screw interface, while the installation hole depends on the exact insert family, body geometry, material, grip range, and manufacturer’s requirements. Round and shaped bodies can require different hole definitions even when their internal threads match. Obtain the selected product’s current data before drilling. A rivet nut is also a different installation system from an ordinary blind rivet, so its hole requirement should not be taken from a generic rivet-diameter chart.”}}, {“@type”: “Question”, “name”: “Can an oversize hole be accepted by installing a larger rivet?”, “acceptedAnswer”: {“@type”: “Answer”, “text”: “Only through an approved joint change or rework disposition that reviews the complete assembly. A larger fastener can require different grip, head seating, edge distance, tool access, and blind-side space, and it may change how the sheet carries load. Inspect the actual hole condition and surrounding damage before proposing a replacement. Keep the revised fastener and hole definition traceable, and repeat the evidence needed for the changed joint instead of treating larger size as an automatic repair.”}}]}