

Explore CNC Cost, Tolerances & Supplier Selection
A blind bore can pass its diameter inspection and still leave too little material at the bottom. The source of the discrepancy is often the cone below the full diameter, especially when a drawing shows one depth and the programmer assumes another. Drill point angle in blind hole design matters because that cone occupies real space inside the component.
The decision is not simply whether a sharper or flatter drill cuts better. A bottom may provide clearance, locate a component, preserve a pressure boundary or intersect a passage. Each function needs a defined geometric envelope. A flatter point can reduce ideal cone depth, but it does not turn the result into a controlled flat seat.
This guide addresses the bottom itself and its relationship to nearby features. Thread engagement is a separate requirement if the hole will later be tapped. Establish the usable cylindrical length, maximum penetration and required bottom shape before selecting tooling. That sequence allows manufacturing to propose an appropriate process without guessing which line in a CAD section represents the acceptance boundary.
Record the selected interpretation in the released drawing so later tool substitutions remain subject to the same functional envelope and acceptance criteria.
For a thin floor, include the local opposite surface profile in the wall assessment. A depth measured along the drill axis may differ from the shortest distance to an inclined exterior face.
Bottom cone versus flat bottom
A conventional pointed drill leaves a cone under the cylindrical bore. A flat bottom feature requires a process capable of producing the specified floor geometry, including any corner transition. A hole labeled blind communicates that it stops inside the material; it does not establish a flat floor or a particular point angle.
Regal’s drill point selection guidance distinguishes included angle from point configuration. That distinction matters when a drawing depends on the bottom shape: multifaceted and specialized points should not be reduced to a perfect cone merely because an included angle appears in a catalog. Obtain the actual tool geometry when the floor is functional.
Define whether the bottom is a clearance space or a locating surface. For clearance, a maximum removal envelope may be sufficient. For a seat, specify its diameter, orientation, form and relationship to the locating features. A probe touching the center of a conical bottom cannot establish the position of a useful flat bearing surface that does not exist.
Point angle and remaining material
For an ideal conical point, the axial cone depth equals D / [2 tan(A/2)], where D is the bore diameter and A is the included point angle. Increasing that angle reduces the cone depth at a fixed diameter. The calculation is a geometric allowance; tool selection still depends on the material and drilling conditions.
Consider a hypothetical 8 mm bore with 20 mm of full diameter depth. An ideal 118 degree point adds approximately 2.40 mm, placing the tip at 22.40 mm. An ideal 135 degree point adds approximately 1.66 mm, placing it at 21.66 mm. The difference is about 0.74 mm. These are calculated examples, not recommended angles or available wall allowances.
Evaluate the deepest permitted tip against the closest protected surface using the drawing tolerances. Do not subtract a nominal tip position from a nominal part thickness and label the result guaranteed wall. If the opposite face is inclined or curved, assess the actual local geometry rather than a thickness measured somewhere else on the component.

Intersections with cross holes
A cross hole can meet the cylindrical wall, enter the bottom cone or miss the usable passage while still appearing connected in a simplified model. Show the intersection in a section that captures both axes and the actual point envelope. If the function requires full flow area, incidental contact with the drill cone may not provide it.
Sandvik's irregular surface drilling guidance identifies interrupted cutting, chip evacuation and difficult deburring at cross holes. Its recommendations vary by drill construction, so do not transfer one feed reduction or drilling order to every small tool. Ask the process planner how entry, intersection and exit will be managed for the selected tool.
Specify internal burr and loose debris requirements independently of nominal connectivity. A passage may be open yet contain a burr that affects flow or releases later. Where the drill approaches an adjacent hole without intentionally entering it, define a minimum ligament and assess both positions and sizes. An angular tolerance on the point cannot compensate for an undefined relationship between the bores.
Verify the usable depth
Usable depth is the axial length available to the intended mating feature. For a cylindrical pin, that usually depends on the full diameter portion and the pin’s own end shape. A conical space beyond it may provide clearance, but it should not be counted as cylindrical support.
Choose a measurement method that touches the intended surface. A narrow probe can reach toward the cone tip, while a flat ended probe may contact the sloping bottom at a larger radius. Both readings can be repeatable and still describe different geometric depths. Include probe geometry and contact location when depth is an acceptance characteristic.
The ASME dimensioning and tolerancing scope emphasizes consistent communication of functional requirements. Apply that principle by naming the controlled boundary rather than relying on the word depth alone. For bores produced within a turning process, also identify the locating face and whether face finishing occurs before or after drilling, because that changes the datum relationship.
Section the bore against its closest protected surface
A useful section contains the entry reference, bore diameter, minimum cylindrical length, bottom shape and maximum penetration. Add nearby passages, pockets and exterior surfaces. Show the feature that needs clearance in its limiting position instead of displaying only an empty hole.
As a hypothetical review, place a cylindrical pin requiring 18 mm of support inside a bore with a minimum 20 mm full diameter length. Evaluate pin insertion, tip clearance and the remaining wall separately. The 2 mm difference is not automatically the operating clearance, because the pin end, locating face tolerances and assembled stop condition also contribute.
Where a flat bottom is proposed, identify the diameter over which the floor requirement applies and the permitted transition at its edge. A tool may leave a small central or peripheral feature depending on its construction. Have the manufacturing proposal describe the achievable floor rather than replacing the cone with an ideal line in CAD. For milled components, verify access for the finishing tool and its holder as well as the drill.
Pointed drilling versus controlled floor finishing
The manufacturing method should follow the required bottom function. A pointed drilling operation, a dedicated flat bottom tool and an interpolated pocket do not create identical floor and corner conditions. Compare their access requirements and the inspection evidence, rather than ranking them by the word flat.
| Approach | Bottom characteristic | Verification priority |
|---|---|---|
| Pointed drilling | Point envelope below full diameter | Cylindrical depth and maximum tip |
| Flat bottom tooling | Tool specific floor and edge transitions | Floor form and usable seat diameter |
| Interpolated finishing | Tool path and cutter corner dependent floor | Seat, corner and access conditions |
Maintain a viable chip removal route for each operation. Sandvik's application tips connect coolant delivery and chip evacuation with hole quality and tool life. A change to bottom finishing can alter how chips leave a blind feature; qualify the revised sequence instead of assuming that an acceptable diameter proves a clean, usable floor.
Inspect the bore boundary that supports the mating feature
Inspect the feature against its intended use: cylindrical engagement, floor seating, wall preservation or passage connection. These functions require different observations. A depth gauge reading at one location cannot establish all four, and a passing pin gauge does not prove the bottom shape.
Repeat the setup when comparing measurements. Renishaw's fixturing overview describes the role of reproducible holding in dimensional inspection. Support the component from its defined references and leave the probe path unobstructed. A fixture that prevents access to the controlled floor can force an improvised measurement that answers a different question.
Investigate tool related variation before expanding the drawing tolerance. Sandvik’s drilling troubleshooting guide separates vibration, size and tool wear symptoms. If the depth or bottom condition changes during a trial, retain tool identity and wear observations alongside the measurements. Establish the acceptance method through the inspection agreement so a supplier and buyer evaluate the same physical boundary.
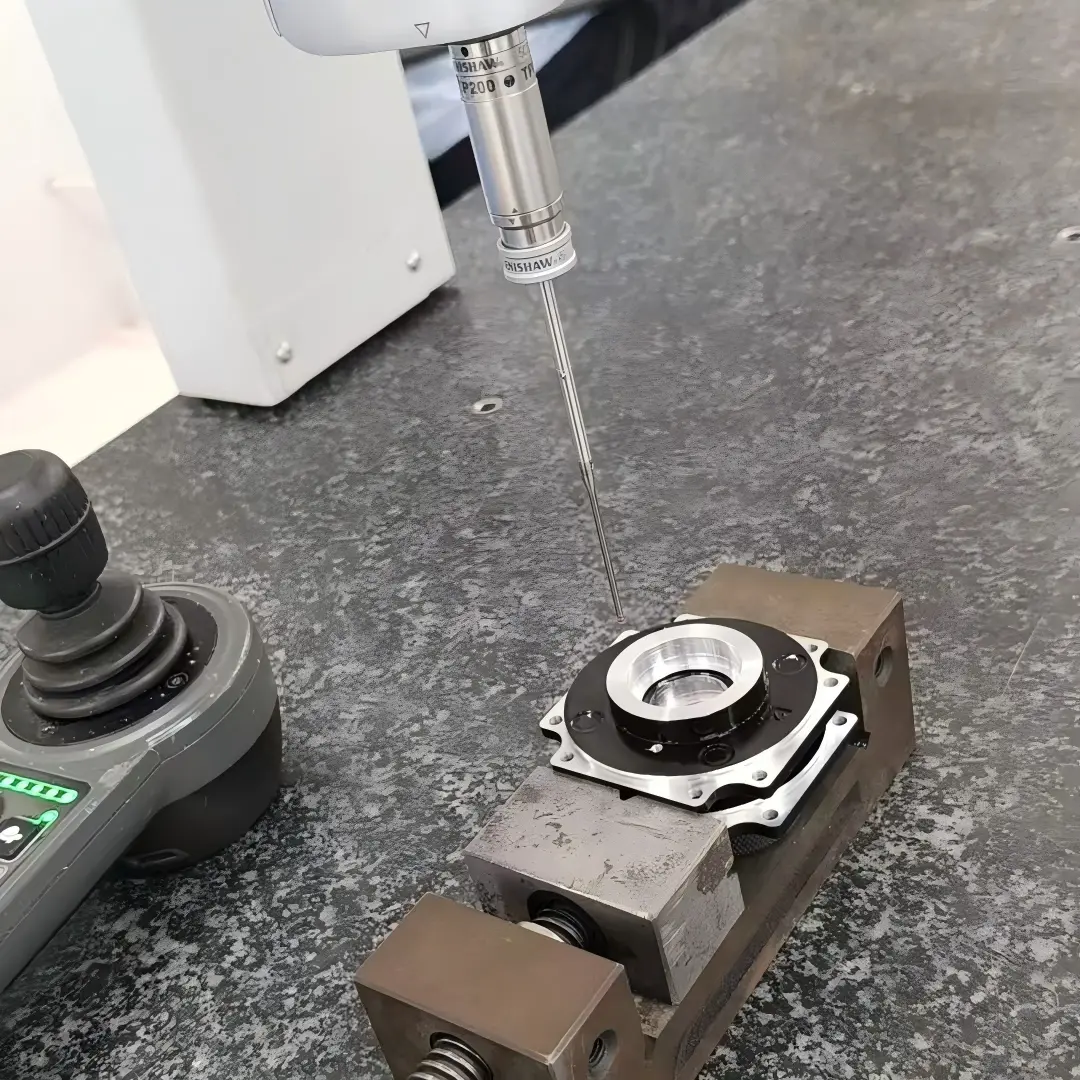
Bottom geometry and cross-hole notes for quotation
Before quoting, identify which bottom dimensions are functional and which are manufacturing freedom. Provide the material condition, bore diameter, depth interval, protected wall and access restrictions. If any point angle is acceptable inside a removal envelope, state that freedom rather than fixing an arbitrary angle that adds no functional value.
If a particular angle is required, clarify whether it describes an ideal geometry or the actual manufactured floor. Include the inspection expectation. An angle tolerance without an accessible measurement method can produce disagreement even when the selected drill is correct.
Resolve how cross holes are deburred, how trapped material is removed and whether a witness mark on the floor is acceptable. State whether a flat bottom alternative needs design approval. Keep the maximum penetration requirement when approving such an alternative: changing the tool does not remove the obligation to preserve the adjacent wall. The finished drawing should make it possible to distinguish a permitted process variation from a change to the product’s usable geometry.
FAQ
Can a 135 degree drill make a flat bottom hole?
Its ideal cone is shallower than that of a 118 degree point at the same diameter, but it remains a pointed bottom. A functional flat seat needs its own geometry and a suitable manufacturing method. Check the actual point configuration as well as the angle. Multifaceted tools can produce local features that an ideal cone model does not show, so a catalog angle alone is insufficient when a component bears against the floor.
Should drill tip depth be included in a minimum wall calculation?
Yes, assess the deepest permitted material removal, including the actual point envelope, against the closest protected surface. Use dimensional extremes and the relevant local geometry rather than nominal part thickness alone. A nearby inclined face or offset passage can determine the minimum wall. State both the useful cylindrical depth and the maximum removal boundary so manufacturing can select a tool without consuming material that the design needs to retain.
Can a standard depth probe inspect a conical bottom?
It can provide a contact depth, but the result depends on its end geometry and where it touches the cone. A narrow tip and a flat ended probe may report different values for the same hole. Specify the controlled depth and choose a method that establishes that boundary. For a functional floor, an additional profile or section assessment may be required; repeatability alone does not establish that the probe measures the intended feature.
Conclusion
Choose the bottom geometry from the component’s function, then select the point or finishing process that fits it. A conical bottom, useful cylindrical bore and controlled flat seat are distinct features. The drawing should preserve minimum engagement or seating area while limiting the deepest material removal near walls and intersecting passages.
Use the section to resolve conflicts before drilling. When the proposed tool cannot preserve the wall and usable depth together, a revised process or product dimension is needed. An unexplained depth change leaves the same conflict hidden in the program. For a review with 6CProto, provide the bore section, bottom function and protected wall requirements for quotation. Include the intended measurement method so the manufacturing proposal and acceptance evidence describe the same boundary.
{“@context”: “https://schema.org”, “@type”: “FAQPage”, “mainEntity”: [{“@type”: “Question”, “name”: “Can a 135 degree drill make a flat bottom hole?”, “acceptedAnswer”: {“@type”: “Answer”, “text”: “Its ideal cone is shallower than that of a 118 degree point at the same diameter, but it remains a pointed bottom. A functional flat seat needs its own geometry and a suitable manufacturing method. Check the actual point configuration as well as the angle. Multifaceted tools can produce local features that an ideal cone model does not show, so a catalog angle alone is insufficient when a component bears against the floor.”}}, {“@type”: “Question”, “name”: “Should drill tip depth be included in a minimum wall calculation?”, “acceptedAnswer”: {“@type”: “Answer”, “text”: “Yes, assess the deepest permitted material removal, including the actual point envelope, against the closest protected surface. Use dimensional extremes and the relevant local geometry rather than nominal part thickness alone. A nearby inclined face or offset passage can determine the minimum wall. State both the useful cylindrical depth and the maximum removal boundary so manufacturing can select a tool without consuming material that the design needs to retain.”}}, {“@type”: “Question”, “name”: “Can a standard depth probe inspect a conical bottom?”, “acceptedAnswer”: {“@type”: “Answer”, “text”: “It can provide a contact depth, but the result depends on its end geometry and where it touches the cone. A narrow tip and a flat ended probe may report different values for the same hole. Specify the controlled depth and choose a method that establishes that boundary. For a functional floor, an additional profile or section assessment may be required; repeatability alone does not establish that the probe measures the intended feature.”}}]}