

A welded stainless assembly that rusts along its seams is one of the most common and most avoidable failures in fabrication. The weld has changed the metal at the joint: heat has burned away the protective oxide, chromium has been drawn into the scale, and the surface that remains is chemically different from the parent plate. Passivation alone cannot repair that, and pickling alone does not restore the passive layer. The two operations do different jobs in a fixed order, and understanding which is needed is what keeps a welded assembly from staining in service.
What does welding do to stainless steel?
It changes the surface chemistry at the joint.
Heat oxidises the surface, draws chromium into the scale, and leaves a region next to the weld that is less corrosion resistant than the parent metal.
The visible result is heat tint: the straw, blue and grey discolouration that runs alongside a weld. The colour is a sign of oxide thickness, and it corresponds to how much the surface has been affected. A light straw tint indicates a thin oxide; a heavy grey or black scale indicates a substantial layer with a different composition from the base metal.
Beneath the colour, two changes have occurred. Chromium has migrated into the oxide scale, depleting the metal immediately beneath it, and that depleted zone cannot form the protective layer the alloy depends on. The scale itself is also a different material from the stainless beneath, with different thermal expansion and corrosion behaviour, so it can spall or act as a site where corrosion begins.
Other contamination accompanies the weld. Spatter deposits iron-rich particles on the surrounding surface, wire brushes and grinding discs previously used on carbon steel transfer contamination, and the weld area often receives the most handling. Each of those leaves free iron on a surface that should be stainless.
Is pickling the same as passivation?
No, they remove different things.
Pickling removes the oxide scale and the depleted layer beneath it, while passivation removes free iron from a clean surface and allows the oxide to re-form.
The distinction is about what is on the surface. Pickling is a removal operation: it dissolves the heat tint, the oxide scale and a thin layer of the underlying metal so that the surface returns to sound, uncontaminated stainless. That is why it involves some metal loss and why it changes the appearance of the weld area.
Passivation is a cleaning operation in the chemical sense. It removes free iron and other contamination without deliberately removing sound metal, and its purpose is to leave a surface on which the chromium oxide layer can form properly. On an unwelded machined part, passivation is usually all that is required.
On a welded assembly, the two are sequential. Pickling removes what welding left behind; passivation then treats the cleaned surface so the passive layer forms. Applying passivation to a heavy heat tint does not work, because the scale is not free iron that can be lifted off, and the depleted layer beneath it remains. Applying pickling without passivation leaves a clean surface that will usually passivate on its own, but for regulated work the treatment is specified rather than assumed.
Both operations are covered by the same family of standards, which define the treatments and the tests. The coatings and surface treatment framework is published by ASTM committee B08, the alloy behaviour behind the sequence by ASM International, and the background on why a properly treated surface resists early rusting is covered in the 6CProto article on passivation and stainless corrosion.
How are heat tint and oxide scale removed?
By chemical pickling, mechanical methods, or both.
Pickling pastes, sprays and immersion baths dissolve the scale chemically, while grinding and brushing remove it mechanically at the cost of a changed surface finish.
Pickling paste is the common method on fabricated assemblies, because it can be applied locally to a weld and left to work before being rinsed away. It suits shop work where a whole assembly cannot be immersed, and it is available in formulations matched to different stainless grades. Spray gels work similarly on larger weld runs.
Immersion pickling is used where a batch of parts can be processed in a tank, and it gives a more uniform result than local application because the entire surface is treated simultaneously. It is the practical route for smaller components produced in quantity, and it avoids the risk of patchy treatment where a paste application was incomplete.
Mechanical removal, by grinding or by a dedicated weld-cleaning tool, is used where the tint is light or where the surface finish permits it. It removes the affected layer physically, which is effective but changes the appearance: a ground weld on a brushed or polished surface is visible, and a wire brush can embed contamination if the brush has been used on carbon steel. Where appearance matters, chemical pickling followed by light mechanical blending is the usual sequence.
What is the correct post-weld sequence?
Clean, pickle where required, rinse, passivate, rinse, dry.
The sequence starts with mechanical cleaning of spatter and loose contamination, continues through pickling where scale is present, and finishes with passivation and thorough rinsing.
The first step is often overlooked. Spatter, slag and heavy contamination should be removed mechanically before any chemical treatment, because a pickle paste applied over debris treats the debris rather than the surface. Light blending of the weld itself, where the drawing permits it, also helps the chemistry reach the metal uniformly.
Pickling follows where heat tint is present, and the treatment is applied according to the specification for the grade and the scale thickness. Rinsing after pickling has to be thorough, because residual acid left in a crevice will attack the surface and produce corrosion that looks like a material failure.
Passivation then treats the cleaned surface, and the final rinse and dry complete the sequence. Drying matters more than it appears: standing water on a freshly treated surface can leave deposits that become corrosion sites, particularly where the water is hard. Where the part will be in a food or pharmaceutical environment, the rinse quality is often specified, because residues are a hygiene issue as well as a corrosion one.
| Condition | Operation needed | Reason |
|---|---|---|
| Machined part, no welding | Passivation | Removes free iron from tooling and handling |
| Light straw tint after welding | Pickling, then passivation | Thin oxide still depletes chromium at the surface |
| Heavy grey or black scale | Mechanical cleaning, then pickling, then passivation | Scale is thick and compositionally different |
| Weld spatter on the parent metal | Mechanical removal, then passivation | Spatter is iron-rich contamination |
| Polished or cosmetic surface | Chemical pickling with light blending | Grinding would be visible |
| Regulated application | Specified sequence with documented testing | Qualification depends on the documented process |
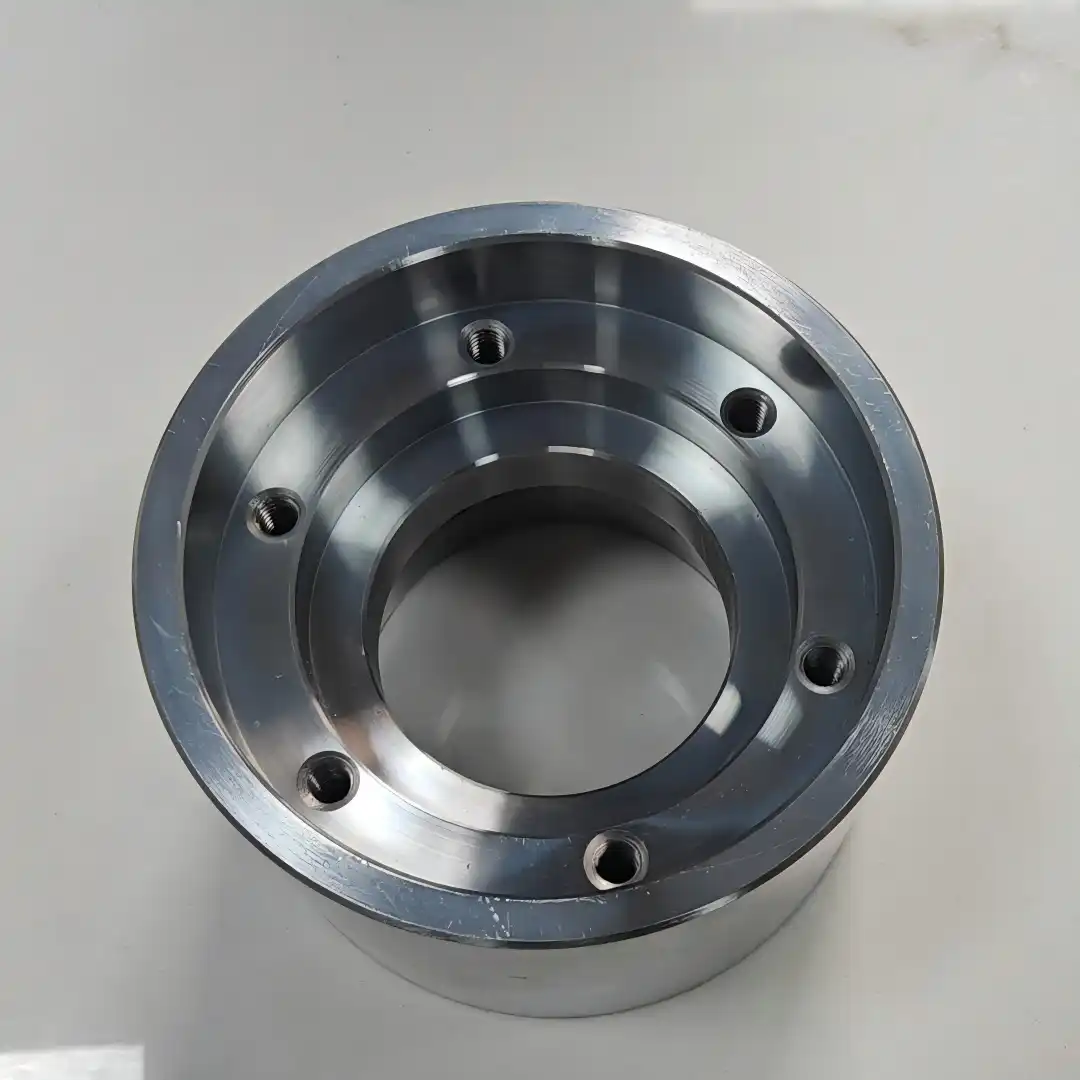
How are thin and cosmetic parts handled?
With chemistry rather than force.
Thin-gauge assemblies and visible surfaces are pickled chemically and blended lightly, because grinding removes material and leaves a finish that cannot be matched to the surrounding panel.
Thin stainless distorts easily and holds heat poorly, so mechanical cleaning on a light-gauge weld risks both dimensional damage and a visible repair. Chemical pickling addresses the oxide without introducing mechanical stress, and it can be controlled so that the surface finish of the parent metal is largely preserved.
Cosmetic work adds a requirement to the process: the treated area has to match the surrounding surface after treatment. A pickled weld on a brushed panel has a slightly different texture, and the usual response is a light mechanical blending that follows the direction of the parent finish. Where the part is polished, matching becomes harder, and the practical answer is often to perform the polishing after welding and pickling rather than before.
Corner and crevice geometry deserves attention on any part, whether thin or heavy. Residual pickle paste trapped in a lap joint or under a fitting will continue to attack the surface, which is why thorough rinsing and, where possible, drainage are part of the plan. A design that allows the chemistry to be removed is easier to treat than one that traps it.
What acceptance criteria should be agreed for a welded assembly?
Appearance on the weld, and a test on the surface.
Acceptance should cover how the treated weld looks against the parent metal and which test confirms that free iron has been removed.
The appearance criterion matters because it is the part a customer sees, and because it is the point at which different expectations appear. A pickled weld is visibly different from the surrounding plate in most cases, and agreeing in advance how much blending is appropriate prevents a disagreement at delivery. A reference sample from a first article is the most reliable way to set that standard.
The test criterion matters because appearance does not prove the surface condition. The tests used for passivated surfaces, such as the copper sulfate method described in the passivation standards, detect free iron, and the specification being worked to determines which test applies and what result is acceptable. On welded assemblies the test is usually applied to the weld area specifically, since that is where the risk is concentrated. The surface preparation practice that supports those tests is described in ASTM D3359.
Documentation completes the set. For regulated work, the record should identify the alloy, the welding process, the treatment sequence and the test results, tied to the batch. 6CProto provides quality inspection reports on request and assigns a dedicated project manager to each order, so the acceptance criteria and the sequence can be agreed with the quotation. Process waste from pickling and passivation lines is handled under the framework published by the US Environmental Protection Agency, and the quality practices behind the documentation by NIST MEP.
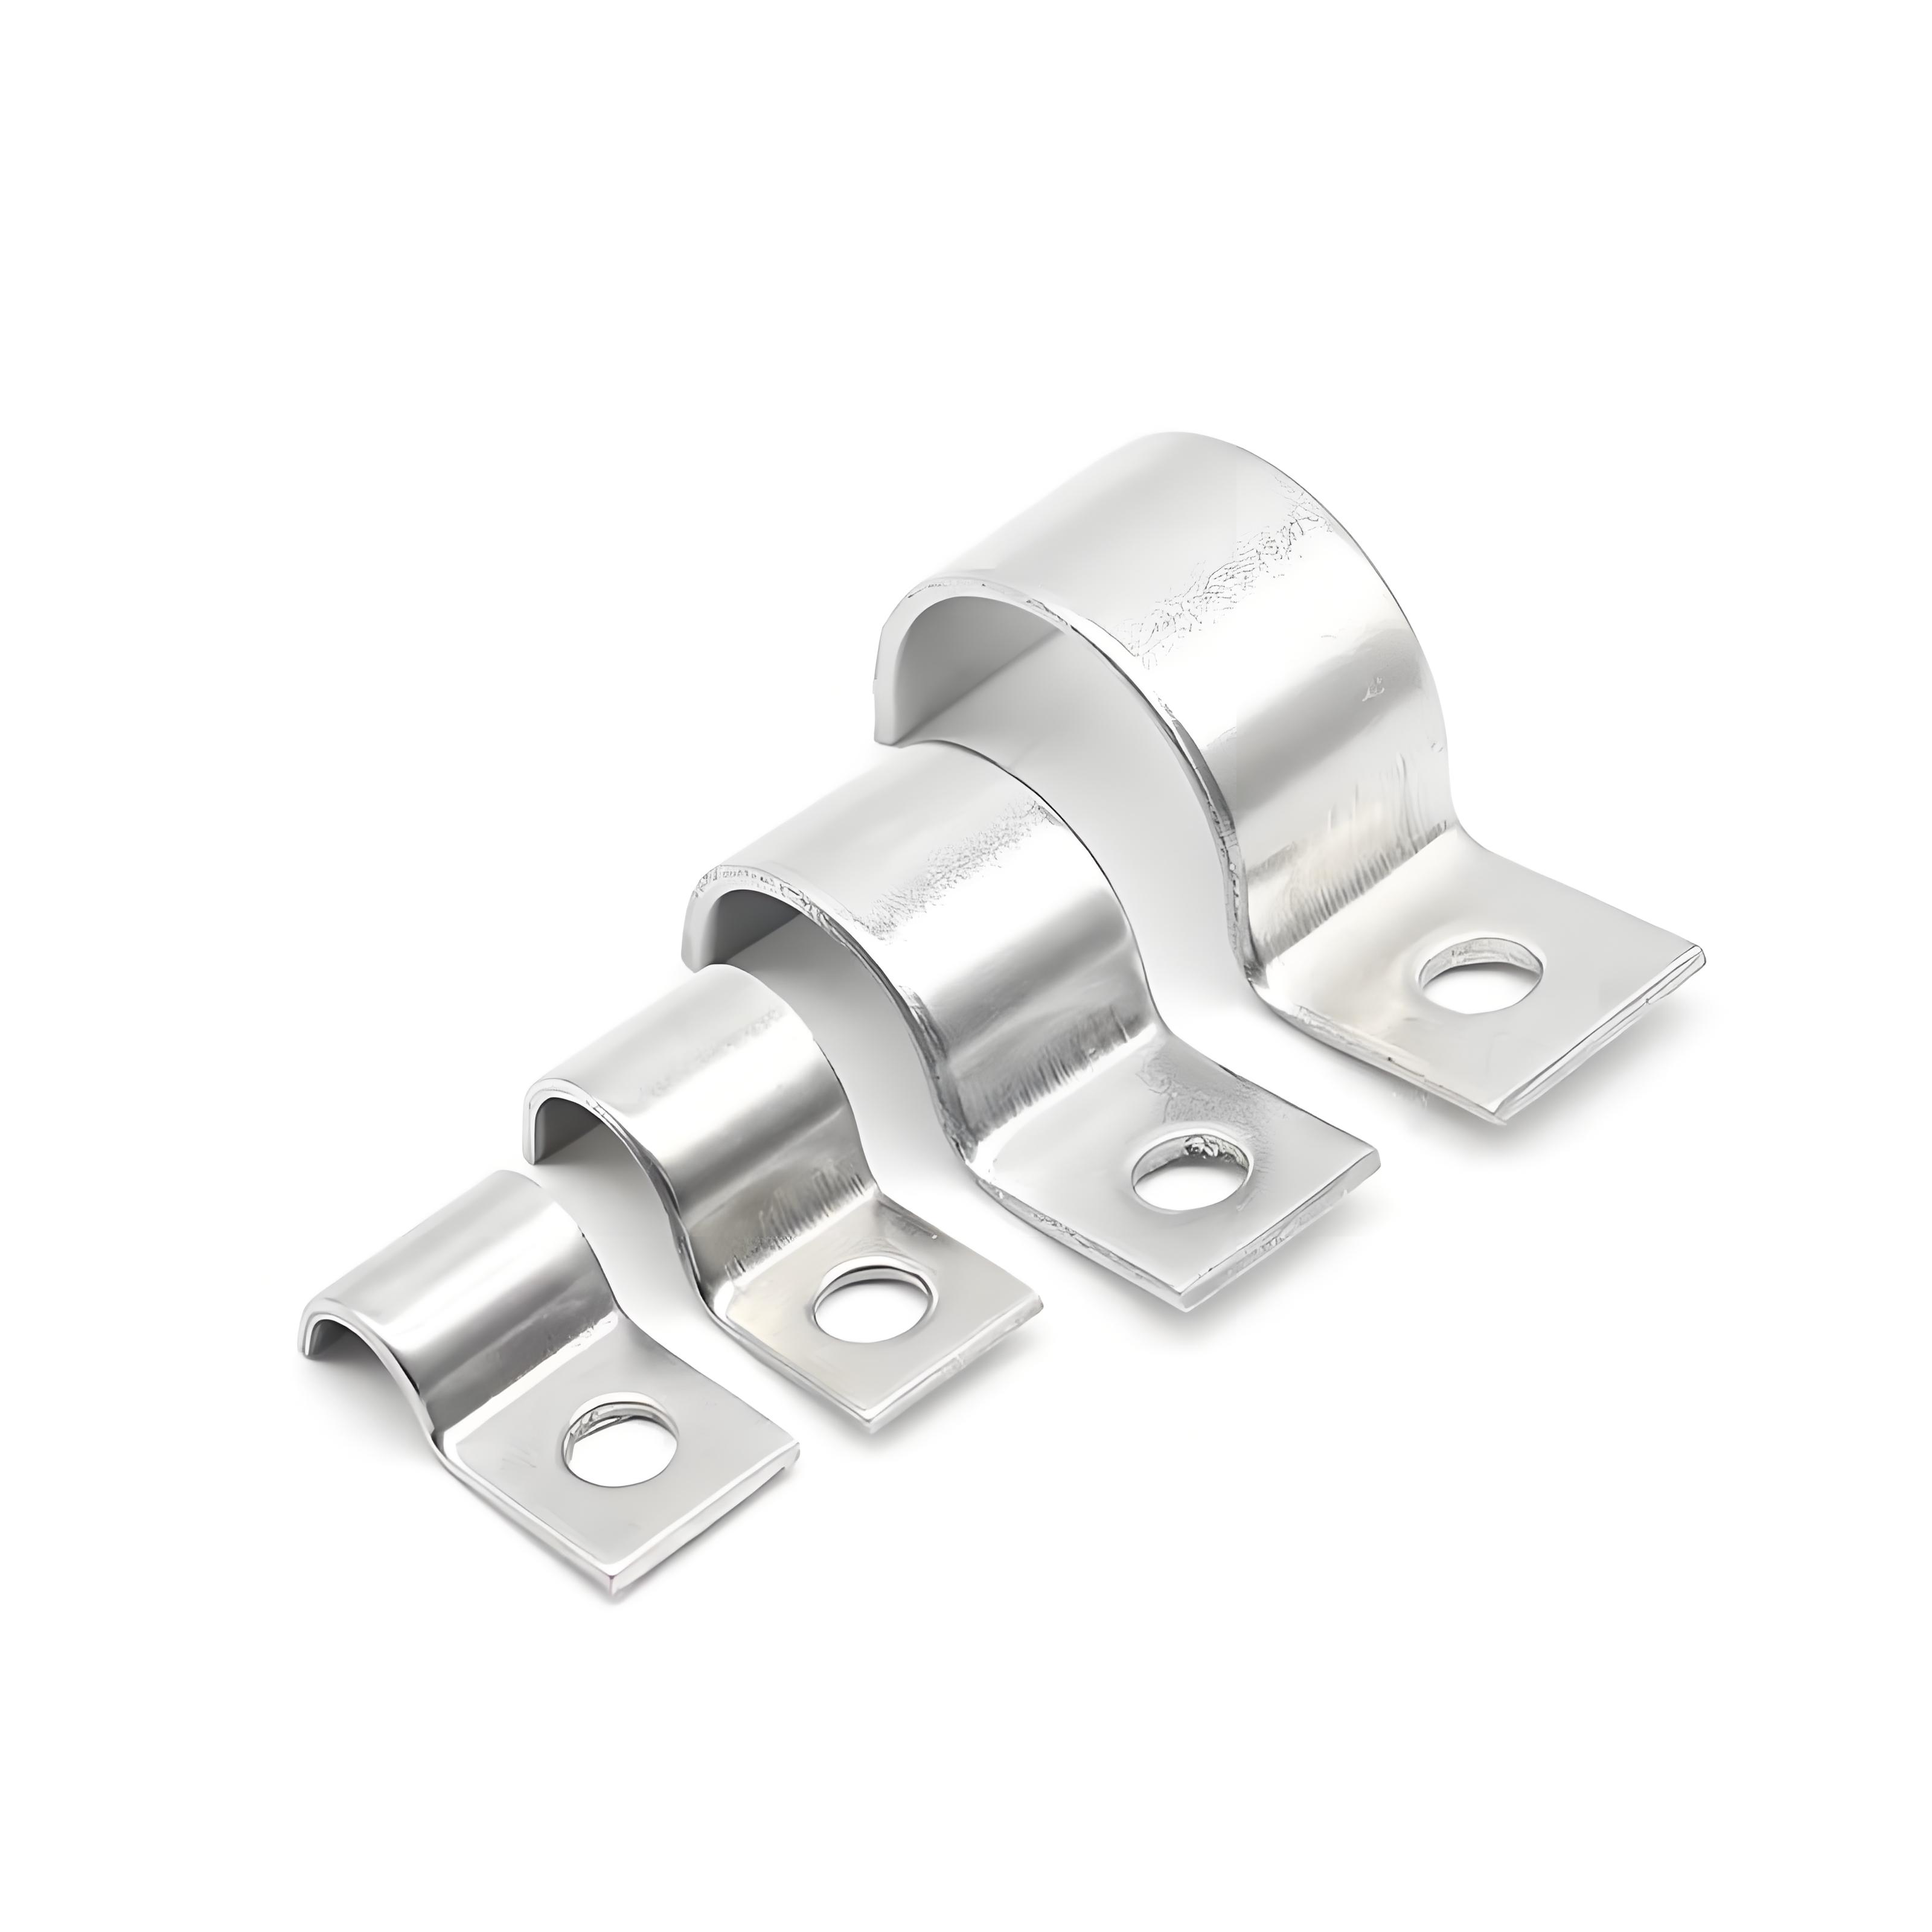
Specifying post-weld treatment
The two operations answer different problems, and a welded assembly usually needs both. Pickling removes the oxide, the depleted layer and the contamination that welding left behind; passivation then allows the alloy to re-form its protective layer. Applying only the second to a visible heat tint is the mistake that produces rusting along a weld.
The specification that gets it right states the alloy, whether welding is involved, the required treatment sequence, the appearance standard for the weld area and the test that confirms the surface condition. Adding a reference sample for the appearance closes the last gap, because the treated weld is the part of the assembly people judge. The wider set of finishing routes for welded parts is described on the sheet metal fabrication page, and the substrate grades on the stainless steel material page.
FAQ
Is passivation the same as pickling?
No, although the two are often mentioned together. Pickling removes oxide scale, heat tint and the chromium-depleted layer beneath it, and it involves removing some metal as a consequence. Passivation removes free iron and other contamination from a clean surface without deliberately removing sound metal, and it allows the protective oxide to re-form. On welded stainless, pickling comes first and passivation follows.
Can stainless steel be pickled and passivated in one step?
Combined products exist that perform a pickling action and leave a passive surface, and they are widely used for weld cleaning where the scale is light. Where a specification requires a defined passivation treatment and a specific test, the processes are usually performed and documented separately, because the qualification is attached to each step. The choice depends on what the customer’s quality system requires.
What causes heat tint after welding, and does it have to be removed?
Heat tint is an oxide that forms when the surface reaches a temperature at which chromium migrates into the scale, and its colour reflects its thickness. It should be removed wherever the part will see a corrosive environment, because the layer beneath the tint is depleted in chromium and cannot form a protective oxide. On a part that will never see moisture, a light tint may be tolerated, but that is a decision the drawing should record.
How does weld cleaning affect the appearance of the part?
Chemical pickling generally preserves the parent surface finish while removing the tint, leaving the weld area slightly different in texture. Mechanical grinding removes the affected layer but leaves a visible repair unless the whole surface is refinished afterwards. On cosmetic assemblies the usual sequence is to pickle chemically and then blend lightly in the direction of the parent finish, and to agree a reference sample so the acceptable result is visible to everyone.
If welded stainless assemblies need post-weld treatment, send the drawings with the alloy, the weld locations and any appearance requirement for the weld area. 6CProto reviews the fabrication and finishing route and returns a DFM report with the quote, so the treatment sequence is agreed before production. Upload the file at the 6CProto quote page or send it to projects@6cproto.com.