

Flash is the thin film of plastic that escapes between the mold faces and cures outside the intended part. It is one of the few molding defects that is always visible and always measurable, which makes it useful: the pattern of where it appears points directly at the cause.
What flash is, and why material escapes at all
Molten plastic is injected under pressure, and any gap between the mating faces of the mold sees that pressure as an invitation. The material flows into the gap, cures there, and has to be removed by hand afterwards. Flash shows up at the parting line between cavity and core, around ejector pins, at slides and lifters, and along vent channels. Each of those locations has a different root cause, which is why the fix depends on where the flash appears rather than on a single setting.
| Where the flash appears | Usual cause | First countermeasure |
|---|---|---|
| Along the parting line | Insufficient clamp force, worn faces, or excess injection pressure | Check clamp tonnage against projected area; inspect and re-fit faces |
| Around ejector pins | Pin clearance opened by wear | Replace pins; check the bore for ovality |
| At slides or lifters | Wear or insufficient support behind the moving element | Re-fit the slide; verify the wear plates |
| Opposite vents | Vents too deep or too wide | Reduce vent depth to the material’s limit |
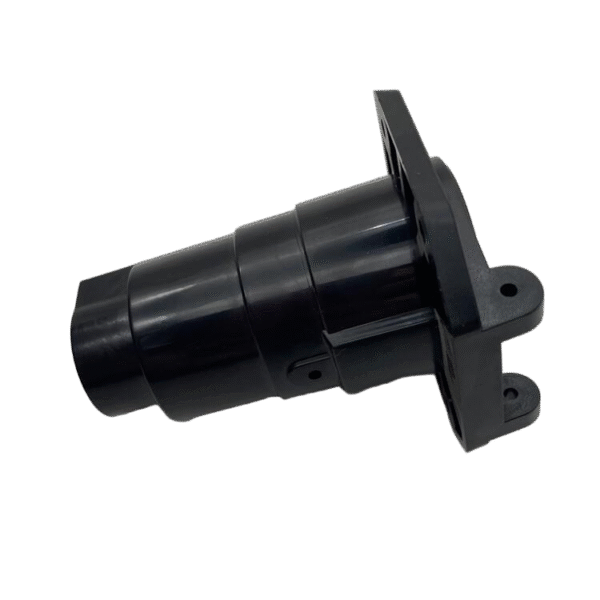
How to prevent flash in injection molding
Control the gap, then control the pressure that reaches it.
The first line of defence is the tooling. Mating faces have to be fitted closely enough that the material cannot enter, and they have to stay that way, which means sufficient support behind them and adequate stiffness in the mold base. The second line is process: clamp force has to exceed the separating force that the injection pressure generates across the projected area of the part. Where the part has a large projected area, that force can be substantial even at moderate pressure.
Three practical adjustments follow. Reducing injection pressure or the peak of the fill profile lowers the force acting on the faces. Lowering melt temperature increases viscosity, so the material resists entering a small gap. And shortening the fill time can sometimes help, because the material is less able to flow into a narrow opening before it starts to freeze. Which of these works depends on whether the tool is worn or the process is simply over-pressured.
What flash thickness is acceptable, and who decides
Whatever the drawing or agreed cosmetic standard permits.
There is no universal figure, because acceptable flash depends on the part’s function and its appearance. A sealed component may tolerate none on a sealing face, while an internal bracket may accept a thin film that does not interfere with assembly. What matters is that the limit is stated, measured and applied consistently — and that the measurement method is agreed, because flash measured at the thinnest point will always pass.
The practical approach is to define flash tolerance by location rather than for the whole part. A sealing face, a visible exterior and an internal surface each get their own allowance, and the drawing names where removal is required. That structure gives the molder a target rather than an argument, and it prevents a part being rejected for flash on a face that never mattered.
When the cause is the design rather than the tool
Some flash is designed in. A part with a large flat area and thin walls needs high injection pressure to fill, and that pressure pushes hard against the mold faces. A design with an abrupt change in wall thickness forces the molder to fill at a pressure set by the thin section, which is then excessive in the thick region. And a part whose geometry requires many slides gives the material more places to escape.
The design responses are the familiar ones: keep wall thickness as uniform as practical, avoid filling through a thin section into a thick one, and consolidate features so fewer moving elements are needed. Where a large projected area is unavoidable, the design can help by allowing a higher melt temperature so the part fills at lower pressure. Material data, including viscosity behaviour, is published by ASM International.
Tooling maintenance as the long-term fix
In production, flash that appears gradually is a wear signal rather than a process problem. The mating faces, ejector pin bores and slide ways all wear as the mold runs, and a small loss of fit is enough to let material through. A tool that flashed slightly at the start of a run will flash more after a hundred thousand cycles unless it is inspected and re-fitted.
That makes a maintenance schedule part of flash control rather than an optional extra. Recording where flash first appears, and inspecting the corresponding faces at planned intervals, turns an intermittent quality problem into a predictable maintenance task. Production practice guidance is published by the NIST Manufacturing Extension Partnership, inspection conventions follow ASME standards, surface and coating terminology follows ASTM Committee B08, and process waste obligations are set out by the US EPA.
How to brief a molder about flash
Send the part model with the faces that must remain flash-free marked, a sample or photograph showing where the flash appears, and the material with any filler content. Mention whether the tool is new or in production, because that changes the diagnosis: a new tool points to fit and venting, an older one to wear, and a part that has always flashed points to process or design.
It also helps to say what the flash would affect. Flash on a sealing face is a functional problem; flash on an assembly surface may prevent parts seating; flash in a visible area is cosmetic. That context allows the fix to be targeted rather than general, which matters because every change to clamping or pressure has some effect elsewhere in the process. Related defect analysis is covered under injection molding and prototype injection molding.
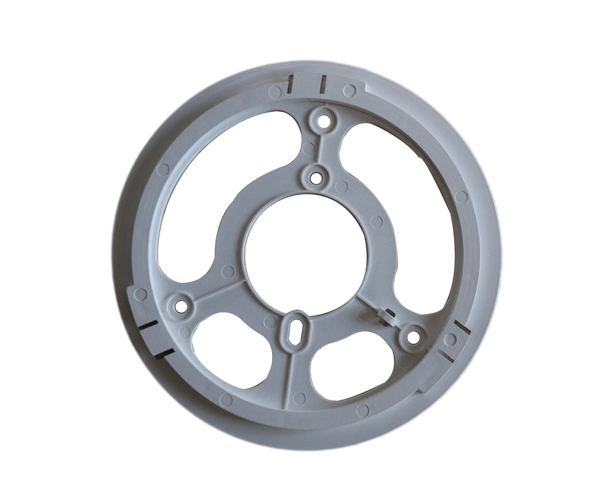
Send the model with the flash-free faces marked and the material specified, and request a molding review that covers tool fit and clamp requirements.
FAQ
What is a flash defect in injection molding?
A thin film of plastic that escapes between the mating faces of the mold and cures outside the intended part. It appears at the parting line, around ejector pins, at slides and along vents, and each location points to a different cause.
How do you prevent flash in injection molding?
Close the gap and control the pressure reaching it. Fit and support the mating faces, keep clamp force above the separating force from injection pressure, lower peak pressure or melt temperature, and maintain pin and slide clearances as the tool wears.
What flash thickness should be accepted?
Whatever the drawing or agreed cosmetic standard permits, defined by location rather than for the whole part. A sealing face, a visible exterior and an internal surface usually carry different allowances, and the measurement method should also be agreed.