

Consumer Products Live and Die in Iteration
The path from idea to shelf is a series of physical versions: a concept model for the team, a user-test prototype, a sample for the buyer, and a batch for the market. Each version tests something different, and each needs hardware fast. 3D printing fits this path because it produces every stage from the same file without waiting for tooling, and changes that would require a mold revision are a file update and a reprint. That loop is a cost discipline as well as a speed one: each printed version is priced against the question it answers, with cheap versions spent on cheap questions, form early, feel later, finish at the end.
Concept Models That Communicate Design
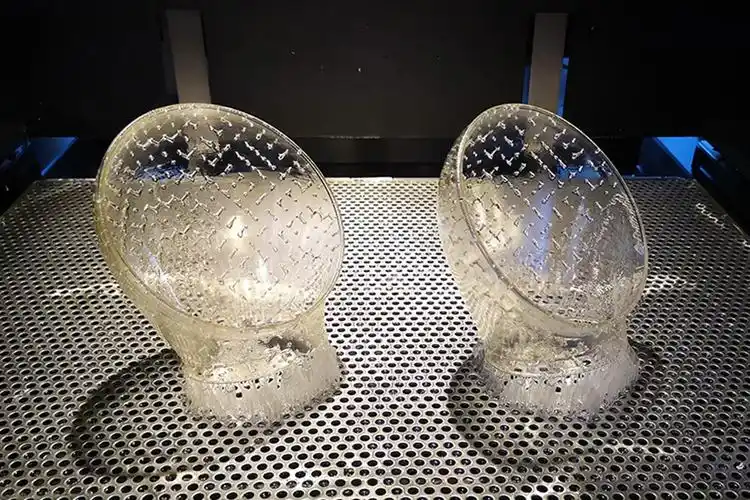
The concept model carries the design: proportion, form, and the first impression of the product. It does not need production materials or durability; it needs to communicate and to look right. SLA and resin printing suit this stage with smooth surfaces and fine detail, and the model on the table shows the team and the customer what the design actually is.
Match the fidelity to the audience. An internal review model shows the form, a customer presentation model carries the finish, and a marketing model photographs well. A proportion that looks wrong in the model, a feature that does not read, or an assembly that fights the design is caught cheaply at this stage, which is exactly why the concept model exists.
User-Testing Prototypes with Real Feel
User testing needs prototypes that feel real: the weight, the texture, the button travel, the grip. The prototype material and finish must approximate the production product closely enough that the feedback is valid, because a prototype that feels right produces feedback worth acting on and one that feels wrong produces noise. The practice is to match the critical feel: tough resins or nylon for handled parts, paint or texture for surface feel, and printed mechanisms for functional testing.
Structure the user-test session around the questions. Define the task, the participants, and the observations before the session, and record the feedback against them, because the user-test data only becomes design evidence when it is collected that way. The 3D printing materials page lists the resins and nylons that carry the handled feel.
Limited and Low-Volume Printed Goods
Printing becomes production for limited runs and low-volume goods: special editions, custom products, and market-test batches. The economics work because there is no tooling and the quantity is too small for molding. The production evaluation for such a batch is consistency: the printed parts must repeat the finish and the dimensions across the units, and the process controls and inspection confirm it, because a limited run is a production deliverable.
Treat the limited run as the market test. The batch is priced with the per-part cost and the finish, the launch price is set against it, and the market feedback decides the next batch; that data is the scale decision. The low-volume manufacturing service page covers how printed batches are planned and controlled.
Finishing for Shelf Appeal
The shelf is the final test. A product that sells is finished to a standard: smooth surfaces, correct color, and a premium feel. Printed raw surfaces need the post-processing path to reach it, sanding, priming, painting, or clear coating, and the finish plan belongs to the product rather than the process. A limited-edition collectible earns the full finish treatment; a functional gadget may ship with a simpler surface, because the cost of finishing is part of the per-part economics.
Set the finish per SKU and inspect the batch against it. The color, the texture, and the surface are checked against the approved sample, and the batch is approved or reworked, because the shelf standard is the deliverable. The surface finishing service page covers the post-processing options for printed parts.
From Printed Run to Production Process
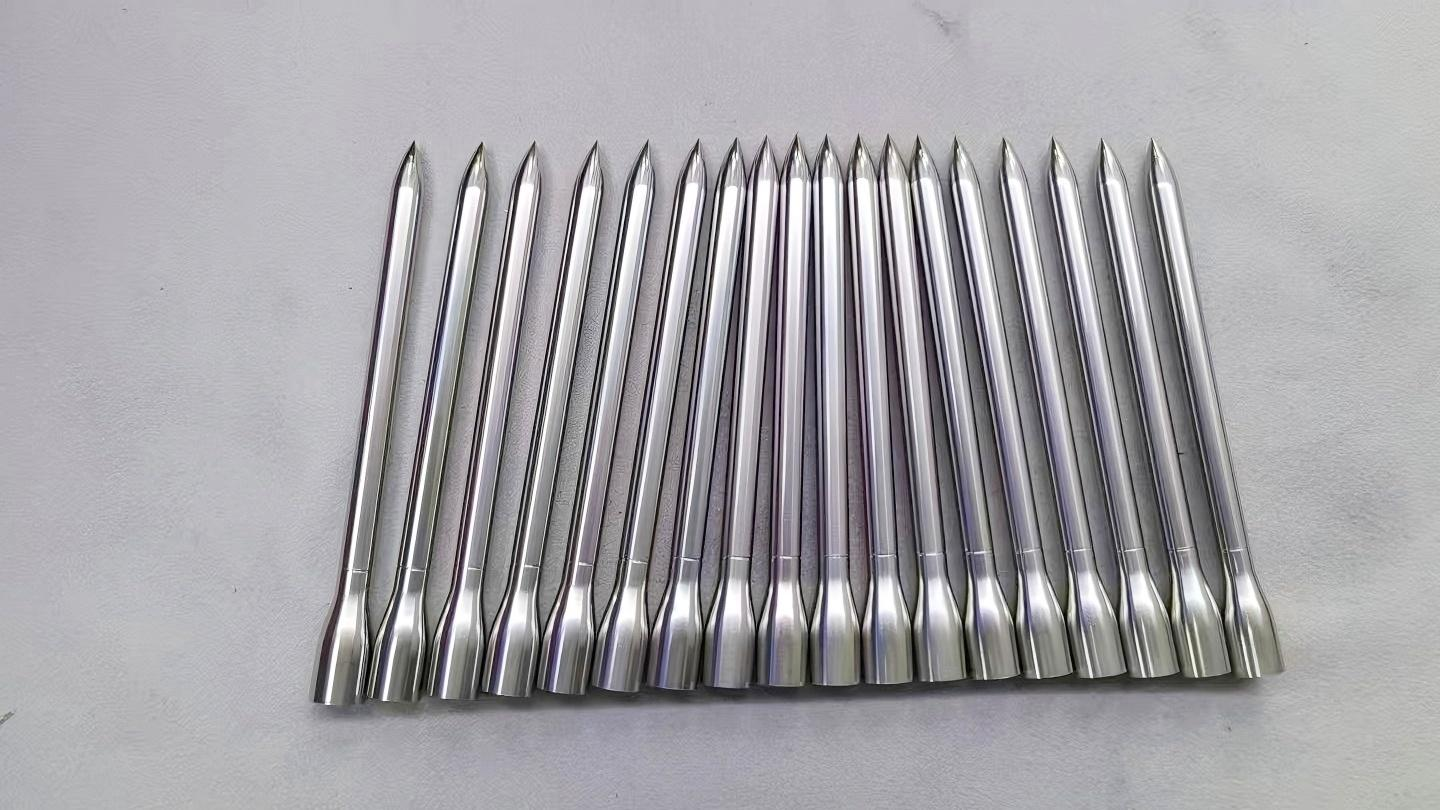
The transition to molding or another production process is a geometry and economics decision. The printed design is reviewed for the molding requirements of draft, walls, and parting lines, and the economics are compared at the forecast volume; the transition happens when the tooling pays for itself, which is a quantity decision, not a material preference. Validate the transition with the first molded batch against the printed reference and the specification before the volume, and keep the functional geometry and finish standard across the change. For parts that stay printed, the production route is the low-volume service; for parts that scale, the injection molding service takes over from the validated file.
A Product-Launch Timeline with Printing
A working timeline runs the stages in order: a concept model in SLA for form and proportion; a user-test prototype in tough resin or nylon for feel and function; a finished, painted buyer sample for presentation; a printed limited run with the production finish for market response; and the transition to molding when the volume justifies it. Printing is the thread through development, and the production process joins when the volume pays for tooling.
The timeline is a budget tool as well as a schedule. Each stage has its process and its cost, and the budget is allocated across the stages: cheap concept rounds, functional materials for the tests, and the finish for the launch. Each stage also sets a decision point, the concept review, the user-test review, the sample approval, and the limited-run data, and each gates the next stage. The product is decided at those reviews, so the program that is gated is the one that is controlled. For stage-by-stage material and process choices, the FDM versus SLA versus SLS article is a useful reference, with external test references available via NIST measurement standards, and the consumer electronics industry page shows the wider application context for printed housings and accessories.
When Printed Low Volume Makes Sense and When It Does Not
3D printing earns the low-volume role when the alternative tooling cost is the wrong scale for the demand. A product heading to a crowdfunding campaign, a market test, or a pilot retail run may need hundreds of units before the design and demand justify an injection mold; printing those units avoids the mold commitment and keeps the design free to change. The tipping point is not a fixed number but the intersection of design stability, unit volume, and the finish the market accepts: a printed run competes with molding on speed and flexibility, not on per-unit cost at high volume.
The finish gap is the real constraint. FDM shows layer lines, SLA and MJF improve the surface but still differ from molded appearance, and every printed part needs post-processing to reach a consumer-ready surface. Painting, polishing, vapor smoothing, or a textured coating can close the gap, but the finishing cost and lead time should be in the plan before the volume decision is made, because the post-processing often costs more than the print itself.
For parts headed to molding later, the printed run should be designed as the bridge, not the destination: the same wall thickness, draft, and assembly features that work in the mold should be validated in the printed version so the transition is a process change rather than a redesign. Comparing 3D printing versus CNC machining clarifies when the geometry suits additive, and the low-volume manufacturing service covers the scale-up path when the market confirms the demand.
Designing the Printed Run for the Market Test
A market-test run needs the product to represent the final item closely enough that the feedback is real. If the printed version uses different materials, different tolerances, or a visibly different finish, the customer reactions describe the prototype, not the product, and the test is wasted. The design should therefore lock the consumer-facing attributes early: the proportions, the tactile surface, the color, and the assembly feel all need to match the intended production intent even though the process is additive.
The run quantity should follow the test design, not a round number. Name the distribution, the demo units, the replacement units, and the spares, and add the count together; a market test with ten units planned and two broken in shipping tells the team less than a test planned for fifteen with spares built in. The same counting applies to a crowdfunding campaign, where the reward tiers, not the total demand forecast, decide the first production batch.
Each printed unit in a low-volume run carries the same documentation discipline as a larger batch when it ships to customers: material, finish, and inspection records for the run, and a clear change record between runs. That discipline makes the transition to molding or low-volume manufacturing a process change rather than a restart, and it is where a printed pilot run earns its keep as evidence rather than as inventory.
FAQs
Which printing process suits consumer concept models?
SLA with resin suits concept models: smooth surfaces, fine detail, and fast turnaround for form and proportion reviews without production material cost.
How do I make a user-test prototype feel real?
Match the critical feel: tough resins or nylon for handled parts, paint or texture for surface feel, and printed mechanisms for function. The prototype must approximate production closely enough for the feedback to be valid.
Can 3D printing produce a limited product run?
Yes. Without tooling, printing delivers limited editions and market-test batches directly from the validated file, with the finish standard applied to the whole batch and consistency inspected like production.
When should a printed product move to molding?
When the volume justifies the tooling. Keep the functional geometry and finish standard, validate the first molded batch against the printed reference, and transition the validated design to the production process.