

A metal 3D printed part is not finished when the build completes; it is a blank on a plate, full of residual stress, covered with supports, and carrying a surface that no drawing would accept. The post-processing chain — depowdering, stress relief, support removal, machining, and finishing — is where the printed blank becomes a functional part, and it is also where a large share of the cost and the risk lives. Engineers who budget only the build cost discover the post-processing bill at the quote; those who design for the chain plan the supports, the stock, and the sequence from the start.
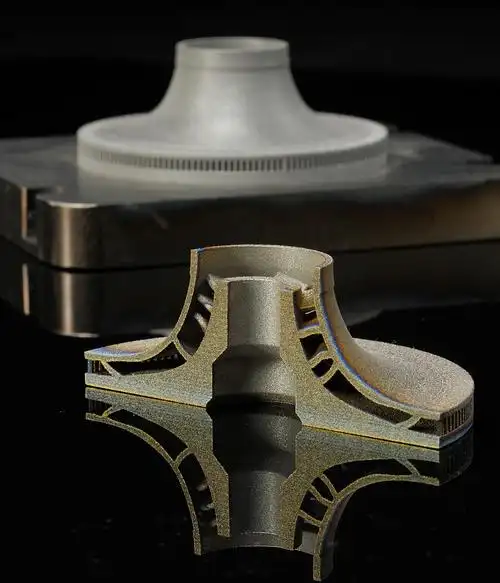
The post-print sequence: depowder, stress relief, support removal, machining, finish
Every metal printed part follows the same sequence. The build is depowdered, removing the loose powder from the part and the chamber; the part is stress-relieved while it is still attached to the plate, so the residual stress from printing does not distort it when the supports are removed; the supports are cut or machined away; the part is removed from the plate; critical surfaces are machined; and the finish is applied. The sequence is fixed for a reason: cutting the part off the plate before stress relief lets the stored stress release as distortion, and machining before the final stress state is set produces a part that moves later. The design should follow the sequence, with machining stock on the functional surfaces and the support locations planned where the removal marks are acceptable.
The sequence also sets the documentation: each step affects the part, and the inspection should occur after the steps that change the geometry — the support removal and the machining — rather than only at the end.
Heat treatment: stress relief and aging before you machine
Heat treatment is the step that makes the printed part stable and, for many alloys, gives it its final properties. Stress relief relaxes the residual stress built up layer by layer, so the part holds its geometry when the supports are removed and the plate is cut. Aging treatments develop the strength of the alloy to its specified condition. The heat-treatment schedule depends on the alloy and the intended properties, and it should be confirmed with the material supplier and the heat treater rather than assumed from a generic cycle. The sequence matters: stress relief happens before support removal, while aging can be sequenced before or after machining depending on the alloy and the tolerance. The drawing should state the heat-treatment requirement and the hardness or property that verifies it.
Heat treatment also affects the machining: a part that is machined in the stress-relieved condition and aged afterward can move during the aging, so the critical features may need machining after the final treatment. The tolerance plan should account for the heat-treatment distortion.
Support removal and the surface damage it leaves behind
Supports are necessary for overhangs, but their removal leaves marks. The supports are cut, machined, or removed by other means, and the contact points leave witness marks, rough areas, or small tears on the surface. The design should place the supports where the marks are acceptable — on hidden faces, under bosses, or on surfaces that will be machined — and the drawing should note which surfaces must stay support-free. The support removal method affects the result: a clean machining pass leaves a better surface than a manual cutoff, and the method should be chosen for the functional surfaces. The support marks that are not planned appear on the cosmetic or sealing faces, where they become a rework or a reject.
The support design is part of the CAD: denser supports protect delicate features but take longer to remove, and sparse supports reduce the removal work but risk the geometry. The orientation and the support plan should be reviewed together with the post-processing cost.
When printed parts still need CNC machining for datums and fits
Metal printing cannot hold the tolerances and finishes that many functional features need, so the critical surfaces are machined after printing. Sealing faces, bores, threads, and datums are machined from the printed blank, with stock added in the design for the machining pass. The machining also creates the inspection features that the print cannot produce, and the datum scheme for the machined features should be planned in the CAD. A part that is printed to final size on a critical bore is a part that relies on the print’s tolerance; a part that prints the bore undersized and machines it is a part that holds the drawing. The design review should decide which features are print-as-built and which are machined, and the cost should include the machining for the functional surfaces.
The machining handoff also needs the stock and the reference: the printed blank should carry enough material for the cut, and the datum features should survive the support removal so the machining setup is repeatable.
Budgeting post-processing cost and lead time into the program
The post-processing chain is often the largest part of a metal printed part’s cost, and it should be budgeted line by line: the heat treatment, the support removal, the machining, the finishing, and the inspection. The lead time follows the same lines, with each step adding days. The quote should state the post-processing scope, because two suppliers can quote the same build with very different post-processing included — one may include stress relief and machining while the other quotes only the print and the support removal. The comparison should be made on the finished part, not on the printed blank, and the budget should include the post-processing from the start. A metal printed part whose program budgets only the build is a program that discovers its real cost at the first full quote.
The post-processing cost also feeds the process decision: if the functional features are so numerous that the machining rivals a fully machined part, the print may not be the economical route. The design review should compare the printed-plus-machined chain against the machined alternative with the post-processing included.
Finishing and inspection after post-processing
The finishing step follows the machining: bead blasting for a uniform matte surface, coating or passivation for corrosion, and any surface treatment the application requires. The finish should be specified with the same discipline as any part, and the inspection should verify the functional features after the post-processing chain. The inspection record should include the heat-treatment result, the machined dimensions, and the finish, tied to the drawing revision. A metal printed part that is inspected after the full chain is a part whose final state is verified; one that is inspected at the build is a part whose real condition is unknown. The post-processing chain is the bridge between the printed blank and the functional part, and the inspection is what confirms the bridge held.
The metal printing service page on this site covers the build capability; the post-processing chain above is what the program must budget, schedule, and verify. When the sequence, the heat treatment, the machining, and the inspection are planned together, the printed part delivers its function — and the cost and the lead time are known before the build starts.
Planning the full chain in the design review
The design review for a metal printed part should walk the post-processing chain feature by feature. The orientation review sets the supports and the build cost; the heat-treatment review sets the alloy condition and the distortion plan; the machining review sets the stock and the datum features; and the finishing and inspection review sets the final state and its verification. Each step has a cost and a lead time, and the chain should be quoted as a whole before the build decision. The common failure is designing the part for the print alone — the geometry prints beautifully, and the post-processing reveals that the supports are on the sealing face, the machining stock is missing on the datum, or the heat treatment moves the critical dimension. The design review that includes the chain avoids those discoveries, and the part that emerges is one that was designed for its full process, not just for its build.
The chain should also be reviewed against the alternative process. A part whose post-processing requires extensive machining may be cheaper to machine entirely; a part whose supports are costly to remove may be better oriented; and a part whose heat treatment is difficult may suit a different alloy. The comparison should include the full chain on both sides, because the metal printed part’s advantage is the geometry, and the geometry must justify the post-processing cost. The design team that compares the printed-plus-processed part against the machined alternative with the chain included is the team that chooses the process for the part, not for the technology.
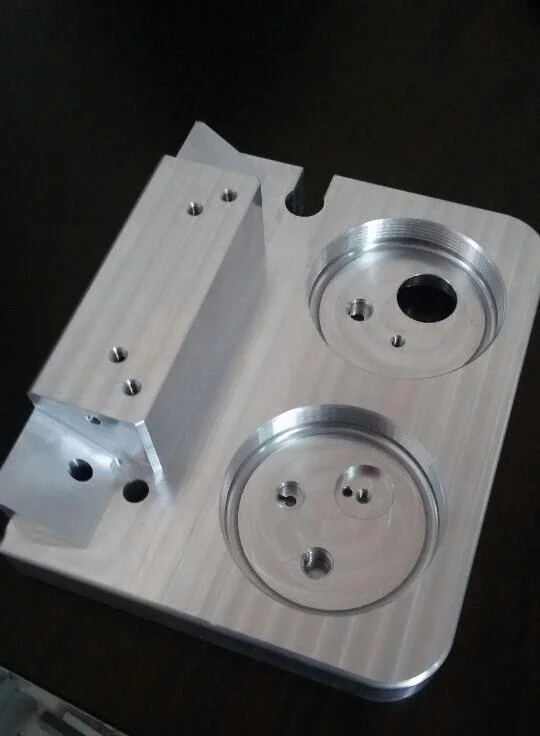
If you are planning a metal printed part and want the post-processing chain and its cost reviewed before the build, the 6CProto metal 3D printing and CNC teams can work from your geometry to the full process and the inspection plan.