

Precision molds and dies are engineered tools that shape materials repeatedly into accurate, consistent components. A mold forms parts by filling a cavity with plastic, metal, rubber, or another material; a die cuts, bends, draws, or forms sheet and bulk material. The improvement they bring is not automatic — it depends on part geometry, material, production volume, tolerances, surface requirements, validation needs, and total cost.
What Precision Molds and Dies Are
Precision molds and dies are custom tooling systems designed to produce repeatable parts within defined dimensional and functional requirements. A mold creates a component inside a cavity; a die applies controlled force to cut or form material. Both require careful design, material selection, machining, heat treatment, inspection, and maintenance. An injection mold typically includes cavities, cores, runners, gates, cooling channels, ejectors, and guide components. A stamping or forming die may include punches, die blocks, pilots, strippers, and forming sections that control material movement.
“Precision” should refer to measurable requirements, not a general quality claim. A project may require critical dimensions tied to assembly or sealing, controlled parting lines, flash or burr limits, stable dimensions across temperature and production cycles, defined surface finishes and cosmetic zones, repeatable performance after tool maintenance, and inspection records linked to drawings and revision control. Tool accuracy alone does not guarantee part accuracy — material shrinkage, springback, thermal expansion, machine settings, wear, lubrication, and operator controls all affect the finished component. Tooling decisions should therefore consider the entire process, not just the mold or die itself.
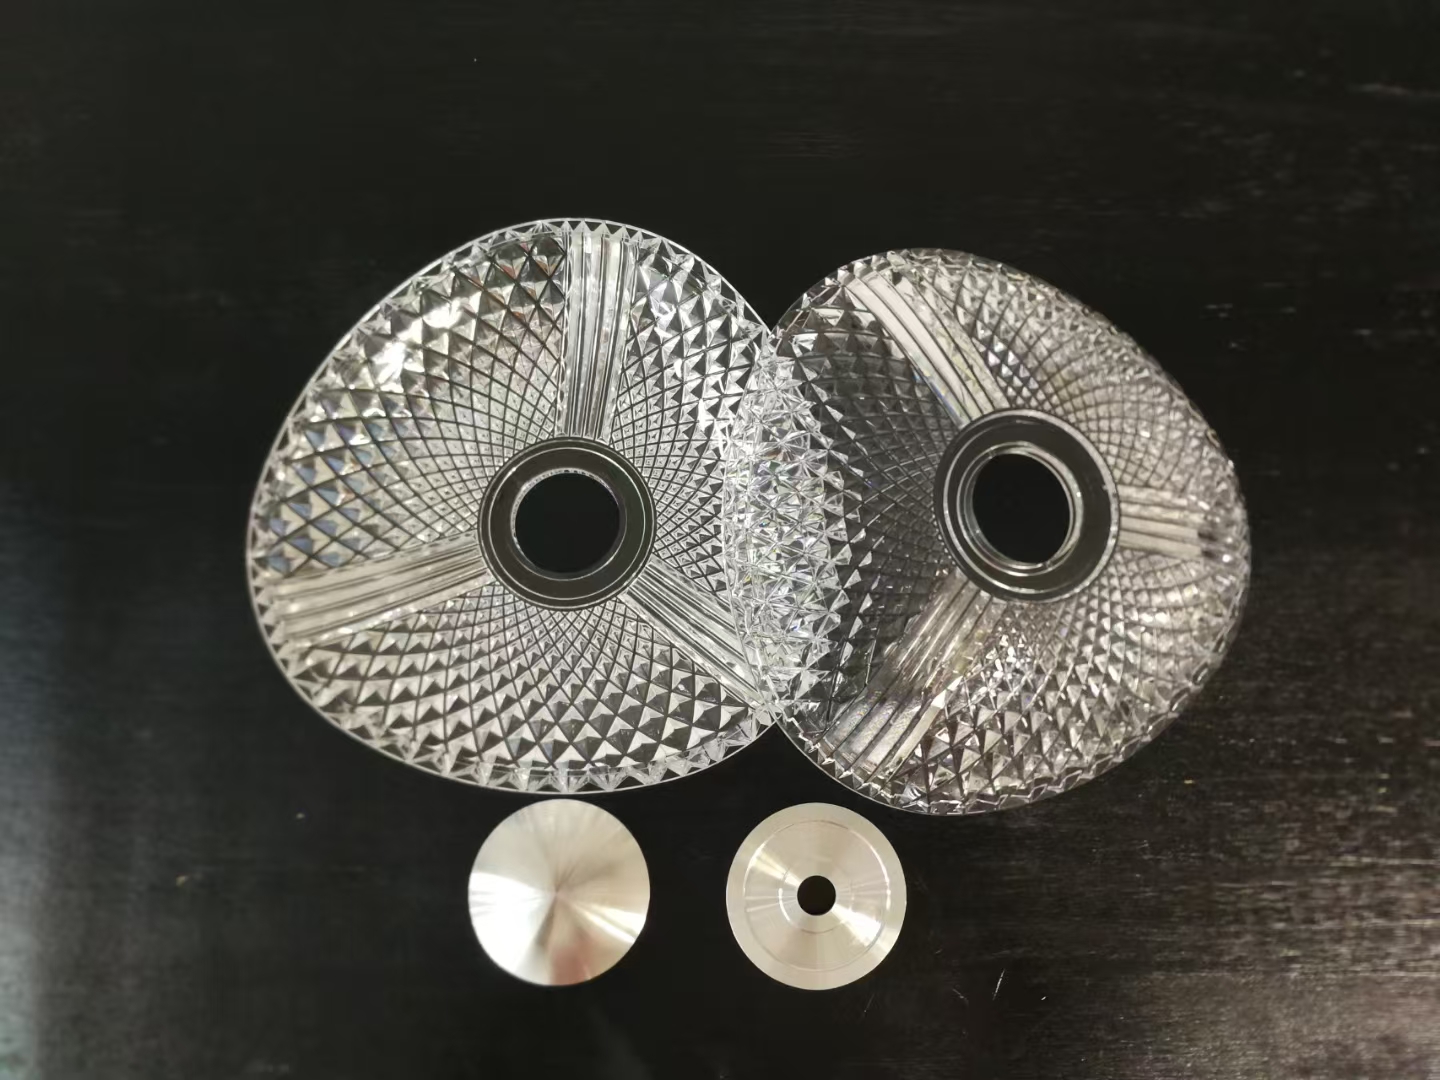
Which Tooling Process Fits the Part
| Requirement | Commonly suitable route | Main trade-off |
|---|---|---|
| Complex plastic housing at volume | Injection molding | Tooling investment and design commitment |
| Flat or formed sheet-metal component | Stamping or forming die | Material behaviour and tooling wear |
| Small batch of tight-tolerance metal parts | CNC machining | Higher unit cost at large volume |
| Complex early-stage prototype | 3D printing | Material and surface may differ from production |
| Short production run with changing geometry | CNC, additive, or soft tooling | May not match long-run repeatability |
For sheet metal, the choice may involve progressive dies, compound dies, transfer dies, or simpler single-operation tooling — progressive dies combine multiple operations in one feed sequence but require more complex design and a stable production plan. A hybrid approach is often sensible: a team might 3D print an ergonomic enclosure, CNC-machine a functional metal interface, and use a pilot injection mold only after assembly and performance checks are complete. The injection molding service page covers production molds, while the sheet metal fabrication service covers the die side of the same decision.
How Designers Control DFM Risks
Design for manufacturability reduces tooling changes, rejected parts, and avoidable delays by adapting geometry to the selected process. Important controls include draft, wall thickness, radii, ribs, bosses, undercuts, parting lines, bend allowances, material flow, ejection, and access for machining and inspection. For injection molding, uniform wall thickness limits sink marks, voids, and uneven shrinkage; draft allows the part to release from the mold; and rounded corners reduce stress concentration and improve material flow. Ribs and bosses should be proportioned to provide stiffness without creating excessive thick sections.
For dies, account for material direction, grain, bend radius, springback, blank development, forming sequence, and clearance — a theoretically correct flat pattern still produces distortion if the material grade, thickness, or rolling direction changes. A DFM review should answer practical questions: where the parting line or bend transitions appear, whether the part can be removed without damaging cosmetic or functional surfaces, whether all critical features are accessible for measurement, whether tool-steel movement could affect alignment, which dimensions require process control, and what happens when the material lot varies within its specification. The same geometry reasoning is laid out for molded parts in the injection molding design guide.
When Tooling Cost Becomes Justified
Tooling is generally justified when repeatability, production volume, cycle efficiency, or part requirements outweigh the initial investment. The decision should compare total program cost rather than tooling price alone, including design, fabrication, sampling, maintenance, scrap, inspection, change orders, and the cost of delayed production. A rough frame: total cost per part equals tooling and setup cost divided by usable quantity, plus variable part cost, plus quality and logistics costs. That is not a quotation formula, but it frames the decision — a mold with a high initial cost can produce economical parts at volume, while machining may be cheaper for an early batch.
Consider three scenarios. A design team needs 20 fit-check housings and expects major geometry changes: a printed or machined route may avoid premature tooling. A buyer needs several hundred identical parts for a field trial: CNC, additive, or bridge tooling may be compared on function and schedule. A released product requires sustained output and consistent cosmetic quality: production tooling may offer better repeatability and cycle economics. Ask suppliers to separate nonrecurring engineering, tool fabrication, sampling, inspection, modifications, and production pricing — that makes competing quotations comparable and exposes hidden assumptions.
Quality Checks That Validate Molded or Formed Parts
Quality validation should connect the drawing, process, tooling, inspection method, and acceptance criteria. Typical checks include first-article inspection, dimensional reports, material verification, visual inspection, functional testing, capability monitoring, and periodic requalification where the application requires it. Coordinate measuring machines can measure complex geometries, but a CMM report is useful only when datum structure and measurement strategy match the engineering drawing. The report should identify the sample, revision, measured characteristics, equipment status, and disposition of any nonconformance.
Validation may include comparing critical dimensions against approved CAD, checking flash, burrs, short shots, sink, warpage, cracks, and scratches, confirming material grade or certification, testing fit, sealing, insertion force, torque, or load performance, reviewing tool alignment and ejector marks, and establishing inspection frequency for ongoing production. One acceptable sample cannot prove long-term stability; for safety-critical, medical, aerospace, or highly regulated products, quality planning may require additional traceability, process validation, and documented change control. Our framework for CMM inspection details how datum-matched measurement reports are structured, and the standards and tolerances page ties acceptance to drawing callouts.
Why Precision Tools Fail — and How to Manage It
Precision molds and dies fail when design assumptions, material behaviour, tool construction, machine conditions, or maintenance practices are not controlled. Common symptoms include dimensional drift, flash, burrs, cracks, sticking, short fills, uneven forming, poor surface finish, misalignment, and premature wear. Typical root causes include insufficient tool hardness or unsuitable tool-steel selection, inadequate cooling or lubrication, sharp internal corners that concentrate stress, excessive forming force or incorrect press settings, poor alignment between guide components, contamination, and uncontrolled design changes.
Failure analysis should begin with evidence: record the defect location, production time, material lot, machine settings, cavity identity, maintenance history, and recent changes. Comparing good and defective parts reveals whether the problem is progressive wear, a one-time setup error, or a material-related event. Preventive maintenance should define inspection intervals for wear surfaces, vents, cooling passages, guide systems, inserts, cutting edges, and ejector components, with records showing what changed and whether the tool was revalidated afterward. A tool may be repairable without being equivalent to new — confirm whether a repair changes a critical surface or requires a new baseline inspection.
Choosing a Tooling Supplier and Scaling Up
Evaluate suppliers against the actual program, not against marketing claims. Ask how they review DFM, tolerances, material, and parting strategy; which tool materials and standard components they propose; what inspection reports and CMM data they provide; how trial parts are reviewed and approved; who owns the CAD, tooling, and revisions; and what maintenance and engineering-change support exists. Request examples of relevant documentation — a sample dimensional report, tool layout, inspection plan, and change log — and confirm what happens if the first trial fails.
A prototype tool can support production only when its materials, construction, geometry, inspection method, and expected life match the production requirement. Before approving scale-up, compare expected annual volume and peak demand, part material and temperature, required tool life, cavity count, automation and cycle time, cosmetic standards, and the spare-insert and repair strategy. A controlled transition normally includes a design freeze, approved material, trial samples, dimensional validation, functional testing, and documented acceptance criteria. If the design remains uncertain, staged tooling reduces risk, but do not assume a temporary solution automatically converts into a durable production asset. The low-volume manufacturing service shows how bridge tooling sequences into production, and our guide to reading injection molding quotes helps compare the scope beneath tooling prices.
Conclusion
Precision molds and dies improve manufacturing when they are matched to the part, material, volume, and quality risk. Define critical requirements first, then compare machining, additive, molding, stamping, and forming routes on total program cost. Review DFM risks before tool construction, establish measurable acceptance criteria, and plan sampling and inspection in advance, and confirm the drawing and acceptance criteria align with the relevant ISO standards for quality and documents. A disciplined process reduces the chance that a tool appears acceptable during a trial but fails when production demand increases.
FAQs
What is the difference between a precision mold and a precision die?
A mold forms material inside a cavity, often by injecting or casting a liquid or softened material. A die usually cuts, bends, draws, or forms material through applied force, commonly in sheet-metal or metal-forming operations. Some industries use the terms differently, so define the process and tooling function in the specification.
Are precision molds suitable for low-volume production?
They can be, but economics depend on tool complexity, material, quantity, and the cost of alternatives. For low volumes or designs that may change, CNC machining, 3D printing, soft tooling, or simplified prototype molds reduce financial risk. A production mold becomes attractive when repeatability and volume justify the investment.
How should a buyer compare mold or die quotations?
Compare the complete scope: engineering and DFM, tool materials, components, sampling, inspection, revisions, maintenance, shipping, ownership, and production assumptions. Confirm the quoted tolerances are achievable in the proposed process and that the material, surface finish, testing, and documentation are included.
What information should be provided before requesting a quote?
The latest CAD model, 2D drawing, material specification, surface-finish requirements, expected quantity, critical dimensions, cosmetic standards, application conditions, delivery destination, and required quality documents — plus a note on uncertain features or likely future changes so the supplier can recommend the right prototype or tooling strategy.
Can one supplier handle both prototyping and production tooling?
Some suppliers provide multiple processes and can support a project from prototype through production, but capability breadth should not replace technical verification. Confirm who performs each operation, how design revisions transfer, what inspection applies at each stage, and whether the production tool is validated independently rather than assumed to match the prototype.