

A sheet-metal panel with a raw edge is a safety hazard, a corrosion start, and a stiffness miss all at once — and the fix is a hem: the edge is folded back on itself to create a smooth, stiff boundary. Hems and seams are the sheet-metal way to finish edges and join panels without fasteners or welds, and they are so common that their design rules are often assumed. The choice of hem type, the material and thickness limits, and the corrosion behavior inside the fold all belong on the drawing, because a hem that looks identical can differ completely in safety, stiffness, and durability.
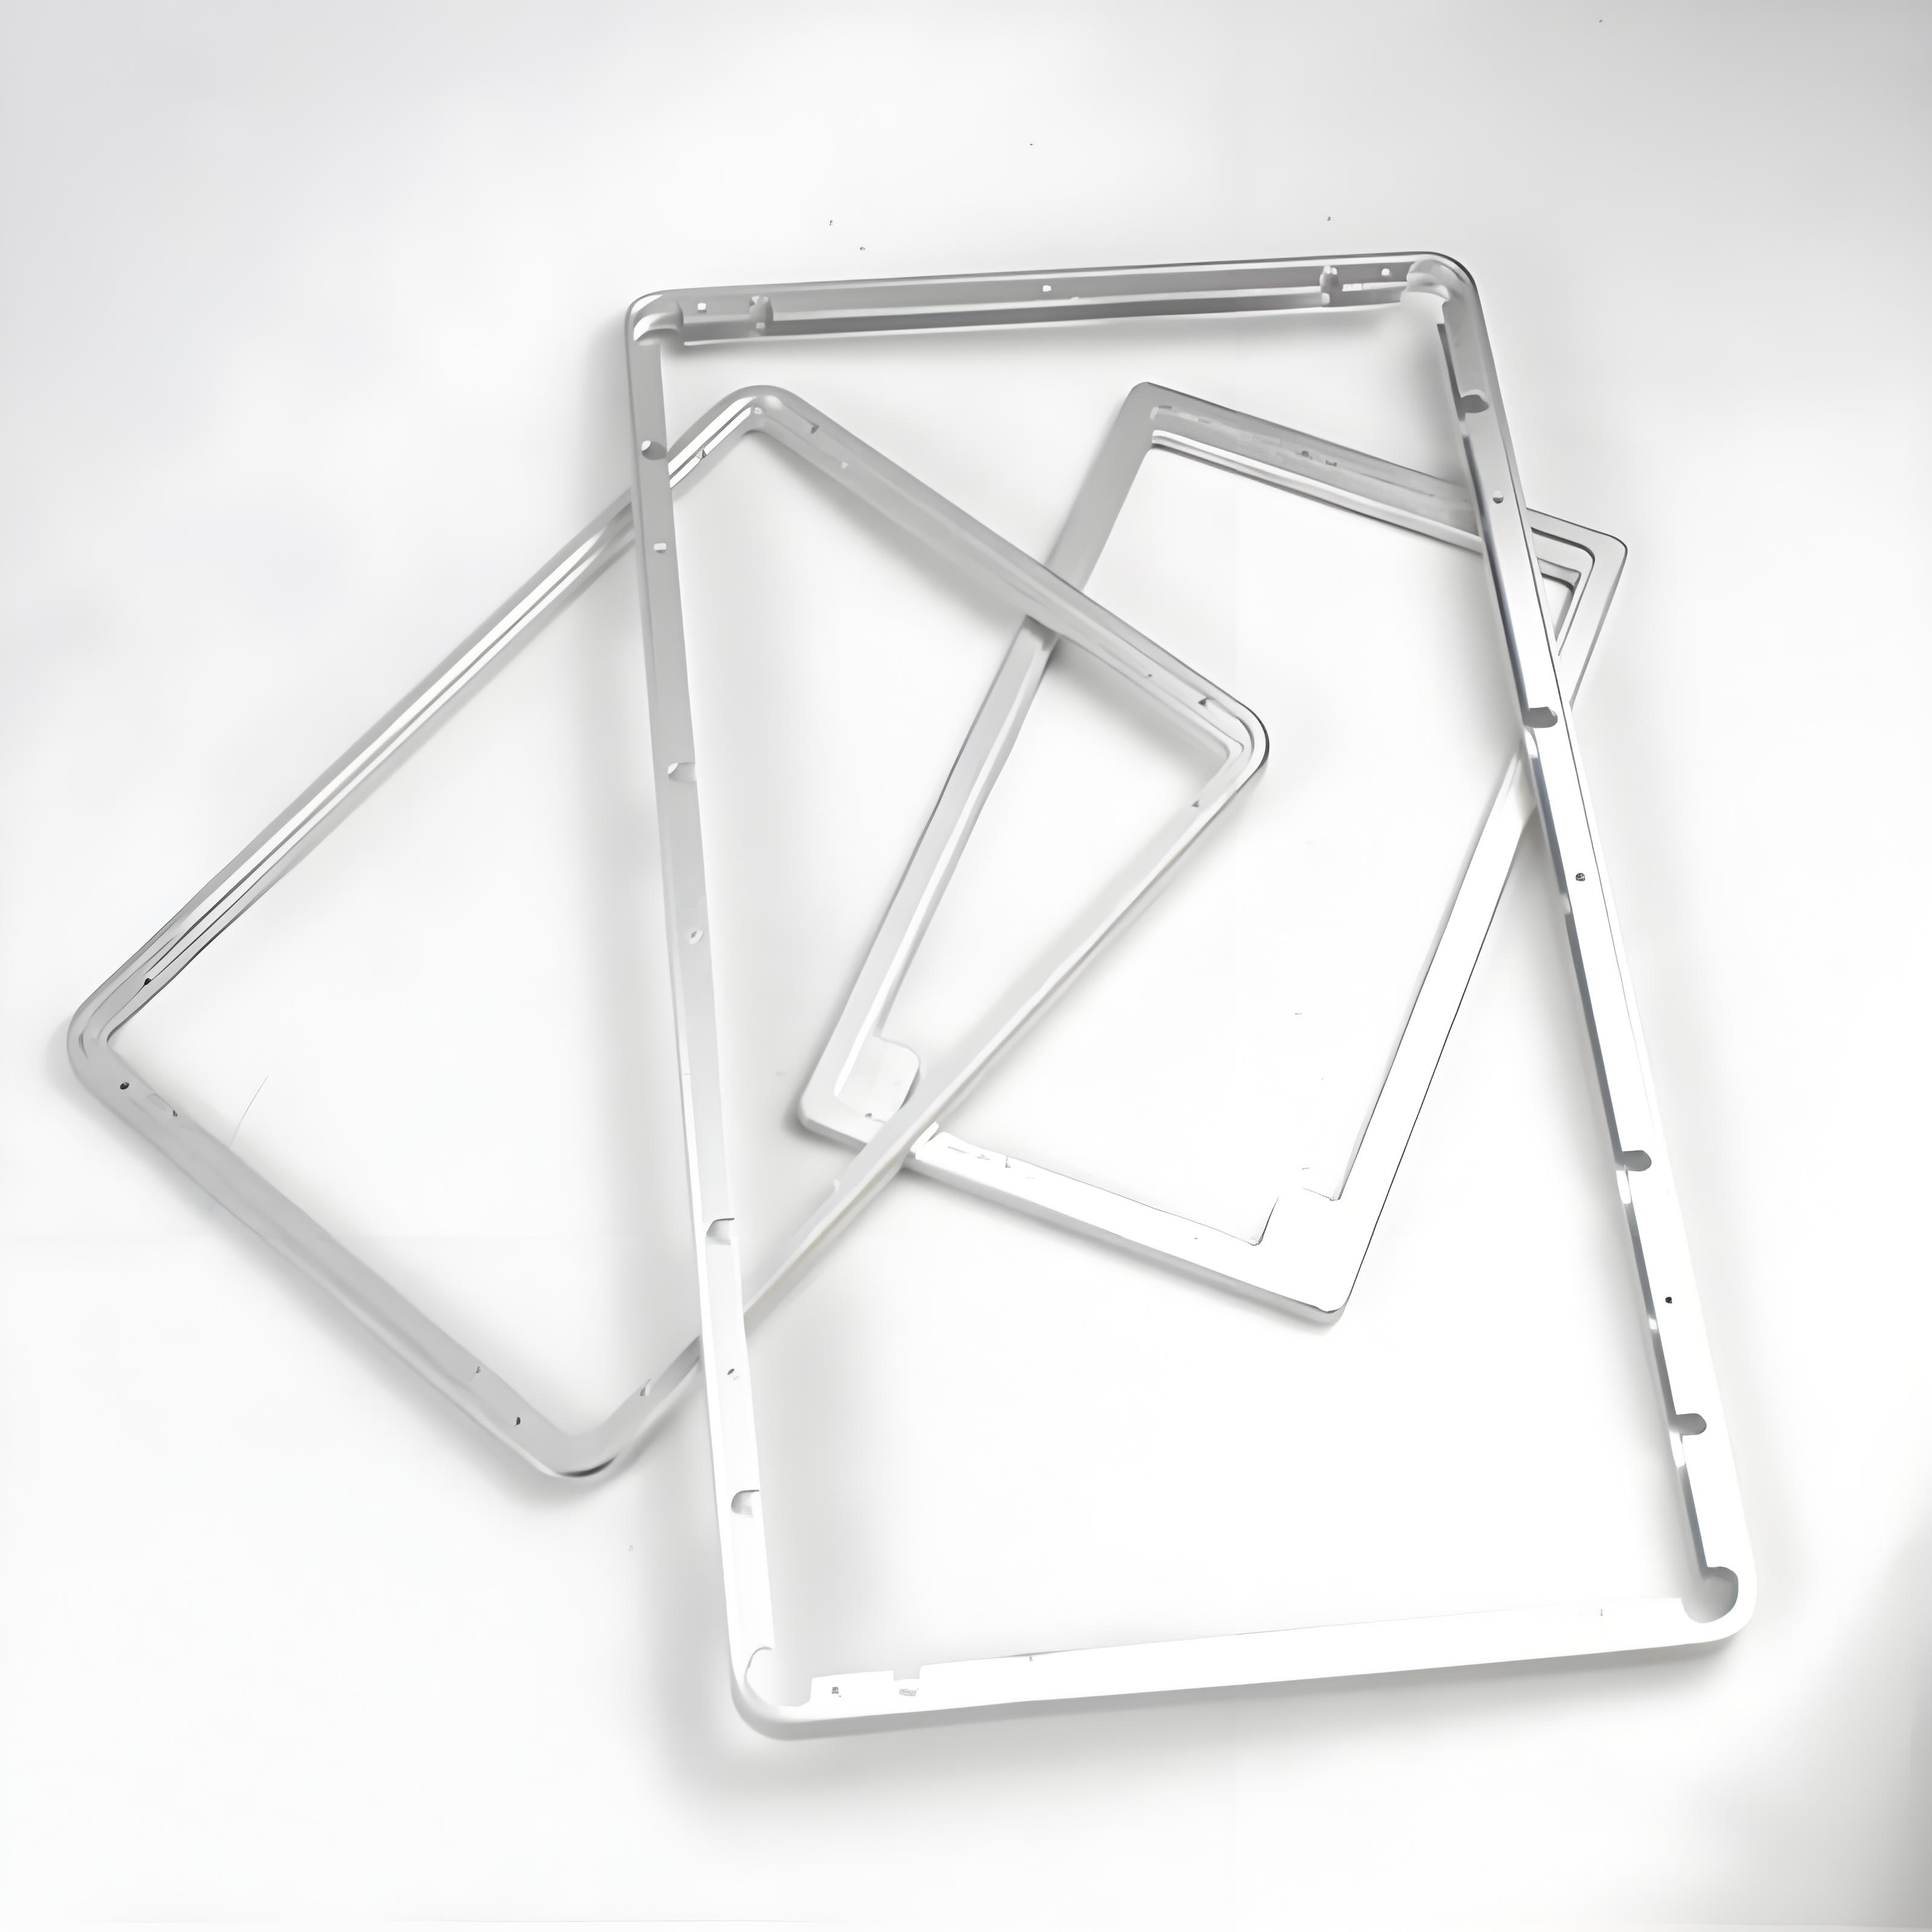
Hem types: open, closed, teardrop, and when each is used
Hems are classified by the shape of the fold. An open hem folds the edge back at an angle, leaving a visible opening; it is simple and inexpensive but leaves the edge partially exposed. A closed hem folds the edge flat against the material, producing a smooth, rounded edge that is the common choice for safety and appearance. A teardrop hem creates a small loop, adding stiffness and a rounded edge where the material allows. The choice follows the function: closed hems for safety edges and cosmetics, open or teardrop hems where the tooling or the material limits a full fold. The drawing should name the hem type and the direction, because an open hem that was meant to be closed is a different feature.
Hemming also adds stiffness along the edge, which is why hems appear on panels that must resist flexing. The stiffness comes from the fold geometry, and a hemmed edge can carry a surprising share of the panel’s rigidity.
Seams and locks: building stiffness without welds
Where two panels must join, a seam or a lock can replace a weld or a fastener. A Pittsburgh or pocket lock joins two edges mechanically by folding one over the other, creating a stiff, clean joint that is common in ductwork and housings; a standing seam joins panels at a raised fold, adding stiffness and drainage in one detail. Seams and locks are formed, so they carry no weld distortion and no fastener hardware, but their strength depends on the engagement and the material. The seam type should be chosen by the load and the access: some locks can only be assembled in a straight slide, and the assembly direction is part of the design.
Seams also affect disassembly: a mechanically locked seam is usually permanent, while a seamed-and-fastened joint can be opened for service. The service plan belongs in the joint decision, because a permanent lock on a part that must be serviced creates a cut-and-rebuild repair.
Material, thickness, and edge-distance limits for hems
Hemming is a bending operation, and the material must survive the fold. Softer materials and thinner gauges hem easily; harder tempers and thicker gauges need larger hem radii or a pre-bend sequence, and some materials crack at the tight fold of a closed hem. The edge distance — how far the hem starts from the part edge — and the minimum flange length are set by the tooling and the material. The design should confirm the material and thickness against the hem type, because a hem that works in 5052 aluminum may crack in 6061-T6 or a high-strength steel. The sheet-metal bending guide on this site covers the forming side; the hem adds the edge-fold requirements.
Edge condition before hemming matters too: a burred or rough edge folds poorly and can leave a raised line or a crack at the fold. The blank edge should be clean, and the hem direction should account for the material’s grain where the fold is tight.
Corrosion risk inside hems and finishing constraints
A closed hem traps a crevice: the folded metal creates a narrow gap that can hold moisture and start corrosion, especially in stainless and aluminum exposed to chlorides. The crevice is invisible after finishing, which makes it easy to ignore and hard to inspect. Design responses include sealing the hem with an adhesive or a sealant before the final fold, choosing a material and finish that tolerate the crevice, or using an open hem where the environment is aggressive. The finishing process also interacts: a painted or powder-coated hem can hide the crevice, while an anodized hem on aluminum may show the fold line differently. The corrosion risk belongs in the material and finish review, not discovered at the first field failure.
If the hem will be sealed, the sealant must be applied before the fold and must survive the forming and the finish process. The adhesive or sealant choice is a design input, and the hem drawing should note it.
Flat-pattern and bend-sequence notes for the shop
Hems change the flat pattern: the folded material consumes length, and the bend allowance for a hem differs from a standard bend because the fold is often tighter and the material is worked more. The flat pattern should be developed with the hem allowance, and the bend sequence should form the hem in the order that avoids interfering with the other bends. The drawing should note which edges are hemmed and in which direction, so the shop can sequence the tooling. A hem that is added to the drawing without the allowance produces a part that is short at the hemmed edge, and a hem formed after the adjacent bends can distort them.
The fabrication service can review the hem type, the material, and the sequence together before the flat pattern is cut, and the sheet-metal design tips library covers the surrounding rules. When the hem is specified as a feature with a type, a direction, and a finish note, it stops being an assumption and becomes a controlled edge.
How the hem decision shows up in the field
A product example shows the consequences of the hem choice. Two enclosures use the same panel thickness: one with a closed hem on the visible edges and one with an open hem to save a forming step. The closed-hem enclosure has a smooth, safe edge that holds its shape and finishes evenly; the open-hem enclosure shows the fold line, collects dirt in the opening, and is later found to hold moisture at the crevice in a coastal installation. The saving at the press was small, and the field cost was a corrosion complaint and a finish mismatch. The example is not an argument that closed hems are always right; it is an argument that the hem type is a design decision with consequences beyond the fold. A hidden edge that carries no safety or appearance requirement can use a simpler hem, while a visible, exposed edge earns the closed form. The drawing should state the hem type and the reason, so the shop forms the edge the product actually needs.
The same logic applies to seams and locks. A seam that joins two panels permanently is chosen when the joint never needs to open; a seamed-and-fastened joint is chosen when service access matters. The choice affects the assembly, the service plan, and the repair path, and it should be made with the product’s life in view. The hem and seam decisions also interact with the finish: a hem that traps moisture needs a finish and a sealing plan, and a seam that will be painted needs the paint to reach the joint. The sheet-metal design review that names the hem type, the seam method, and the finish plan is the review that produces edges and joints that survive the field rather than edges that simply look finished at the press.
Edges that fail in the field are usually the ones that were never specified: a raw edge that cuts a hand, an open hem that traps moisture, or a closed hem that hides a crevice from the finish line. The field failures are preventable at the drawing stage, where the edge type, the direction, and the finish are decided. A safety edge on a handled product should be a closed hem with the fold direction noted; an exposed edge in a coastal environment needs the crevice and finish plan; and a hidden edge on an internal bracket can use the simplest hem that removes the burr. The drawing should name the hem type and the reason for each edge class, because the shop cannot read the product’s safety and corrosion requirements from the geometry alone. When the edges are specified by class and environment, the field failures become design reviews instead of warranty claims, and the product’s edges carry the same engineering intent as its structure.
When the drawing carries the hem and seam decisions, the shop can also flag the manufacturability trade: a hem that is drawn tighter than the material allows, or a seam that cannot be formed in the planned sequence. The supplier review catches those conflicts before the tooling, and the design is adjusted while it is still a drawing. That review loop is where the field experience of the fabricator becomes part of the design, and it is the reason the hem and seam notes belong on the drawing rather than in the conversation. A design that invites the shop’s review of its edges and joints is a design that ships edges that survive.
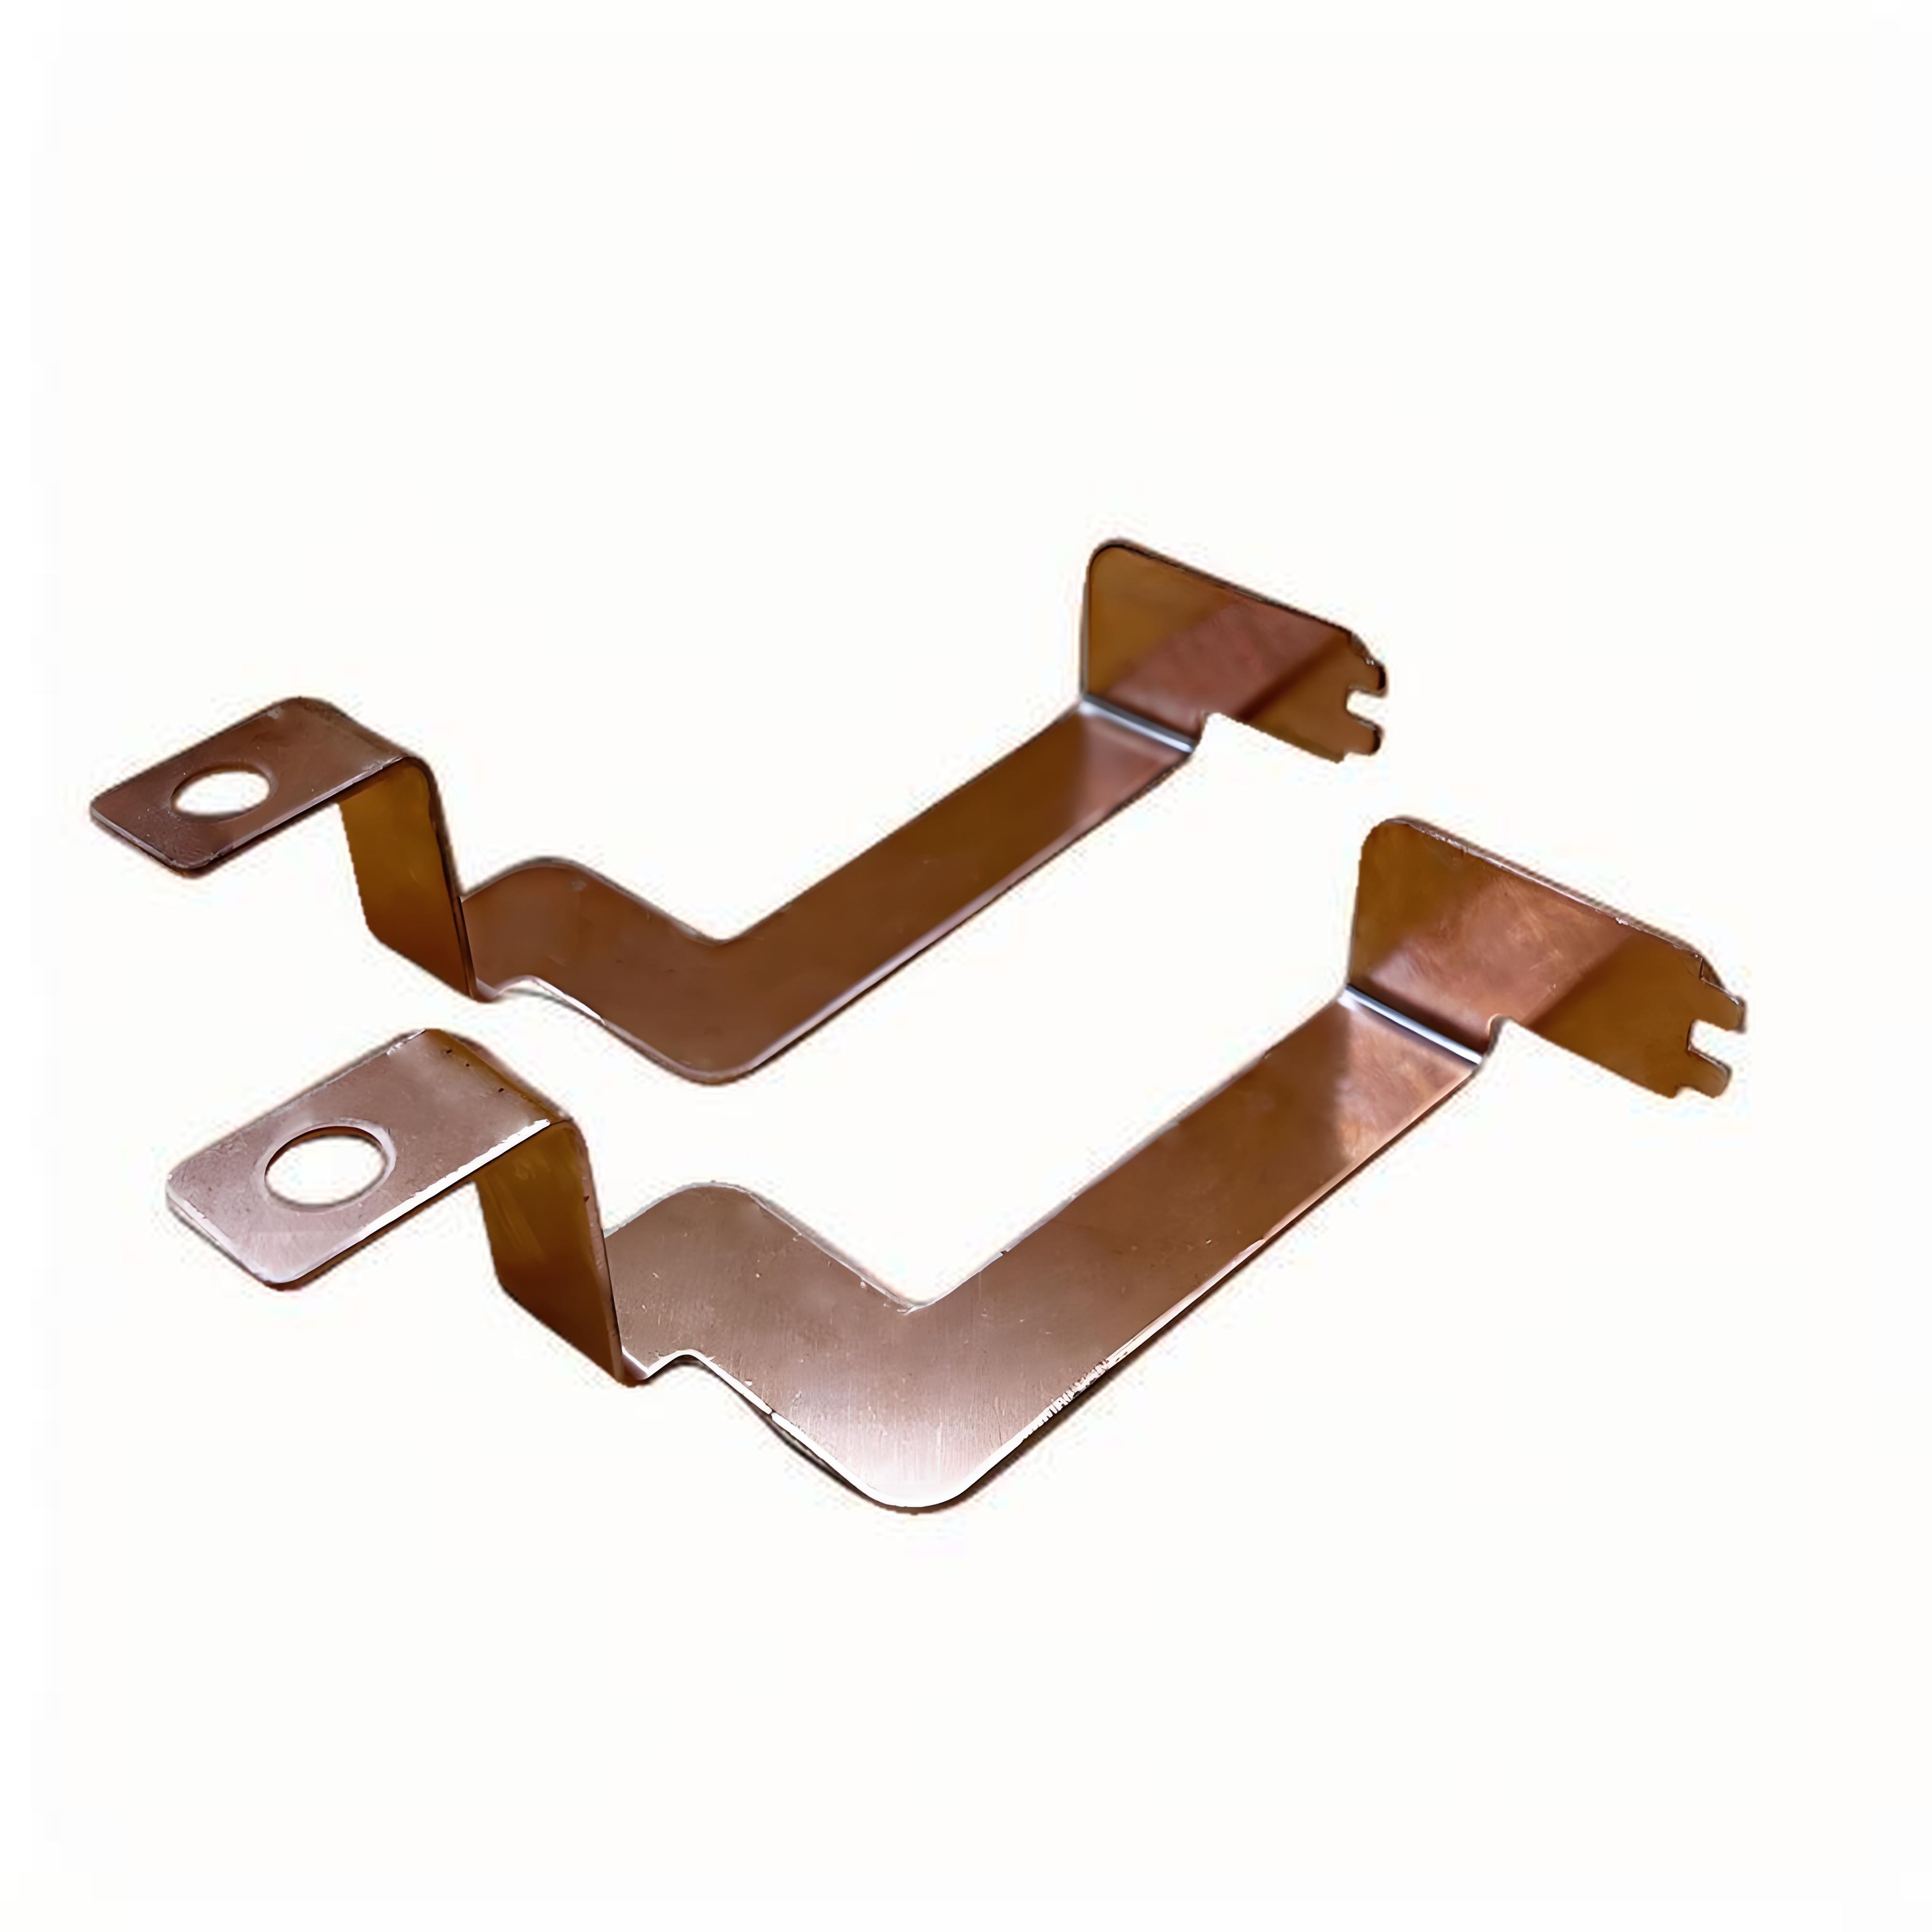
If you are designing hemmed or seamed sheet-metal parts and want the joint type and the corrosion plan reviewed before tooling, the 6CProto sheet metal team can work from the edge and the environment to the hem and finish specification.