

A urethane cast part arrives with a perfect finish on the outside and a thin, warped wall where the design called for a deep pocket — the mold flexed, the resin shrank, and the geometry that looked fine as a machined part behaved differently in a flexible silicone mold. Vacuum casting is closer to molding than to machining: the part is formed in a soft mold, so the design rules change. Silicone molds stretch, which helps with undercuts and draft, but they also flex and age, which punishes thin walls and sharp geometry. Designing for the process means knowing where the flexible mold helps you and where it limits you.
How flexible silicone molds change the design rules
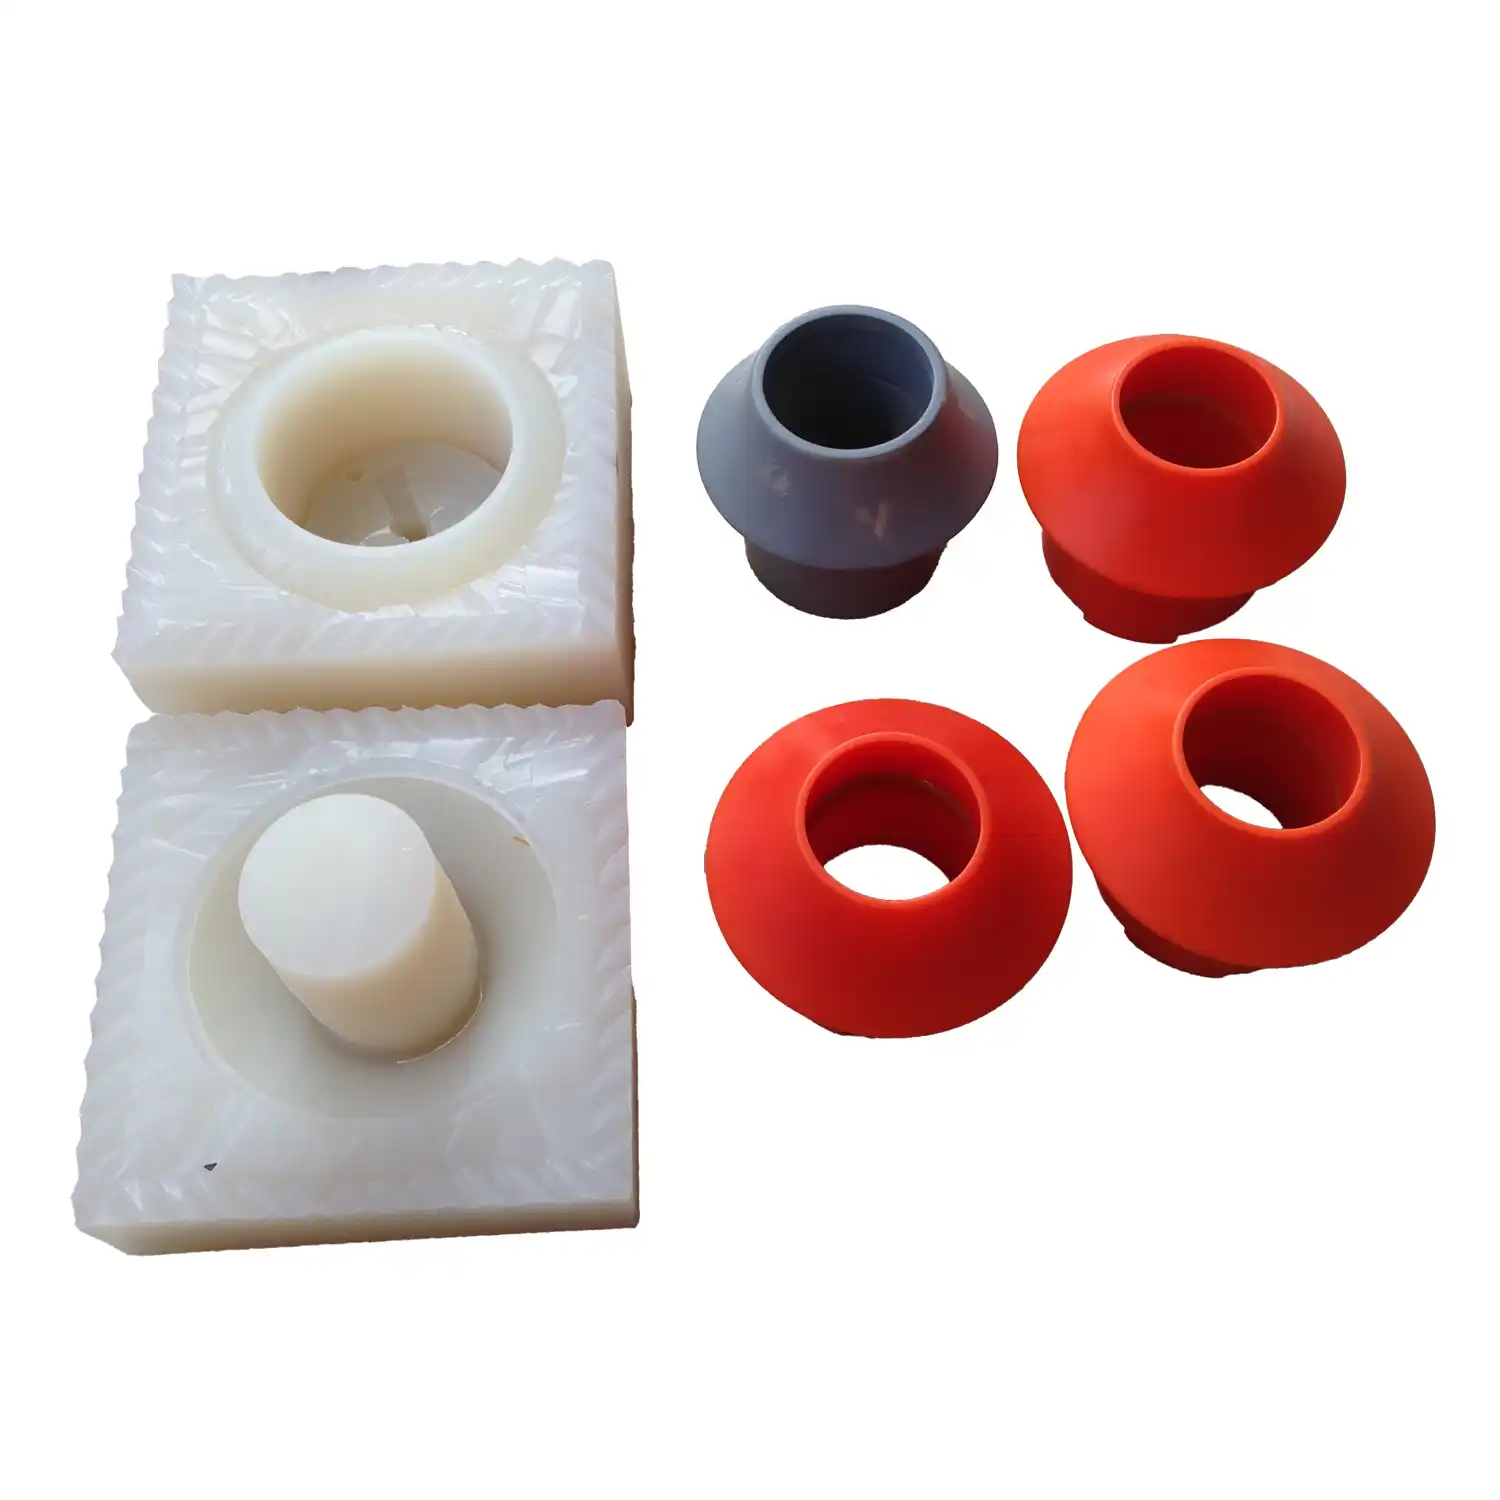
A silicone mold is flexible, and that flexibility is the source of both advantages and constraints. It allows undercuts that would trap a rigid mold, because the mold can be peeled away from the part. It also means the mold deforms under the weight of the resin and during demolding, so unsupported thin walls and tall, narrow features can move. The design should exploit the mold’s ability to release undercuts while adding stiffness where the flexible mold cannot hold geometry — typically by keeping unsupported spans short and walls thick enough to resist the resin’s shrinkage force.
The mold is also a consumable: its life is limited, and its surface quality degrades with each cast. The first parts and the last parts from the same mold can differ, so the tolerance and appearance expectations should account for mold life.
Wall thickness and resin shrinkage behavior
Urethane resins shrink as they cure, and the shrinkage varies by resin family and part thickness. Uniform walls shrink more predictably than mixed thick-and-thin sections, because the resin cures at different rates across the wall. Keep wall thickness as consistent as the design allows, avoid thick sections that cure slowly and sink, and confirm the resin’s shrinkage with the supplier when the part has a critical dimension. The master pattern and the mold are made oversize to compensate for shrinkage, so the compensation is part of the tooling design, not an afterthought.
Wall thickness also sets the mold’s life and the part’s feel. Very thin walls can flex during demolding and may not fill cleanly if the resin flows poorly; very thick walls cure slowly and add cycle time. The practical design range depends on the resin and the part size, so confirm with the caster rather than copying a generic number.
Draft, undercuts, and parting choices in a flexible mold
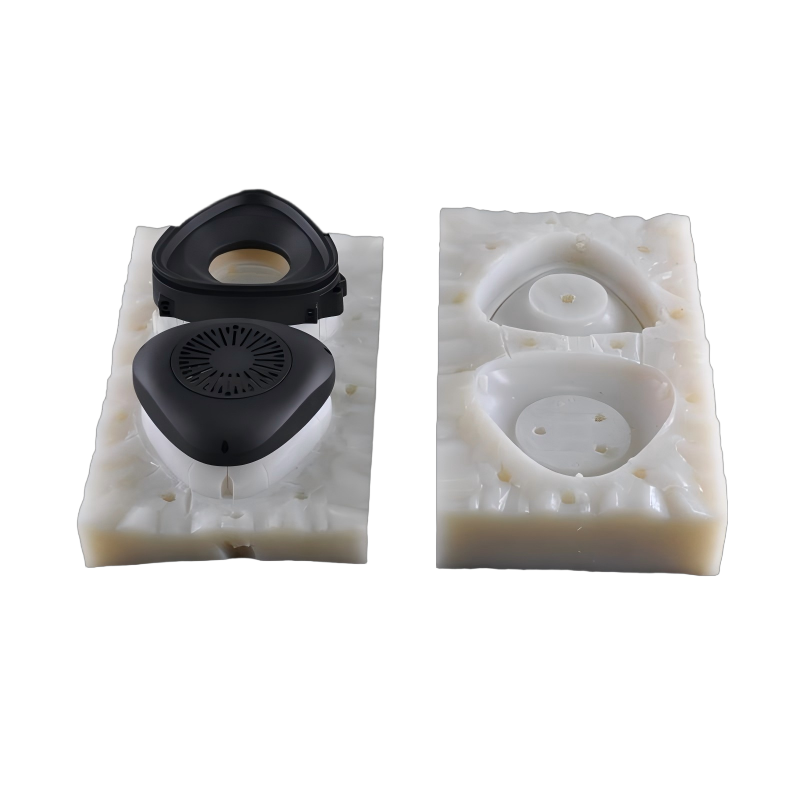
The flexible mold changes the draft rule. Rigid molds need draft to release the part; silicone molds can release parts with little or no draft, and can even accommodate undercuts that would require side actions in a rigid tool. The practical limits are the depth of the undercut, the flexibility of the mold, and the risk of tearing the mold during demolding. Deep undercuts that wrap around the part can still be released by splitting the silicone mold along a parting line, so the design should consider how the mold will be cut open even when the material is flexible.
Parting lines leave witness lines on the part. If the appearance matters, place the parting line where a witness line is acceptable, and discuss the mold construction with the caster before the master pattern is finished.
Inserts and hardware cast into urethane parts
Urethane parts often need threaded inserts, bushings, or other hardware cast in place. The insert must be located and held during molding so the resin does not move it, and the surface of the insert should be prepared so the resin holds it. Threaded inserts are common because the cast part alone cannot take repeated thread loads; the insert design, the hole or boss around it, and the resin’s shrinkage all affect the holding strength. If the insert will be loaded, test the retention rather than assuming the resin bond holds it.
Metal hardware also changes the thermal behavior of the part. A large metal insert in a thin resin wall can create stress at the interface during curing and in service, so the wall around the insert should be sized for the insert, not for the rest of the part.
Designing for texture and appearance replication
The silicone mold transfers the master pattern’s surface to the part, so the part’s appearance is set by the master — not by the casting process alone. A textured master produces textured parts; a polished master produces smooth parts; and any defect in the master repeats in every cast. If the part must match a production texture or color, the master and the resin must be chosen together, and the acceptance sample should come from the actual mold and resin, not from a different process. Color matching on urethane is done with pigments and samples, and batch variation should be expected unless the spec defines a tolerance.
The casting guide on this site explains the process; the design rules above are what make a specific part castable. Where a part will be painted or coated after casting, the surface preparation and the coating should be specified, because the resin’s surface behavior affects paint adhesion.
A cosmetic enclosure example shows the design rules paying off. A product team needs fifty urethane-cast housings with a textured front face, threaded inserts for assembly, and a tight fit to a mating part. The design review works through the cast constraints: walls are balanced to cure evenly, the textured master is finished and approved before the mold is cut, the inserts are located with the resin flow in mind, and the critical fit is machined after casting or designed with the resin’s shrinkage in mind. The mold is built with a parting line on a hidden edge, and the first parts are checked against the approved master and the fit sample. The result is a housing that matches the texture, holds its inserts, and fits the mating part across the run — not because the caster was lucky, but because the master, the mold, and the resin were specified together. The same part designed like a machined prototype — tight tolerances everywhere, sharp corners, and a polished master — would fight the process at every step and produce parts that look right in the first cast and drift by the tenth. Vacuum casting is a bridge between prototyping and production, and the parts that bridge successfully are the ones whose drawings respect the flexible mold and the resin’s behavior instead of pretending the process is machining with a different material.
Before the master pattern is cut, confirm the resin and its shrinkage, balance the walls, place the parting line where a witness line is acceptable, and plan the inserts and their retention. Approve the master finish and texture before the mold is made, and agree the acceptance sample and the expected mold life with the caster. The design review that answers these points is the one that produces a cast part matching the sample across the run rather than only on the first pull.
Before the first production cast, run a short mold trial with the actual resin and master: check the fill, the shrinkage, the insert retention, and the surface against the approved sample, and adjust the master or the resin before the full run. The trial is the cheapest quality step in casting, and it is the one that separates a part that matches on part one from a part that needs rework after the mold is worn.
Frequently asked questions
Can vacuum casting hold tight tolerances like machining?
No. Vacuum casting is a molding process with shrinkage and mold wear, so tolerances are broader than machined parts, especially on features that depend on the mold’s flexible geometry. Tight fits are better achieved by machining critical features after casting or by designing the cast part with allowance and finishing the functional surfaces separately.
How many parts can a silicone mold produce?
The life depends on the resin, the part geometry, and the mold care; a typical silicone mold serves a limited production run, often in the tens of parts, before the surface or geometry degrades. Confirm the expected mold life with the caster for your resin and geometry, and plan the mold count for the quantity you need.
Are undercuts free in vacuum casting?
Undercuts are easier than in rigid molding because the silicone mold flexes, but they are not free: deep undercuts risk tearing the mold, complicate mold splitting, and can mark the part at the parting line. Review the undercuts with the caster early, because a small design change can simplify the mold and improve the part’s consistency.
The castable part in one paragraph
Design for the flexible mold: use uniform walls, exploit the mold’s release of undercuts, add stiffness where the mold cannot hold geometry, and set the appearance from the master pattern. The cast part is only as good as the master, the mold, and the resin working together — so the drawing, the master finish, and the acceptance sample should be agreed before the first cast, not after the tenth.
If you are designing a part for silicone vacuum casting, the urethane casting team can review the walls, undercuts, and insert plan against the resin before the master pattern is cut.