

Explore Manufacturing Materials Guides
A clear acrylic part can look acceptable after machining and develop fine cracks only when it is cleaned or assembled. The delayed appearance makes it easy to blame the last operation while overlooking the stress introduced earlier. Acrylic solvent crazing needs an investigation of both material condition and exposure history.
Do not begin by recommending a stronger cleaner or an improvised solvent test on production components. Identify the exact acrylic grade, machining and polishing route, assembly strain and chemical formulation. Then use representative samples to separate those effects under a defined procedure.
The buyer’s decision is whether the completed part can survive its intended handling and service route while retaining the required clarity, dimensions and integrity. A pristine flat sheet test does not necessarily represent a drilled, polished and restrained component. This guide focuses on that difference. It treats cleaning, adhesives and stress relief as controlled process inputs, with manufacturer guidance and representative evidence, rather than promising that one general acrylic grade or finishing operation prevents all cracking.
Residual stress and chemical exposure
Crazing involves fine cracking that can arise when stressed acrylic encounters an incompatible exposure. The stress may come from fabrication or assembly, while the chemical event can occur later during cleaning, bonding or use. The last visible event therefore does not identify the only contributing cause.
ACRYLITE’s annealing guidance describes stress introduced by machining and other fabrication operations and its relationship to solvent related crazing. Its instructions apply to the manufacturer’s material and specified conditions. Use that mechanism to review the actual process, not to infer that any warm treatment restores an arbitrary acrylic part.
Build a timeline from incoming stock through the first observed cracks. Record whether the part was constrained, polished, heated or exposed before inspection. Preserve an unexposed sample from the same process where possible. Comparing different grades or different machining histories can confuse a useful investigation. Keep the affected region identified so the relationship to holes, edges, corners and clamping surfaces remains visible.
Record whether the first cracks were observed before or after restraint was released. That timing helps preserve the distinction between process history and assembled loading.
Cleaning and adhesive compatibility
Specify the cleaner or adhesive by exact product and relevant use conditions. Concentration, contact time, temperature, residue and application method can matter. A material sold as suitable for plastics is not automatically compatible with the selected acrylic and its stressed condition.
ACRYLITE’s cleaning and maintenance instructions warn against several common solvents and window cleaning products because they can damage the sheet or cause crazing. Follow the applicable material manufacturer’s current instructions. Do not substitute a convenient workshop solvent or generalize a compatibility statement from another polymer.
An adhesive process also needs qualification of the completed joint, including its cure and surrounding strain. Keep cleaning and bonding trials distinct so a change in one does not conceal a problem in the other. Record the full formulation or controlled product designation, not a broad category such as alcohol cleaner. When the approved chemical changes, review the previous evidence before accepting the new product as equivalent merely because its advertised purpose is similar.
Review chemical residues from marking, masking and packaging as well as the named cleaner; a part can encounter an unrecorded exposure between operations.
Edge finish and assembly strain
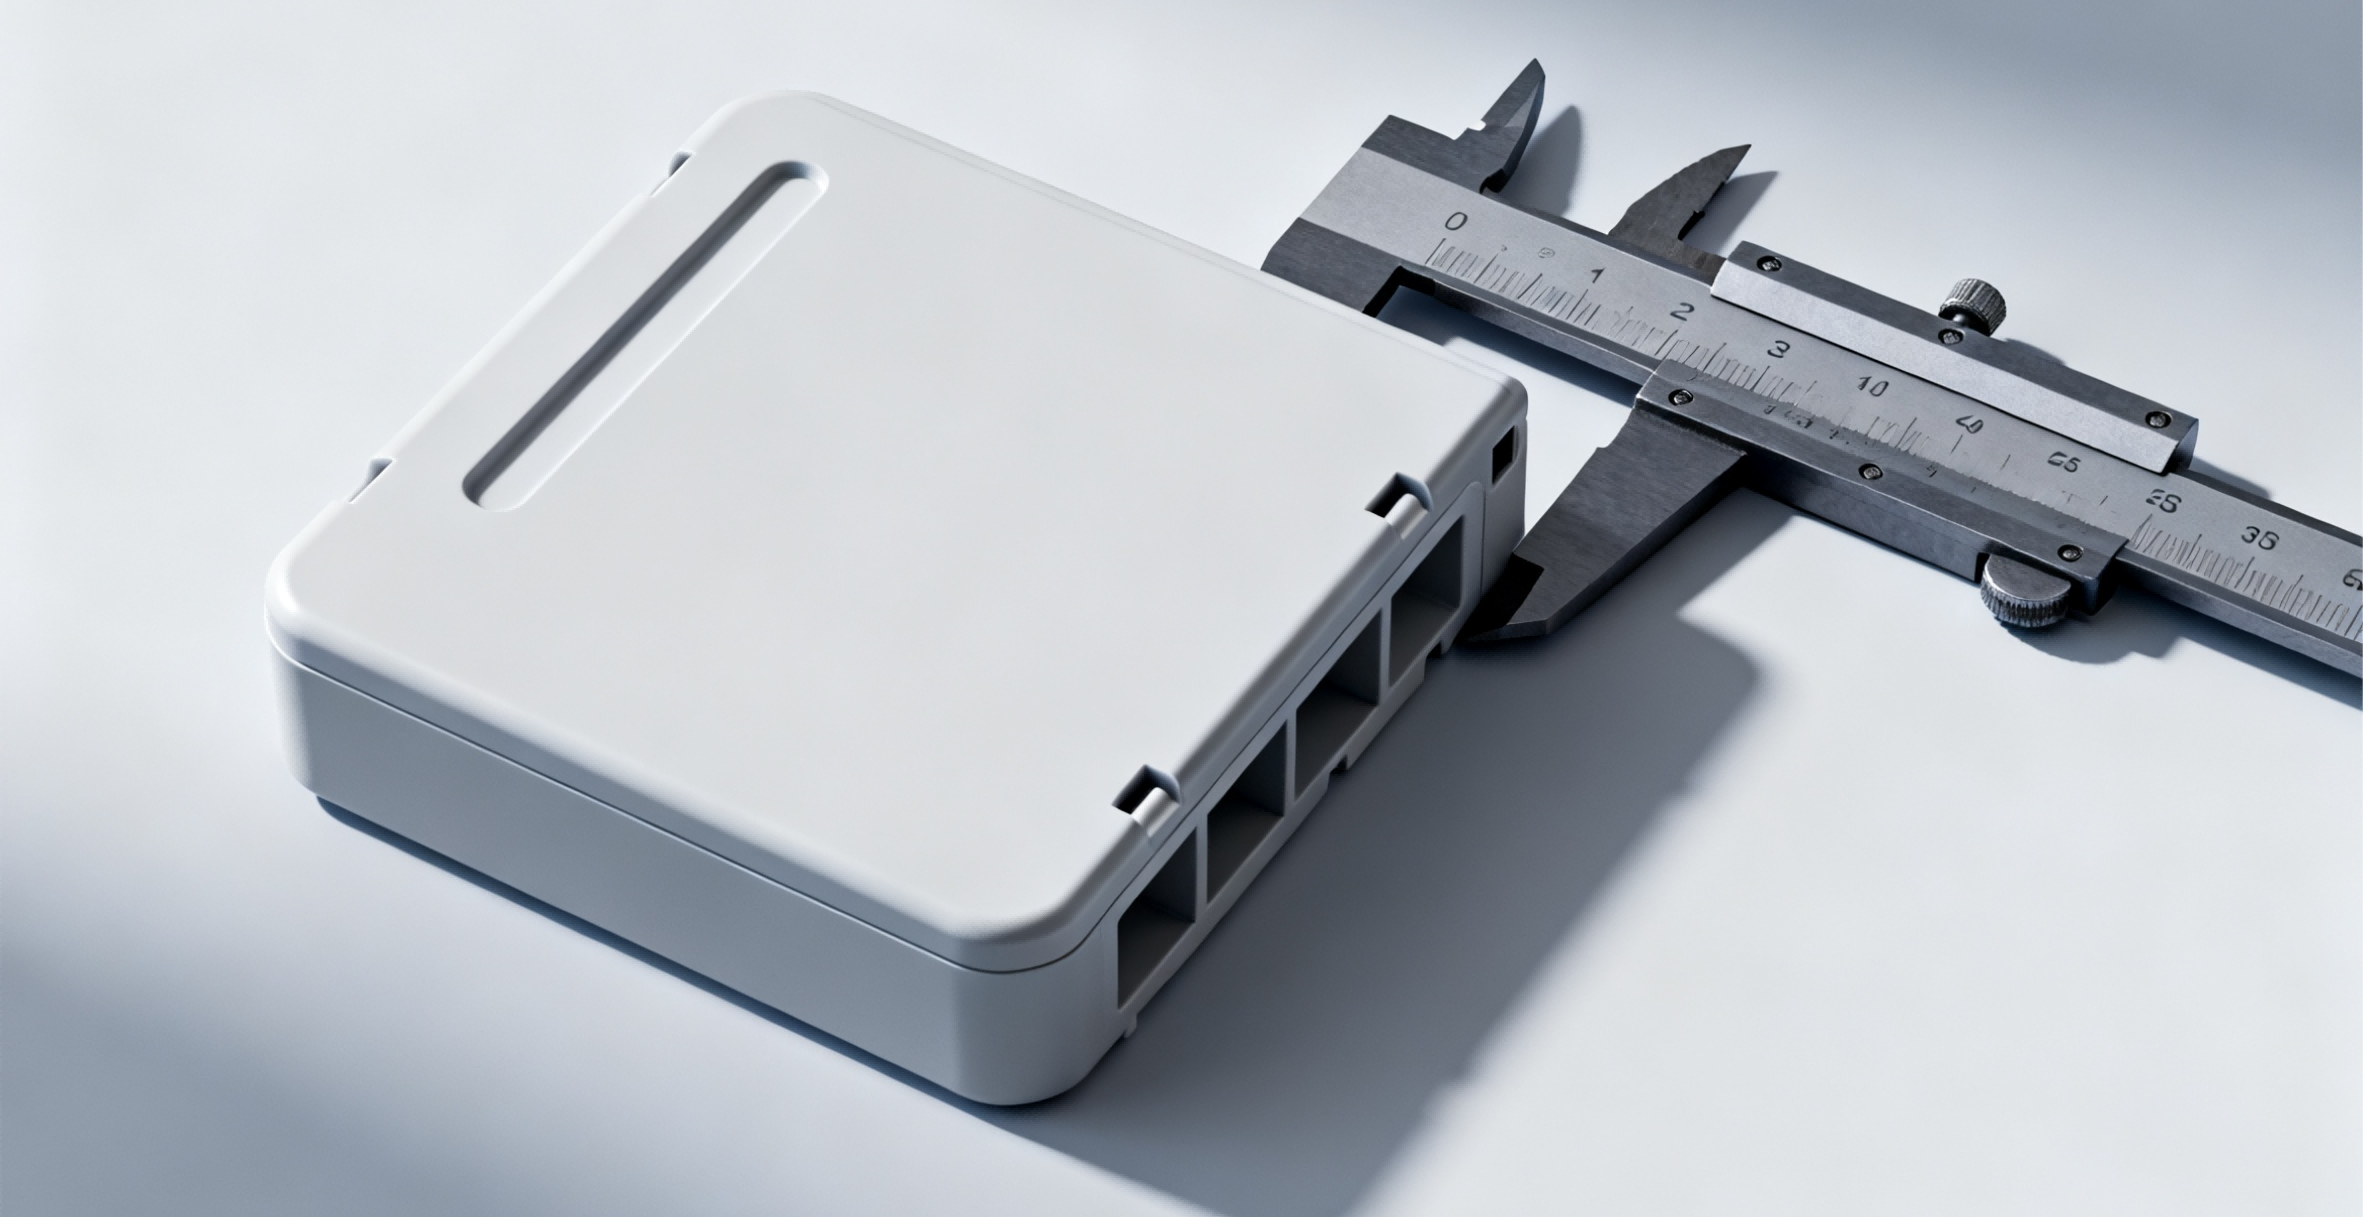
Review edge preparation and assembly loading together. A visually polished edge can still have a process history that matters to stress, and a dimensionally correct part can be forced into strain by its fasteners or fit. Document the actual support and restraint rather than inspecting only an unloaded loose component.
ACRYLITE’s machining guidance connects heat and edge irregularities with high stress regions and requires compatibility evaluation for machining emulsions. Use the selected grade and operation to establish the appropriate route. A coolant that improves cutting behavior still needs chemical compatibility evidence.
Keep any polishing change linked to dimensions and exposure qualification. If surface finishing is included, identify the critical edges and whether the process can alter their geometry or stress condition. For assembly, review contact pressure, hole clearances and imposed displacement. A cleaning trial on an unconstrained coupon cannot establish the same behavior at an overtightened or interference loaded feature.
Where a fastener imposes displacement, record the assembled geometry and permitted tightening condition so a coupon is not tested under an unrelated strain.
Qualification coupons before production release
Use coupons that represent the grade, stock condition, machining route and critical edge or hole. Include the relevant restraint if the finished component will be stressed in assembly. A smooth, unmachined sample can help screen a chemical but cannot establish the complete production route.
Plan comparisons that separate exposure and process history. For example, compare machined specimens with and without the proposed cleaning step while holding their mechanical condition constant. If stress relief is being assessed, use the manufacturer’s qualified procedure and verify dimensions afterward. These are investigation options, not a universal test recipe.
Inspect immediately and at the agreed later intervals, because the acceptance question may involve delayed appearance. Record lighting, magnification, viewed regions and what constitutes failure. Keep samples identified throughout the sequence. If a production part has already crazed, preserve it before polishing or attempting repair; removal of the visible surface can erase the evidence needed to connect a crack pattern with the original operation or exposure.
Use a protected control specimen from the same fabrication route, and keep the inspection schedule identical so exposure time remains an interpretable variable.
Compare acrylic states across machining, relief and exposure
Compare documented material and process states rather than ranking acrylic grades by a broad claim of chemical resistance. The selected material manufacturer should identify the relevant guidance, while representative testing establishes whether the completed route meets the product requirement.
| State to compare | Controlled information | What it can establish |
|---|---|---|
| Incoming stock | Exact grade and supplied form | Material identity for the trial |
| Machined specimen | Edge, hole and coolant history | Effect of the fabrication route |
| Stress relieved specimen | Qualified thermal cycle and support | Result of that controlled treatment |
| Assembled exposed specimen | Restraint and defined chemical exposure | Behavior under the tested combination |
The ACRYLITE stress relief instructions also address support during heating. Do not assume that reduced stress leaves every dimension unchanged. Include form and fit checks when evaluating a proposed treatment for a finished precision component.
Investigate delayed cracks around a mounted cover
Consider a hypothetical clear cover that passes visual inspection before cleaning but crazes near two mounting holes afterward. First retain samples and record the cleaner, application, time and assembled condition. Do not immediately change the material or remove all evidence with another finishing operation.
Compare a representative unassembled cover and an assembled cover made by the same machining route, using the approved exposure plan. Examine whether the crack pattern follows the loaded region, the machined edge or a chemical contact area. A small trial can identify the next question without claiming to reproduce every service exposure.
For features produced by CNC milling, retain the actual hole and edge condition in the specimen. If the proposed solution is altered assembly clearance, verify fit and function after the change. If it is a different cleaner or qualified stress relief step, test that route deliberately. An apparently clear result is meaningful only within its documented material, restraint and exposure conditions.
If only the loaded sample fails, investigate the joint and its local geometry before interpreting the result as a blanket rejection of the acrylic grade.
Verify clarity, dimensions and exposure within their scope
Keep cosmetic clarity, dimensions and structural function as separate acceptance items. A component without visible crazing under one viewing setup may still fail another defined requirement. Conversely, a scratch should not automatically be described as chemical crazing without examining the observed feature and history.
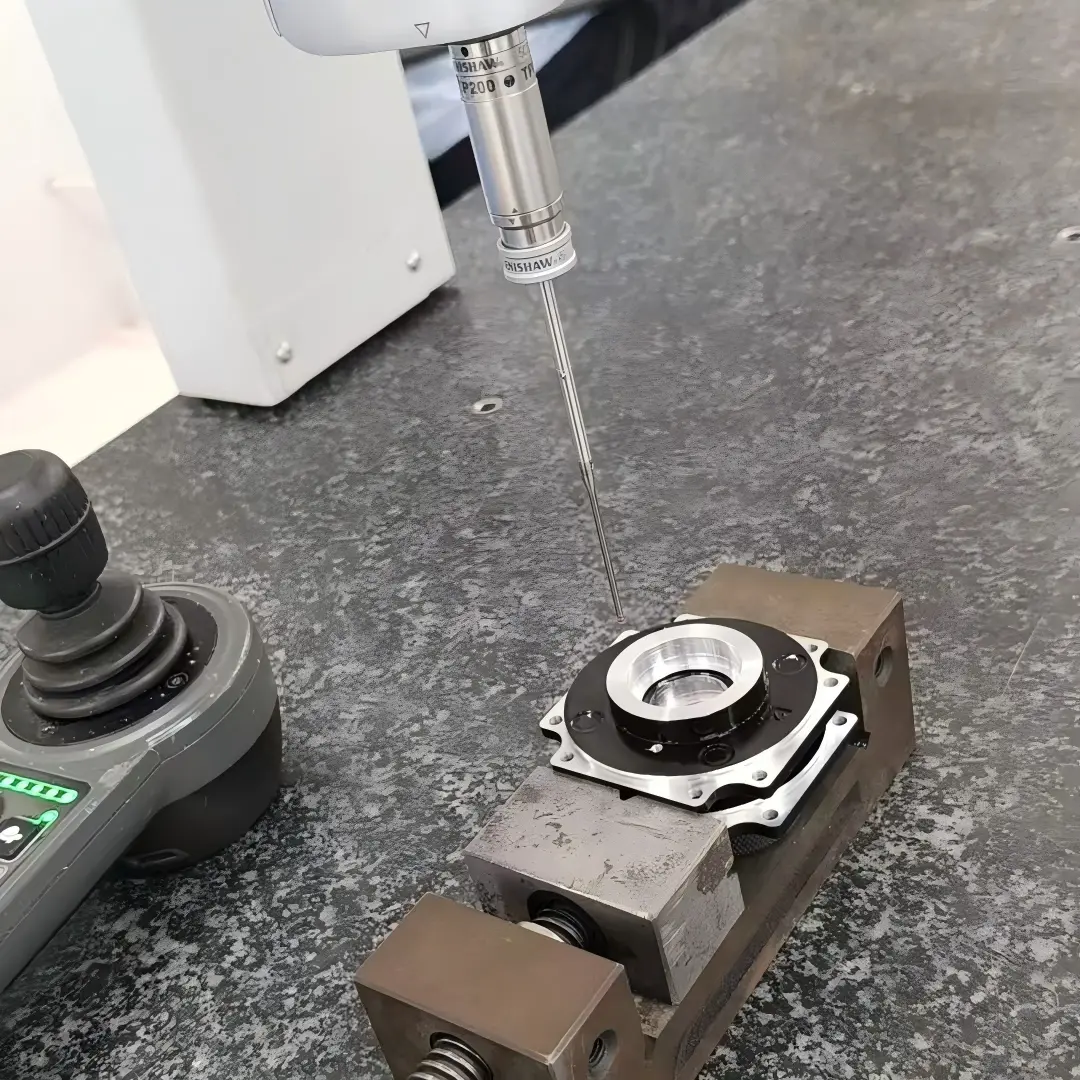
Use consistent support during dimensional comparison. Renishaw’s metrology fixturing information describes repeatable setups, which help avoid confusing restraint differences with a process induced dimensional change. State whether a part is measured free or in its specified assembled condition.
The public scope of ASME Y14.5 supports geometric communication; optical and chemical exposure acceptance still need their own definitions. Link the required checks through the inspection agreement. Record any untested service chemical or loading condition as outside the trial’s evidence. One compatible exposure does not establish unrestricted resistance to every cleaner, adhesive or long term environment.
Control acrylic grade, cleaning products and assembly strain
Identify the acrylic grade, supplied form, critical machined edges and holes, approved coolant and finishing route. State the cleaning and bonding products by controlled designation where they are part of the manufacturing specification. If alternatives are allowed, define the qualification and approval requirement.
Include assembly restraint, contact regions and any geometry that can impose strain. Define the cosmetic viewing conditions, delayed inspection interval and functional checks needed after exposure. A note saying no cracks is more useful when it also identifies when and how the part will be examined.
If stress relief is proposed, keep its material specific procedure, support and dimensional verification within the controlled route. Do not prescribe an improvised heating cycle as a general cure. Resolve whether a damaged part may be reworked or must be replaced, and identify the evidence required for any repair. The released package should connect the completed component to its expected handling, rather than qualifying only the untouched sheet.
Protect the approved chemical identification through purchasing and shop instructions; changing a trade name or formulation can invalidate an apparently unchanged cleaning operation.
FAQ
Can polishing remove the cause of acrylic crazing?
Polishing can change the visible surface, but it does not automatically remove the underlying stress or establish chemical compatibility. It can also alter dimensions and the fabrication history. Preserve failed samples before attempting rework, then evaluate the proposed finishing route on representative material. A repaired appearance is not proof of restored integrity. Accept rework only through a defined procedure and the product checks needed for the intended service.
Does annealing make acrylic resistant to every solvent?
No. A material specific stress relief process can reduce fabrication stress, but it does not establish unrestricted chemical resistance. Follow the manufacturer's guidance and qualify the actual cleaner, adhesive or service exposure with the relevant mechanical condition. Also verify dimensions and form after the thermal treatment. A successful trial supports its tested combination; it should not be extended to different chemicals or an unspecified heating process.
Can cleaning be qualified using an unstressed piece of sheet?
It can provide screening information for that sample, but may not represent the machined and assembled component. Holes, edges, polishing and restraint can change the relevant condition. Use representative coupons or parts for production qualification and record the chemical product, application and inspection intervals. If the real part is loaded during cleaning or service, include that condition rather than assuming the unloaded sheet result covers it.
Conclusion
Treat acrylic crazing as a combination of material history, exposure and restraint. Preserve the evidence, identify the exact chemical and compare representative process states before changing multiple operations. A cleaner surface alone does not establish that the completed part will retain its clarity and function.
Use manufacturer guidance for material specific cleaning and stress relief, then verify the route on the actual geometry and assembly condition. Keep the dimensions and exposure limits within the approval record. For a review with 6CProto, submit the acrylic grade, critical features and cleaning or assembly acceptance requirements for quotation. Include the crack timing and location so the manufacturing review can address the mechanism rather than only the final visible symptom.
{“@context”: “https://schema.org”, “@type”: “FAQPage”, “mainEntity”: [{“@type”: “Question”, “name”: “Can polishing remove the cause of acrylic crazing?”, “acceptedAnswer”: {“@type”: “Answer”, “text”: “Polishing can change the visible surface, but it does not automatically remove the underlying stress or establish chemical compatibility. It can also alter dimensions and the fabrication history. Preserve failed samples before attempting rework, then evaluate the proposed finishing route on representative material. A repaired appearance is not proof of restored integrity. Accept rework only through a defined procedure and the product checks needed for the intended service.”}}, {“@type”: “Question”, “name”: “Does annealing make acrylic resistant to every solvent?”, “acceptedAnswer”: {“@type”: “Answer”, “text”: “No. A material specific stress relief process can reduce fabrication stress, but it does not establish unrestricted chemical resistance. Follow the manufacturer’s guidance and qualify the actual cleaner, adhesive or service exposure with the relevant mechanical condition. Also verify dimensions and form after the thermal treatment. A successful trial supports its tested combination; it should not be extended to different chemicals or an unspecified heating process.”}}, {“@type”: “Question”, “name”: “Can cleaning be qualified using an unstressed piece of sheet?”, “acceptedAnswer”: {“@type”: “Answer”, “text”: “It can provide screening information for that sample, but may not represent the machined and assembled component. Holes, edges, polishing and restraint can change the relevant condition. Use representative coupons or parts for production qualification and record the chemical product, application and inspection intervals. If the real part is loaded during cleaning or service, include that condition rather than assuming the unloaded sheet result covers it.”}}]}