

Explore CNC Cost, Tolerances & Supplier Selection
A clear acrylic cover can produce different measurements when one inspector supports it freely and another presses it flat. The disagreement may come from the setup rather than the machining. Acrylic machining dimensional inspection needs a defined relationship between the part, the instrument and the condition in which the dimension applies.
Transparency adds another question. An optical system must identify the intended physical edge, while a contact instrument must reach it without unacceptable deformation or marking. A repeatable number is useful only when the method measures the feature specified on the drawing.
Begin with the functional references and the free or restrained state. Then define support, contact conditions, optical settings and environmental preparation. Require the dimensional report to identify the surfaces actually measured and the conditions applied to the part. Any cleaning or handling used during inspection must preserve the accepted surface and component geometry. The goal is a report that another qualified inspector can reproduce and interpret without guessing how the clear part was held or viewed.
Support and contact force
Support the part from the references needed for its intended measurement state. A thin cover measured free and the same cover clamped flat are different conditions. If the drawing requires a restrained state, define the restraint rather than allowing each inspector to improvise a method that produces convenient numbers.
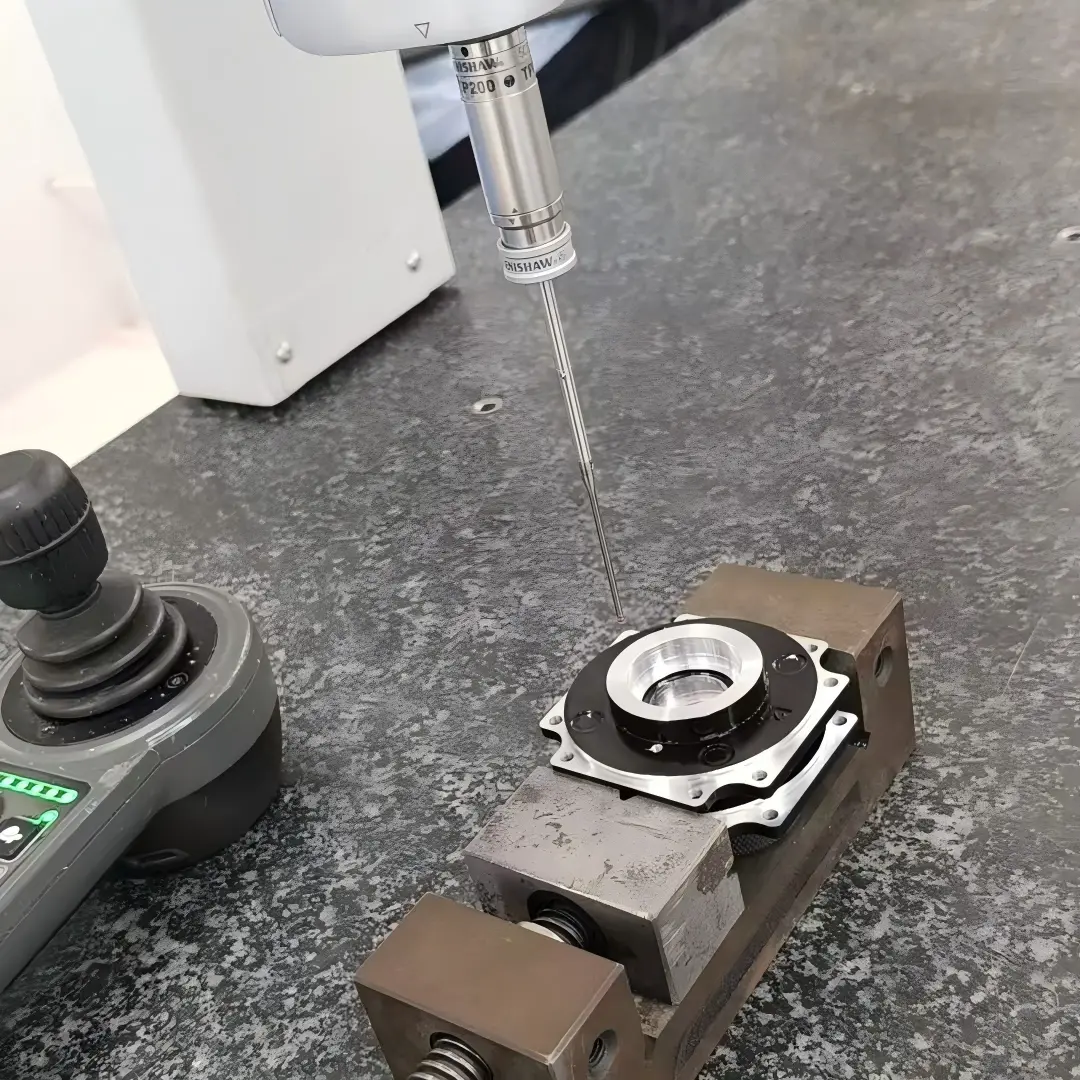
Renishaw’s metrology fixturing overview describes repeatable support for contact and vision systems. For acrylic, the selected contacts should also avoid marks and unintended bending. Check whether a clamp closes a gap, shifts the datum or blocks access to the actual feature.
For contact measurements, record the instrument and relevant contact arrangement. A sharp tip or concentrated load can create a local effect different from a broad contact. The part should remain stable through repeated loading and unloading, but stability alone does not prove that the fixture preserves its intended geometry. Inspect the support marks where appearance matters and compare the setup with the drawing’s stated condition before accepting the measurement as a product result.
Document the unloading sequence when comparing free form, because a part measured while still held by a clamp does not establish its released condition.
Optical measurement of clear edges
A clear edge may produce several visible transitions, reflections or focus dependent boundaries. The measurement program needs to identify the intended physical feature, not simply the strongest contrast in the image. Establish lighting, focus, orientation and edge selection using representative production parts.
KEYENCE’s image measurement information identifies transparent materials and lighting as considerations in optical measurement. That is a capability discussion, not a guarantee that any automatic edge routine measures every acrylic feature correctly. Qualify the selected setup on the actual grade, thickness and finish.
Record the feature definition and retain representative images with the detected edge where practical. If an operator changes lighting or threshold to obtain a reading, establish whether the same geometric boundary is still being measured. Avoid adding an unqualified coating or marker to improve contrast; it can change the surface or apparent edge. Where preparation is necessary, its influence needs a controlled method and acceptance, not an undocumented adjustment at the inspection bench.
If an edge includes a chamfer, identify which intersection defines the dimension. The visible highlight may move while the intended geometric boundary remains unchanged.
Temperature and conditioning
Establish a consistent thermal and conditioning state before comparing measurements. Identify the part’s recent machining, handling and any heat treatment, and allow the agreed preparation period. A part measured immediately after processing and another measured after storage may not represent the same condition.
ACRYLITE’s machining guidance discusses heat related dimensional effects and fabrication history. Use the actual material manufacturer’s data if thermal correction is proposed; do not apply a generic expansion coefficient without confirming grade and conditions. A correction calculation is only as useful as its inputs and measurement model.
Record temperature and relevant conditioning information in the report when they affect interpretation. If stress relief is part of the manufacturing route, inspect after the controlled process rather than combining pre and post treatment values in one dataset. The ACRYLITE annealing instructions address support during heating, which reinforces the need to verify form afterward. Do not treat a material treatment as dimensionally neutral merely because its purpose is stress reduction.
Keep recently handled samples separate until the agreed preparation is complete, and record any exceptional thermal event that makes their condition different from the comparison group.
Separate cosmetic and dimensional acceptance
Keep dimensional acceptance separate from cosmetic inspection. A part can meet size and location requirements while having unacceptable marks, and a visually clear component can be dimensionally wrong. Define the viewed zones and conditions for appearance without allowing them to replace the dimensional setup.
For parts receiving surface finishing, state whether dimensions apply before or after that operation. Edge polishing or other finishing can change the boundary selected by an optical routine. A program qualified on a rough edge may need review when the production edge becomes glossy or rounded.
The public scope of ASME Y14.5 supports geometric communication; it does not define a complete cosmetic viewing method. Establish both requirements in the release package and report them separately. If a measurement contact leaves a visible witness, assess whether it is permitted rather than assuming inspection marks are automatically acceptable. The inspection process should establish the product condition while preserving the required surface wherever practical.
Record acrylic dimensions with their setup conditions
A dimensional record needs units, references and the measurement condition. The instrument display alone omits information that can explain disagreement. Use a compact table in the inspection plan to identify what must remain controlled when the program is repeated.
| Reported item | Required condition | Reason |
|---|---|---|
| Length or diameter, mm | Named datum and feature boundary | Prevents different edges being compared |
| Flatness or profile, mm | Free or specified restrained state | Distinguishes part form from clamping |
| Optical edge result | Lighting, focus and edge method | Makes transparent boundary selection traceable |
| Contact measurement | Tip and support arrangement | Controls local load and access |
| Conditioning | Relevant temperature and process history | Supports comparable observations |
Link these definitions to the inspection requirements. A template can standardize the report, but it must preserve the conditions specific to the clear feature rather than hiding them behind a general inspection completed label.
Include the program revision and inspected feature identifier with the result, allowing the report to distinguish a new edge method from a genuine part change.
Reconcile free and restrained cover measurements
Consider a hypothetical thin clear cover whose free edge height differs between two inspection stations. First compare supports, contact locations and restraint. If one station presses the cover against a plate, its result may describe the restrained condition while the other describes free form.
Repeat measurements using the agreed condition and a common reference. For an optical edge, compare the captured boundary as well as the reported number. A difference in edge selection can persist even when both programs return repeatable values. If a contact result is used for comparison, identify its contact geometry and possible effect on the part.
The example does not supply a universal measurement force or temperature allowance. Those belong to the instrument, material, geometry and required uncertainty. For a precision machining review, provide the relevant feature and setup evidence so manufacturing and inspection can distinguish an actual size error from a condition dependent observation before changing the toolpath.
Retain both original station results during the investigation. Replacing them with the reconciled value removes useful evidence about which setup condition created the discrepancy.
Separate setup repeatability from the correct edge definition
Evaluate repeatability across repeated setups, not only repeated readings without moving the part. Reloading can reveal locating and support effects that a stationary measurement misses. Where operator choices affect optical edge detection, include the relevant program controls in the comparison.
A repeatable method can still have a systematic error if it consistently measures the wrong boundary or restrains the part incorrectly. Compare the result with an appropriate independent reference or qualified method where needed. Document the limitations of each approach rather than assuming that disagreement proves one instrument is defective.
Keep uncertainty and acceptance close to the actual tolerance. A numerical resolution smaller than the tolerance does not establish adequate measurement capability. Review access, deformation, environment and edge selection together when deciding whether the method can support the required decision. If it cannot, revise the inspection approach or resolve the product requirement through engineering; do not create confidence by reporting additional decimal places that the setup cannot substantiate.
Specify acrylic support, optical programs and report references
The drawing should identify functional datums, dimensions and the required free or restrained state. Define any special support or measurement access that the geometry requires. Include the finishing stage at which acceptance applies, and keep optical appearance requirements in a separate controlled definition.
The report should identify part revision, sample, instrument or program revision and relevant setup conditions. Retain the feature image or contact plan when the boundary could be interpreted differently. Record any approved surface preparation and its effect on the measurement rather than introducing it informally to make the clear edge visible.
Agree how conflicting results will be investigated. Begin with datum, restraint, edge selection and conditioning before requesting a machining correction. Preserve the original observations so the comparison remains traceable. The result should be a dimension tied to a defined physical feature under a known condition, allowing the buyer to decide acceptance without reconstructing an undocumented inspection procedure from the final number.
Define whether protective masking remains during inspection and how the measured features are exposed, so access preparation does not differ unpredictably between sample groups.
FAQ
Is noncontact inspection always preferable for acrylic?
It avoids contact loading and marking, but optical edge selection still needs qualification on the actual transparent feature. Lighting, focus and reflections can affect what boundary the instrument detects. A contact method may be appropriate for another characteristic when its support and load are controlled. Choose by the required feature and measurement capability rather than a universal preference. Document the selected conditions so results from different methods remain interpretable.
Can acrylic be clamped flat for dimensional inspection?
Use that condition when the drawing or agreed inspection plan requires a defined restraint. Otherwise, clamping can conceal free state form or change the measured relationship. Identify support and clamp locations and the intended assembled condition. Report restrained and free measurements separately when both are useful. A part should not be accepted or rejected from a flattened setup merely because it is easier to measure than the specified condition.
Why do repeatable optical readings disagree with a contact measurement?
The methods may select different physical boundaries or impose different support conditions. A rounded clear edge can produce an optical transition that differs from the contact location, while the contact load may also influence a thin feature. Compare datum alignment, feature definition, lighting, tip geometry and restraint before assigning the difference to machining. Repeatability is valuable, but it does not establish that two methods answer the same dimensional question.
Conclusion
Make the measurement condition part of the dimensional requirement. Acrylic support, contact loading, optical boundary selection and conditioning can change what a reported value means. Keep cosmetic acceptance separate and verify that the inspection itself preserves the required surface.
When results disagree, compare the physical setup and detected feature before correcting the machining process. Additional decimal places cannot resolve an undefined boundary or an unintended restraint. For a review with 6CProto, send the acrylic drawing, critical feature images and intended measurement condition for quotation. Those details let manufacturing and inspection evaluate the same geometry, with a report that remains meaningful after the part leaves the original inspection station.
{“@context”: “https://schema.org”, “@type”: “FAQPage”, “mainEntity”: [{“@type”: “Question”, “name”: “Is noncontact inspection always preferable for acrylic?”, “acceptedAnswer”: {“@type”: “Answer”, “text”: “It avoids contact loading and marking, but optical edge selection still needs qualification on the actual transparent feature. Lighting, focus and reflections can affect what boundary the instrument detects. A contact method may be appropriate for another characteristic when its support and load are controlled. Choose by the required feature and measurement capability rather than a universal preference. Document the selected conditions so results from different methods remain interpretable.”}}, {“@type”: “Question”, “name”: “Can acrylic be clamped flat for dimensional inspection?”, “acceptedAnswer”: {“@type”: “Answer”, “text”: “Use that condition when the drawing or agreed inspection plan requires a defined restraint. Otherwise, clamping can conceal free state form or change the measured relationship. Identify support and clamp locations and the intended assembled condition. Report restrained and free measurements separately when both are useful. A part should not be accepted or rejected from a flattened setup merely because it is easier to measure than the specified condition.”}}, {“@type”: “Question”, “name”: “Why do repeatable optical readings disagree with a contact measurement?”, “acceptedAnswer”: {“@type”: “Answer”, “text”: “The methods may select different physical boundaries or impose different support conditions. A rounded clear edge can produce an optical transition that differs from the contact location, while the contact load may also influence a thin feature. Compare datum alignment, feature definition, lighting, tip geometry and restraint before assigning the difference to machining. Repeatability is valuable, but it does not establish that two methods answer the same dimensional question.”}}]}