

A molded part that fills completely in one cavity and comes up short in another is a diagnosis gift: the mold and the process are identical, so the difference points to a local cause — a blocked gate, a tight vent, or a cavity imbalance. A short shot that appears on every cavity points to the machine or the material. Short shots, where the melt does not fill the cavity completely, are among the most diagnosable molding defects because the location of the incomplete fill and the pattern across cavities narrow the cause. The fix starts with the data, not with a random pressure increase.
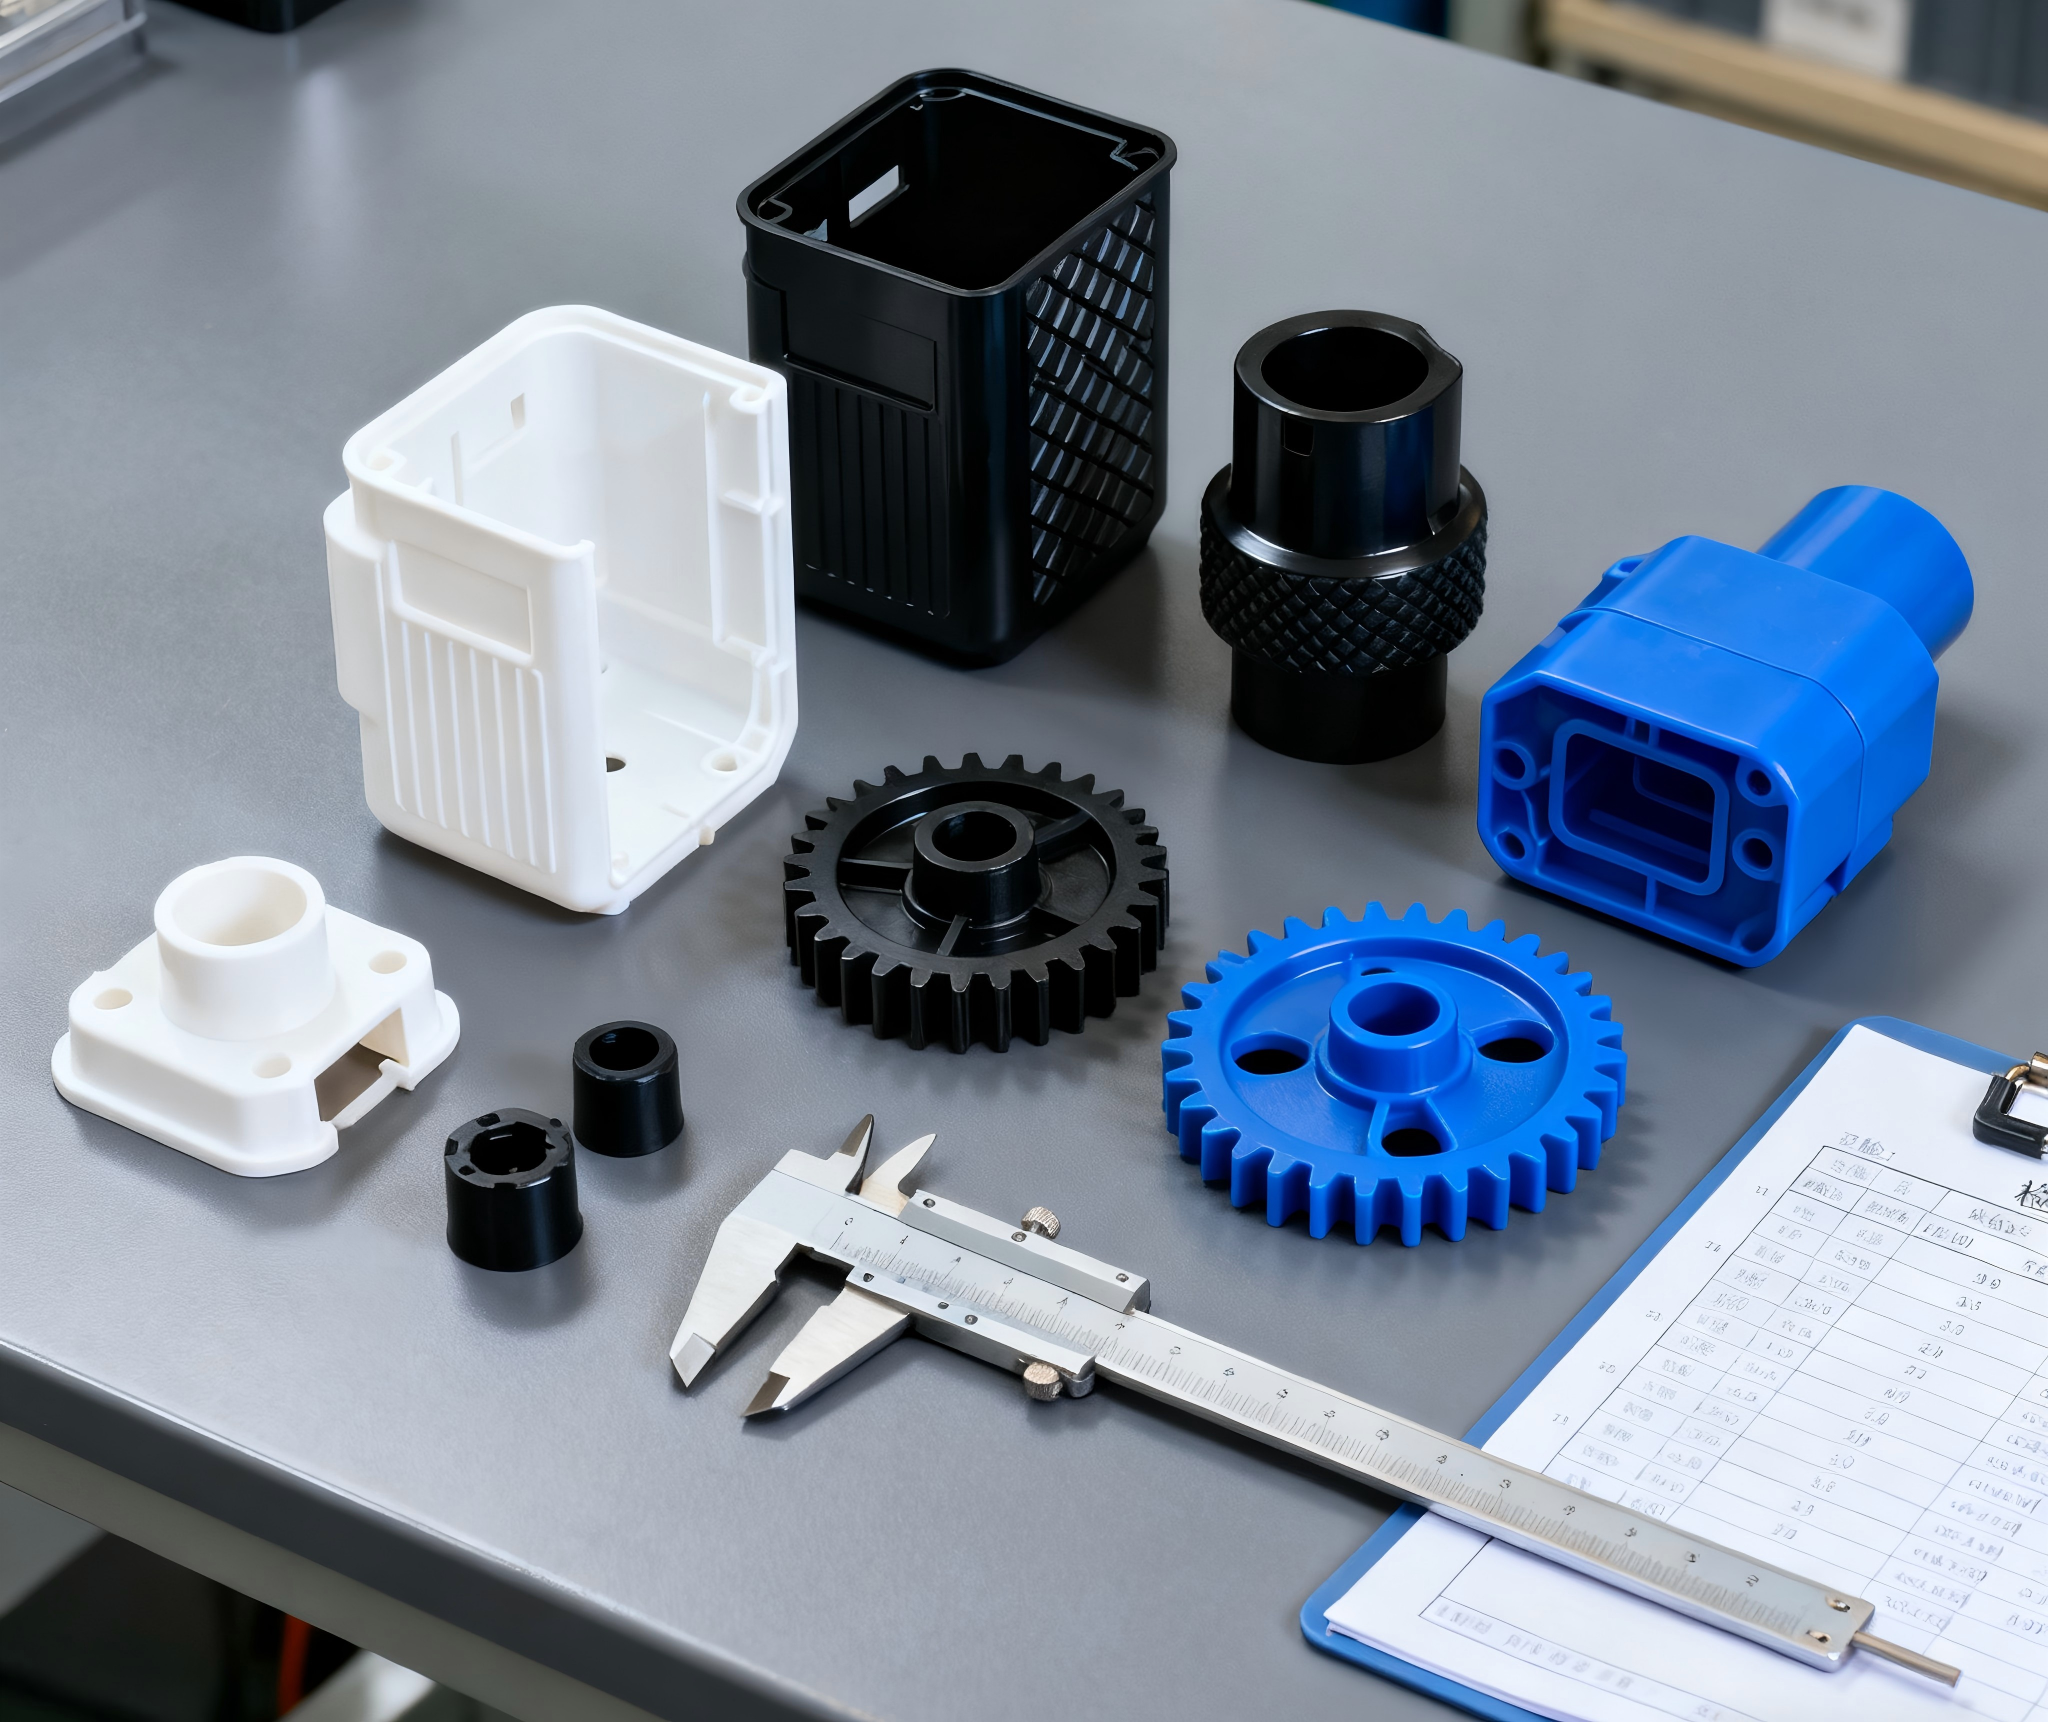
Diagnosing an incomplete fill: the data to collect first
Before changing any setting, collect the evidence: which cavities short, where the flow stops, whether the short is consistent or intermittent, and the machine readings at the moment of the defect — shot size, injection pressure, speed, and cushion. Compare the short against the fill pattern the mold design predicts: a short that stops at the same feature every time points to a flow restriction or a geometry limit, while a short that moves between shots points to a machine or material variation. The part itself shows the flow front, and the location of the incomplete fill is the map to the cause.
Record the data with the material lot and the drying history, because a material change or a drying lapse can produce the same symptom as a machine fault. The diagnostic record is what separates a one-off short from a process trend.
Machine-side causes: shot size, injection pressure, and speed
The machine delivers the melt, and three machine variables dominate short shots. Shot size that is too small or a cushion that disappears leaves the cavity short at the end of fill; injection pressure that is too low cannot push the melt through the full flow path; and injection speed that is too slow lets the melt cool and thicken before it reaches the far end. The fix order is to verify the shot size and the cushion first, then raise the pressure or adjust the speed profile in steps while watching the fill pattern. A machine-side short usually appears across the full cavity pattern or changes with the machine settings, which distinguishes it from a local mold cause.
Check the machine’s repeatability as well as its settings: a machine that drifts in shot size or clamp force produces intermittent shorts that no single setting fixes. The machine’s actual readings, not the setpoints, are the evidence.
Mold-side causes: flow length, vents, and gate design
The mold decides where the melt can go. A flow length that exceeds the material’s practical limit leaves the far end short, especially in thin sections where the melt cools quickly. Trapped air at the end of the flow blocks the melt and produces a short at the vent location, and a gate that is too small or partially blocked starves the cavity. The mold-side diagnosis compares the short location with the predicted flow: if the short is at the last-filled point with the vent nearby, the vent is the suspect; if the short follows a thin, long section, the flow length or the wall thickness is the cause. Venting and gate corrections are mold work, so they should be confirmed by the process evidence before the mold is modified.
Multi-cavity imbalance is a mold-side cause that shows as different fill levels across cavities. The imbalance can come from runner geometry, gate size differences, or temperature differences between cavities, and it is diagnosed by comparing the short pattern and the part weights across the cavities.
Material and drying factors that reduce flow
The material’s viscosity decides whether the melt can fill the geometry, and viscosity changes with temperature, moisture, and lot. A melt temperature that is too low thickens the material and shortens the fill; moisture in a hygroscopic resin degrades the material and changes its flow; and a lot with different melt flow behavior can short where the previous lot filled. The material checks are drying time and temperature, the melt temperature at the nozzle, and the material certificate’s flow data. A short that appears after a material change or a new lot points to the material before the machine or the mold.
The material supplier’s processing data provides the recommended melt temperature and flow length for the grade; comparing the machine’s actual conditions to that window catches the material-side cause before any tooling work.
A structured short-shot checklist for the molding floor
Work the diagnosis in order: confirm the shot size and cushion; check the melt temperature and the material drying; watch the fill pattern and the short location; verify the vents and the gate; and compare the flow length against the material’s capability. Change one variable at a time and record the fill pattern at each step, because a short shot that improves with two simultaneous changes cannot be attributed to either. The checklist turns the defect into a decision path, and the record turns the fix into a repeatable process setting rather than a floor habit.
The injection molding service and the gate-and-runner design guide cover the process context; this page is the defect-specific sequence for the molding floor. When the checklist is followed, the short shot is either fixed or its root cause is named — and the named cause is what the mold or process change is based on.
Reading the short pattern across the process
A floor example shows the checklist working. A four-cavity tool starts shorting in one cavity while the other three fill. The operator records the pattern: the short is always in the same cavity, at the same location, and the part weight in that cavity is lower than the others. The machine settings are stable, so the diagnosis moves to the mold: the runner or gate feeding that cavity is restricted, or the cavity is not venting. The tool is pulled and the gate is inspected; a small obstruction from an earlier repair is found and cleared, and the cavity fills again. The same symptom across all four cavities would have pointed to the machine or the material, and the location of the short in one cavity pointed to the mold. The example shows why the checklist starts with the pattern: the pattern narrows the cause before any setting is changed, and the change is then made with evidence rather than by trial.
The short pattern also changes with the process stage. A short that appears at startup and disappears as the tool warms points to a mold-temperature issue; a short that appears at the end of a long run points to a material or machine drift; a short that follows a material change points to the lot or the drying. The trend across time is as informative as the pattern across cavities, and the record should capture both. When the fix is made, the record shows which variable changed and how the fill pattern responded, so the next short — if it comes — starts from the data instead of from scratch. That is the value of the structured checklist: it turns the molding floor into a diagnostic system where defects are resolved by evidence and the process improves run to run.
A short shot is sometimes confused with other fill defects, and the distinction changes the fix. A short shot leaves a missing section with a rounded, incomplete edge; a sink or void leaves the part complete with a surface or internal defect; and a burn mark appears where trapped air compressed and overheated. A part that looks short at a thin rib may actually be a weld line or a flow hesitation that did not fill cleanly. The diagnosis should confirm the part is genuinely incomplete before changing the process, because a pressure increase that fixes a true short will not fix a weld-line weakness, and a vent change that helps a trapped-air burn will not help a material-drying short. The defect’s appearance, location, and history together identify it, and the record should capture all three. The molding floor that distinguishes the defects by their evidence is the floor that fixes them the first time.
Short shots also carry a quality signal beyond the defect itself. A part that fills completely but shows a hesitation mark near the last-filled point is a warning that the process is near its limit, and the next variation in material or temperature can turn the hesitation into a short. The fill study should record the margin, not just the pass/fail, so the process window is known and the next lot is run with that margin in mind. Molders who track the fill margin catch the drift before the defect appears; molders who react to the short shot are always one lot behind. The same logic applies across the cavity pattern: the cavity that fills last sets the window, and its margin is the process’s real limit. Put the margin on the process sheet and the short shot becomes a predicted event with a control limit, not a surprise.
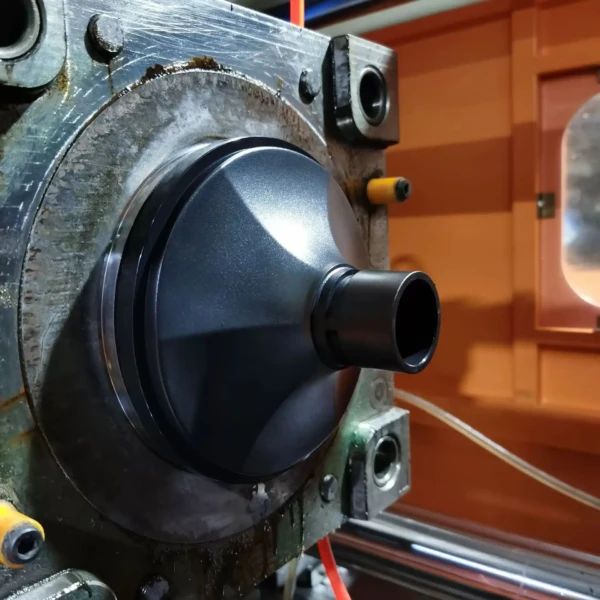
If short shots are appearing in a production tool, the 6CProto injection molding team can review the fill data, the material record, and the short pattern together to identify whether the fix belongs to the machine, the material, or the mold.