

Explore CNC Applications & Precision Components
Furniture and architectural hardware sit at the intersection of engineering and appearance. A hinge, a handle, a latch, a trim piece, or a bracket has to function precisely and look good enough to sell, and it has to do both at the quantity the project needs. CNC machining fits this range well: it produces the tight features a functional piece needs, the clean finish a visible piece needs, and the flexibility to change the design between prototypes and production without a heavy tooling commitment. This article explains how CNC machining serves furniture and architectural hardware, what to specify for visible and functional parts, and how to balance appearance, function, and cost.
Where Machining Fits in Hardware
Furniture and architectural hardware includes hinges, handles, pulls, latches, slides, brackets, trim, and structural details. Machining covers the range from a single bespoke piece to low and medium runs, because it holds precise features and finishes without the tooling a casting or stamping would need. The decision to machine instead of cast, stamp, or extrude comes down to the quantity, the geometry, and how much the design changes. At low volume or high mix, machining is often the only route that makes sense; at high volume, the other processes take over.
Function First: The Mechanism Parts
A hinge or latch lives or dies on its mechanism: the pin bore, the pivot, the clearance, the catch. These features are machined to a tolerance that makes the piece function, and the drawing has to call out the critical fits and the finish on the mating surfaces. A hinge that binds because the bore is tight, or a latch that rattles because the fit is loose, is a functional failure even if the appearance is perfect. Specify the fits, the tolerances, and the finish on the working surfaces before the cosmetic ones.

Appearance: Finish Is a Specification
For visible hardware, the finish is a functional requirement, not a decoration. A machined aluminum handle with a brushed or anodized finish presents as premium; a steel bracket with a clear coat reads as industrial; a brass piece that is polished and sealed keeps its look. The finish is set on the drawing with a surface requirement and a standard, and it has to be achievable on the geometry. Confirm whether the finish is applied before or after any critical dimension, because a coating changes the fit.
Material by Role
The material follows the role. Aluminum machines fast, finishes well, and suits handles, pulls, and light brackets. Steel and stainless give strength for hinges, latches, and structural details, with stainless for corrosion and indoor-outdoor use. Brass and bronze suit architectural hardware that must age gracefully and resist wear. Each material changes the machining, the finish, and the cost, and the drawing should name the grade and condition so the finish and the function both land.
Prototypes and Production Together
Furniture and architectural projects often move from a prototype to a run with design refinements between. CNC machining lets that happen without a tooling commitment: machine a prototype, review the finish and function, adjust, and machine the run. For visible and functional hardware this is a real advantage, because a cast or stamped piece locks the design into tooling before the market has seen it. The machining route keeps the door open to change while the design is being validated.
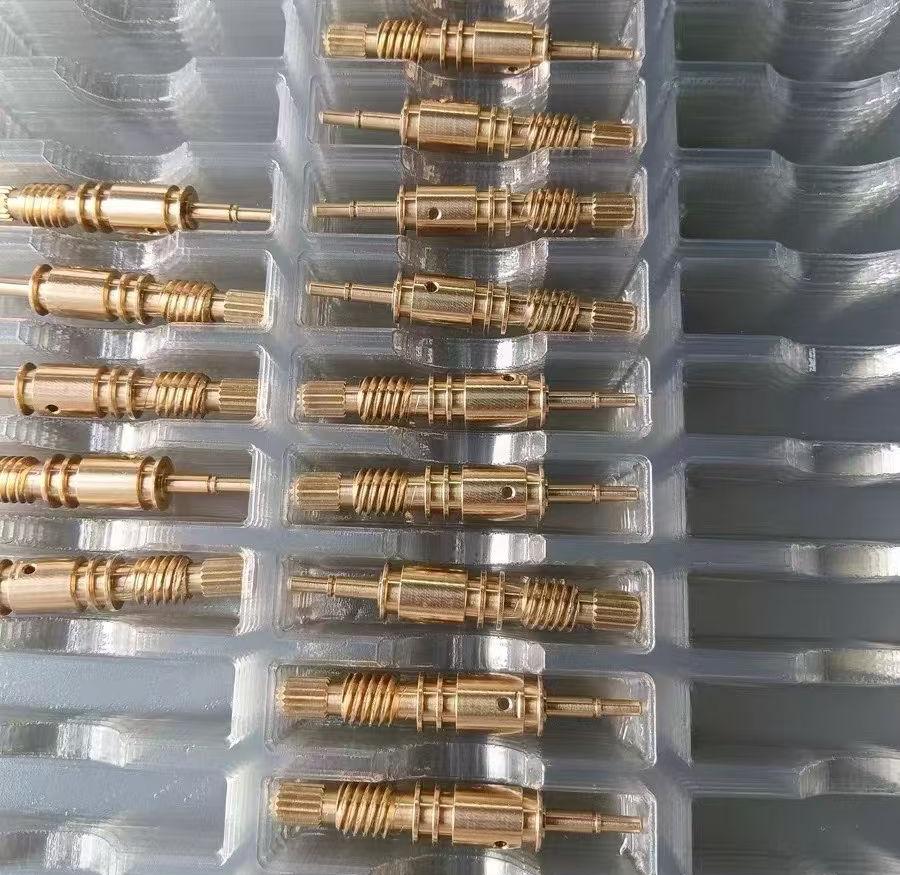
Finishing Steps for Hardware
Machined hardware is usually finished after cutting: deburring and polishing the edges, then anodizing, brushing, plating, or a clear coat. The finishing plan matters for both appearance and durability, and the edge and corner treatment is what a viewer notices first. Confirm the finishing sequence and its dimensional effect on the critical fits, and call out which surfaces are visible and which are functional. A piece that is cleanly deburred and finished reads as quality; one with rough edges reads as unfinished regardless of the coating.
What to Specify on the Drawing
- The critical fits and tolerances on the mechanism features.
- The finish, with a surface requirement on the visible faces.
- Material grade and condition, and any edge or corner treatment.
- Whether tolerances apply before or after finishing.
- Quantity and stage, so the machining route and the finish plan fit.
Cost and Quantity: When Machining Stops Winning
Machining is economical at prototype, low, and medium runs, but its per-part cost does not fall with volume the way casting or stamping does. At a certain quantity the tooling of an alternative process pays for itself and the per-part cost drops. The decision is a lifecycle comparison: machining’s flexibility and no-tooling cost against the lower per-part price of a tooled process at scale. For a project whose volume is real and design is stable, the tooled route wins; for high-mix and design-in-flux work, machining is the better fit.
Bottom Line
CNC machining for furniture and architectural hardware delivers the precision that makes a mechanism work and the finish that makes a visible piece sell, across prototypes and low to medium runs. Specify the fits and the finish, choose the material by role, and finish the edges and surfaces for the presentation. Let the quantity and the design stability decide whether to keep machining or move to a tooled process. Done that way, hardware machines to both its function and its look.
The Fit Is the Function: Mechanism Tolerances
A hinge, latch, or slide works because of the fit between its parts. The bore that carries the pin, the clearance that lets one side move past the other, the catch that engages without binding: these are the mechanism, and they are machined to a tolerance that makes the piece function. The drawing has to call out the critical fits and the finish on the mating surfaces, because a hinge that binds on a tight bore or rattles on a loose one fails the product even when the appearance is perfect. Design the mechanism fits first, then the appearance around them.
The Finish Is the Product for Visible Hardware
For visible hardware, the finish is not decoration, it is the product. A machined aluminum handle with a brushed anodize reads as premium; a cast or stamped piece with a raw surface reads as industrial; a brass piece that is polished and sealed keeps its look over time. The finish is set on the drawing with a surface requirement and a standard, and it has to be achievable on the geometry: deep pockets and internal corners finish differently from open faces. Confirm the finish before or after any critical dimension, because a coating changes the fit.
Prototype-First Design Saves Tooling Regret
Furniture and architectural hardware is subject to the market’s verdict, and a tooled piece that misses the mark is a sunk die. Machining lets you prove a handle, a hinge, or a bracket in prototype, get the finish and the function right, and then decide whether the volume justifies a tooled process. The prototype-first route keeps the design open while it is being validated, and the machining cost is the price of that flexibility. For a new product, it is usually cheaper to machine the first batch than to regret the tool after.
Edge and Corner Treatment Reads First
The viewer notices edges and corners before surfaces. A cleanly deburred, lightly chamfered edge reads as intentional and premium; a sharp, rough edge reads as unfinished, regardless of the coating. The edge treatment is part of the hardware design, and it limits the machining: internal corners need a radius, and a sharp outside corner means a smooth tool path. Confirm the edge treatment and the deburring step in the finish plan, because it is the first thing the hand and the eye test.
Sample, Review, and the Order in Between
For a product that will be sold, the sample is the contract. Machine a sample of the actual geometry, finish it as production, and review it in the actual lighting and against the actual hardware it mates with before the batch is released. The sample review catches the finish, the fit, and the feel that a drawing cannot. Then the batch runs to the approved sample, and the first article of the run repeats the check. That loop is what turns a good drawing into good hardware.
Batch Review and the Saving of a Sketch
The reason to prototype architectural hardware is that a sketch cannot carry the feel. A drawing shows the geometry, but not how a handle sits in the hand, how a hinge closes, or how the finish catches the light. A machined sample carries all of it, and the review of that sample is where the product gets decided: the finish, the fit, the weight, the handshake. Saving the sketch for the review is the discipline that turns an engineer’s idea into a buyer’s product, and it is exactly what machining at low volume makes affordable.
Rigging, Strength, and the Hidden Load
Architectural hardware carries loads that a drawing can understate: a handle that supports a pull, a bracket that holds a panel, a hinge that carries a door’s weight through years of cycles. The material and the machining have to cover the real load and the safety it demands. Confirm the application’s load and the duty, choose the material for the strength and the fatigue, and machine the stress-bearing sections with enough section and a proper radius. A hardware piece that looks right and fails under load is a liability, and the load is part of the spec.