

The process decision for a new product – machining, molding, casting, sheet metal, extrusion, or 3D printing – is made once and paid for repeatedly. Choose wrong and the product suffers in cost, quality, or lead time for its whole life. The trap is choosing by habit or by what a supplier owns instead of by what the part needs. This article gives a decision framework that starts from geometry, material, volume, and lifecycle, and runs down the process options against the product’s real constraints.
Start With Four Inputs
Frame the decision with four inputs before considering processes: geometry (what shape and what features), material (what the environment and load require), volume (how many over what time), and lifecycle (how likely the design changes). These four decide the process family, and the process then decides the details.
Write them down. A decision made on these inputs can be challenged and traced; a decision made on a supplier’s capabilities page cannot.
How Geometry Constrains the Process
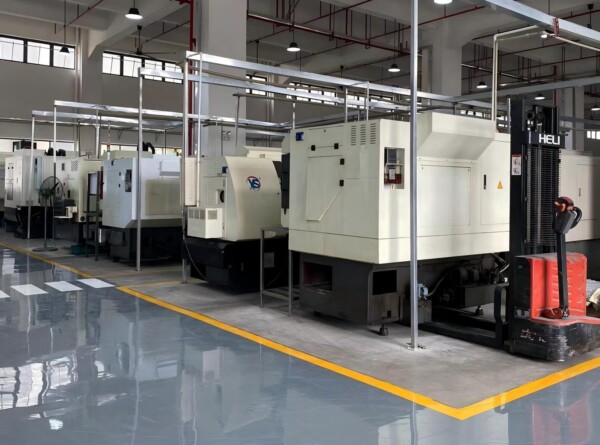
Rotationally symmetric parts suit turning; prismatic parts suit milling or sheet metal; freeform internal cavities suit molding or 3D printing; constant cross-sections suit extrusion; large flat forms suit sheet metal. If the geometry is a body of revolution, a lathe route is natural. If it has undercuts and complex internals, subtractive machining gets expensive and molding or additive steps in. The shape sets the shortlist.
Material Wins by Environment
The material the application requires may rule out processes. If the part must be a specific metal, molding is gone; if it must be a specific plastic at volume, machining may be too expensive and molding wins. Confirm the material and condition the part needs, then see which processes can produce it economically at your volume.
Volume Is the Great Decider
Volume is where most decisions actually flip. One-off and development parts justify machining, printing, or low-tooling routes. As volume grows, process speed and per-part cost dominate: molding and stamping amortize their tooling, machining becomes expensive per part, and extrusion pays off for constant profiles. Set the volume range honestly, because overestimating volume to justify a mold is a classic way to over-invest.
The Lifecycle Question
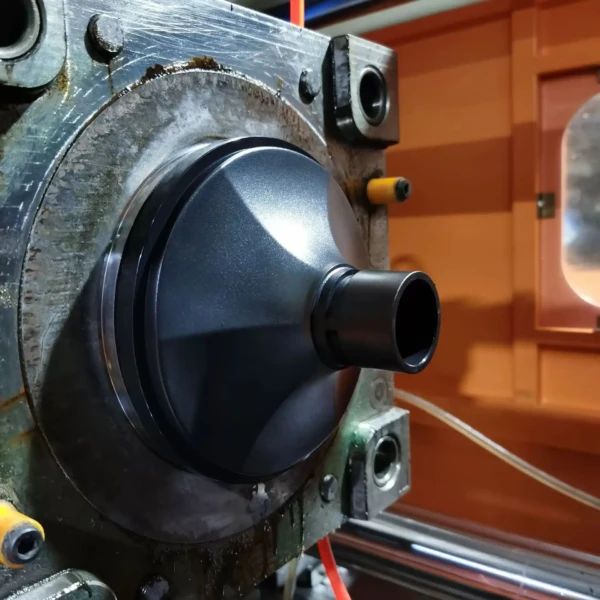
If the design is still changing, high-tooling processes freeze it too soon. Low-change products can invest in tooling; fast-iterating ones should stay in low-tooling flexibility until the design stops moving. Ask when the design will be frozen, and let that date participate in the tooling decision.
A Process Comparison Framework
| Input | Ask | Process implication |
|---|---|---|
| Geometry | Body of revolution, prismatic, cavity, profile? | Turning/milling vs molding vs extrusion |
| Material | Metal or plastic, and which condition? | Eliminates incompatible processes |
| Volume | Units per year over what horizon? | Decides tooling vs flexibility |
| Lifecycle | Is the design frozen or still changing? | Decides tooling timing |
| Tolerance/finish | What must hold on critical features? | Decides achievable route and inspection |
Prototype in the Probable Process
The most reliable way to test the process decision is to prototype in the process you intend to use for production. A machined prototype proves geometry but not molding behavior; a 3D-printed prototype proves form but not production material properties. Use early builds to validate the process assumption before the tooling spend, not just the part.
The Bottom Line
Choose a manufacturing process by walking geometry, material, volume, and lifecycle in order, then test the choice with a prototype in the probable process. Document the inputs so the decision is traceable, and let volume and design stability set the tooling timing. That framework keeps the process a fit for the product rather than a habit of the supplier.
Note: process capability varies by supplier; validate tolerance, finish, and cost on quotations from qualified shops before tooling.