

A product team needs a small run of silicone or urethane parts and faces a mold-making decision: machine a metal mold at high cost and long lead time, or print a mold and start casting in days. For low-volume runs, 3D-printed molds bridge the gap — the printed mold or master carries the geometry into the silicone or urethane, and the process works when the material, the surface, and the mold life are matched to the job. The decision is not “can we print the mold” but “what does the mold need to survive,” and the answer sets the print material, the orientation, and the release strategy.
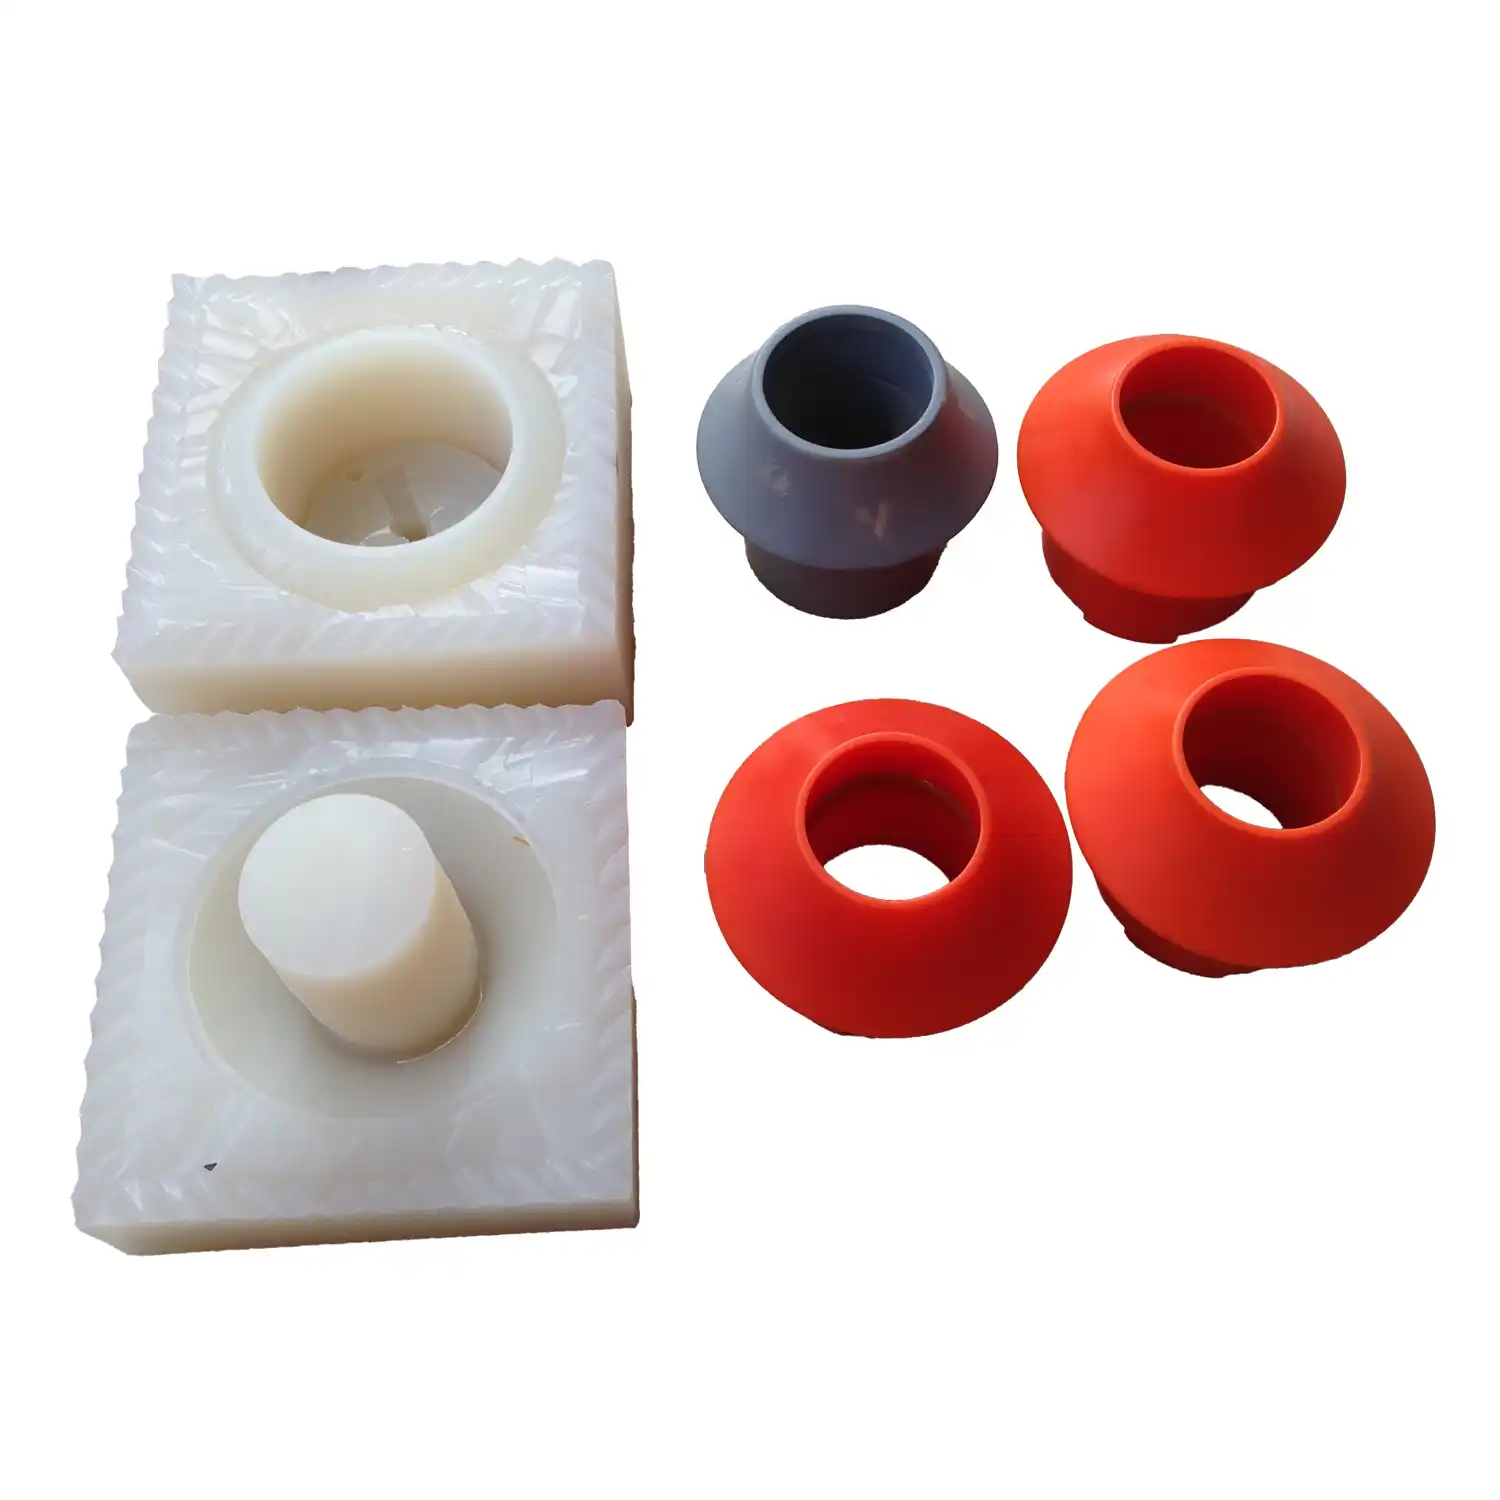
Where a printed mold or master makes sense in the casting workflow
Printed molds make sense at the low-volume end of casting: a handful of parts, a design still changing, or a geometry that would be expensive to machine as a mold. The printed mold can be the direct mold for a small silicone or urethane run, or it can be the master that creates a silicone mold for a longer run — printed masters are common for vacuum casting, where the master is used once to make the silicone mold. The boundary is volume and surface: as the run length grows and the surface requirement tightens, the machined mold or master earns its cost. The workflow should place the printed element where the volume and the change rate justify it, and the casting team should know which role the printed part plays.
The master-route comparison and the silicone-mold design guides cover the adjacent decisions; this page focuses on the printed mold or master itself and its limits.
Choosing the print material: temperature, cure compatibility, and mold life
The print material must survive the molding process. Silicone and urethane cure with heat in many processes, so the printed mold must tolerate the cure temperature without softening, warping, or degrading; the material must also be compatible with the resin and the release agents, which can attack some printed materials. High-temperature resins and filled materials extend the mold’s usable temperature, and the material choice should come from the process’s actual cure profile, not from a generic “printable” label. The mold life is short for most printed materials — a handful to a few dozen parts depending on the resin and the geometry — and the life should be confirmed with the material supplier and the casting process before the run is planned.
The printed material’s surface and porosity also affect the mold: a rough or porous surface transfers to the part and can hold release agent or resin. The surface may need finishing or a sealing step, and the finish requirement should be part of the mold design.
Orientation and surface prep that transfer cleanly to silicone
The printed mold or master’s orientation sets its surface and its strength. The build direction controls which faces carry layer steps, and the functional mold surfaces should be oriented to minimize the visible stepping or finished afterward. Supports leave marks that transfer to the mold and the part, so the support placement should avoid the functional surfaces or the marks should be removed. The surface prep — sanding, filling, sealing, and release treatment — is what makes the printed mold release cleanly and produce parts that match the finish requirement. The prep labor is part of the printed-mold cost, and a mold that needs hours of finishing may be less economical than the quick print suggests.
The release strategy is part of the mold design: the release agent must be compatible with the printed material and the resin, and the mold geometry should include the draft or the flexibility that lets the part come out.
Mold-life limits and when to switch to a machined master
Printed molds wear and degrade with each part. The resin’s heat and chemistry attack the mold surface, the release and cleaning cycles erode it, and the mold’s dimensional and surface quality drifts. The life limit is reached when the parts no longer meet the finish or dimension, and the run should be planned within that limit or the mold should be replaced. When the program grows beyond the printed mold’s life, the switch to a machined master or mold is the economical move: the machined tool lasts longer, holds its surface, and produces consistent parts. The crossover is the volume where the printed mold’s replacement cost exceeds the machined tool’s amortized cost, and it depends on the mold life, the part count, and the surface requirement.
The program should track the mold’s part count and the part quality, so the switch happens at the planned crossover rather than after a batch of out-of-spec parts.
The handoff to vacuum casting: vents, gates, and release strategy
When the printed element is a master for vacuum casting, the handoff to the silicone mold is where the quality is set. The master’s surface transfers into the silicone, so the finish prep happens before the silicone is poured; the master must release from the cured silicone without tearing the mold or damaging the master; and the parting and venting plan should be considered while the master is still being made. The handoff also includes the mold-making steps: the silicone is poured, cured, and cut open along the planned parting, and the master is removed. The printed master that was oriented, finished, and released properly produces a silicone mold with the intended surface and geometry; one that was rushed produces a mold that repeats the master’s defects in every cast part.
Planning the printed-mold run and its economics
The run plan should start with the part count and the finish, because they set the mold route and the expected life. A run of ten parts with a matte finish may use one printed mold or master, with the surface accepted as-printed or lightly finished; a run of fifty parts with a consistent cosmetic finish may need multiple printed molds or a machined master, because the printed mold’s surface drifts with each part. The plan should state the mold count, the expected life per mold, and the changeover point, and the economics should compare the printed-mold route against the machined route at the total quantity. The comparison includes the finishing labor on the printed mold, the replacement cost when the mold wears, and the scrap risk when the mold fails mid-run. The printed mold is the economical answer when the total cost of the printed route — molds, finishing, and replacements — is below the machined route at the part count; beyond that count, the machined tool earns its cost.
The run plan should also schedule the quality checkpoints: the first part from each mold is compared to the finish and dimension standard, and the mold is inspected at the interval that catches the drift before it produces out-of-spec parts. The part count per mold is tracked, so the mold is replaced at the planned limit rather than after a bad batch. The casting process and the release agent affect the mold life, and the plan should confirm the release and the cleaning with the actual resin before the run. When the mold count, the economics, and the checkpoints are planned, the printed-mold run is controlled — and the parts come out consistent because the mold was replaced before it failed.
The printed mold route also deserves a risk review before the first pour. The risks are the mold life, the surface transfer, the release failure, and the compatibility of the printed material with the resin and the cure; each risk has a mitigation — the material choice, the surface finishing, the release agent, and the mold count. The risk review should confirm the printed material’s temperature and chemical limits against the actual process, and the first test pour should verify the release and the surface before the full run. The printed mold is a low-cost route, and the low cost is only an advantage if the run does not fail mid-way; the risk review is what protects the schedule and the part quality. When the risks are named and the mitigations are in place, the printed mold is a controlled production tool rather than an experiment.
Keep the mold record with the run: the print material, the finishing steps, the mold count, and the part numbers produced from each mold. The record turns the printed-mold run into a repeatable process, and it is the reference when the run is repeated or the program moves to a machined route. The record also supports the quality claim when a part is questioned, because the mold history explains the surface and the dimension of the part.
Record the actual mold life from the run and feed it back to the plan, because the printed material and the resin determine the real life better than any estimate. The first run’s data — the parts per mold, the surface drift, and the failure mode — sets the mold count for the next run and the crossover to the machined route. The learning loop is the advantage of the printed mold: it is cheap enough to experiment with, and the experiment data improves the next decision.
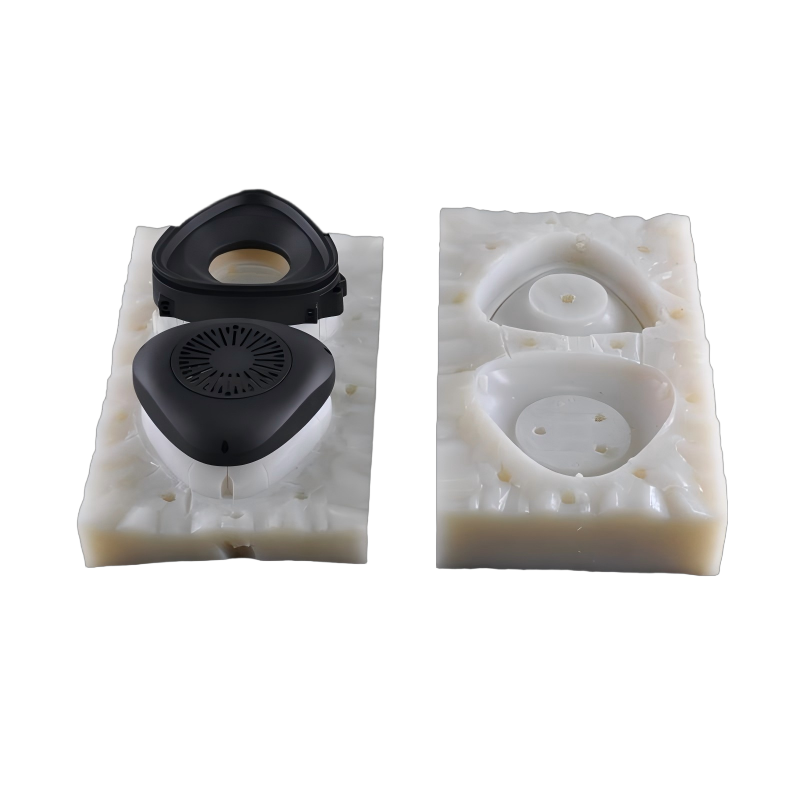
If you are planning a printed mold or master for silicone or urethane casting and want the material, surface, and life plan reviewed, the 6CProto urethane casting and 3D printing teams can work from your part count and finish to the mold route and the release strategy.