

A drawing specifies a hardness number, and the shop and the buyer argue over the scale: the part was tested on Rockwell, the drawing was written in Brinell, and the conversion chart gives a range wide enough to make either side right. Hardness is one of the most specified and most misunderstood properties in machined parts, because the number means nothing without the scale, the load, and the test method. Reading a hardness chart and writing a hardness specification correctly is the difference between a part that meets its requirement and a dispute at the first inspection.
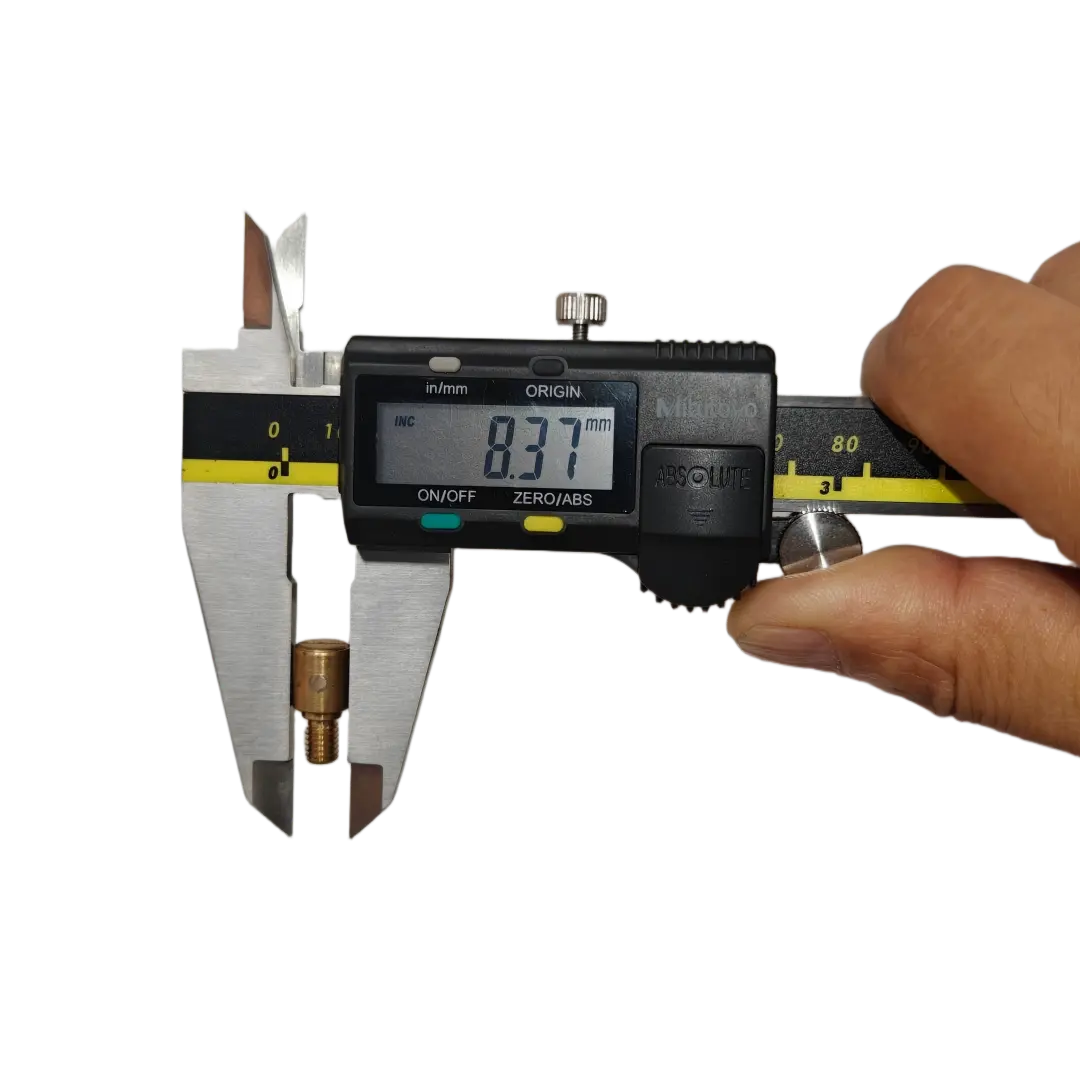
What hardness measures and what it does not predict
Hardness measures a material’s resistance to indentation under a controlled load — a surface property that correlates with strength and wear for many metals. It is a fast, practical test that suits production and receiving inspection, and it is the common way to verify heat treatment and material condition. Hardness does not predict everything: it does not measure toughness, ductility, or the material’s behavior under impact or fatigue, and two materials with the same hardness can differ in the properties that matter for the part. The specification should use hardness for what it verifies — the material condition and the consistency — and add the other tests where the part’s service demands them. A hardness number is a process indicator, not a complete material specification.
Hardness also varies with the location and the section: a heat-treated part can be harder at the surface than in the core, and the drawing should state where the hardness is measured.
Reading a hardness chart across scales
A hardness chart lists common materials and their typical hardness on the Rockwell, Brinell, and Vickers scales. The chart is a reference for selection and a starting point for the specification, and it should be read with the scale and the material condition in view: the same alloy in a different temper or heat treatment appears at a different hardness. The chart values are typical ranges, not guarantees, and the actual hardness should be verified on the part or the lot. The chart also shows the relative hardness of the materials — where aluminum sits relative to steel, and where the hardened tool steels sit — which is the information the selection uses. The chart is a map, and the specification is the destination.
The chart should be matched to the material standard, because the hardness ranges in the drawing should come from the applicable specification rather than from a general table.
Converting between Rockwell, Brinell, and Vickers carefully
Conversion between hardness scales is a frequent source of error. The scales measure indentation differently, and the conversion is an approximation that holds well within the ranges where the standards overlap but degrades at the extremes and for materials with unusual behavior. A conversion chart should be used with the understanding that the converted value carries uncertainty, and the acceptance should be based on the scale the drawing specifies. If the drawing says Brinell and the shop only has a Rockwell tester, the conversion should be documented and the critical values confirmed on the specified scale. The conversion caution is part of the specification discipline: the scale, not the number, is what makes the requirement enforceable.
The conversion also differs by material family, and a conversion table built for steel should not be applied blindly to aluminum or to nonferrous alloys.
How hardness relates to machinability and wear
Hardness is a practical input to the machining and the wear decisions. Harder materials generally machine more slowly and wear tools faster, and the hardness range should be considered when the process is quoted; softer materials machine faster but can smear or tear. In service, hardness correlates with wear resistance for many sliding and abrasive applications, and the hardness specification is the common way to control the wear behavior of a part. The relationship is not perfect — microstructure and lubrication affect wear — but the hardness range is the practical control. The drawing should state the hardness with the process in view, because the machinability and the service both follow it.
The hardness should be specified at the surface that wears, and the heat treatment should be set to deliver the hardness at that location.
Using hardness specs on drawings and purchase orders
The hardness specification on the drawing should carry the scale, the value or range, the test method, and the location: for example “Rockwell C 28–32 HRC, tested on the marked surface.” The PO should repeat the specification, and the certificate or the test report should confirm the result with the scale and the method. The hardness is verified on the part or the lot at the location the drawing names, and the record travels with the shipment. A hardness specification that is complete is enforceable; one that says “hard” or gives a number without a scale is a dispute waiting for the first inspection. The material-reference and inspection guides on this site support the rest of the part; this page is the hardness comparison and specification reference that makes the callout work.
Building the hardness specification with the test plan
The hardness specification should be written with the test plan that verifies it. The drawing names the scale, the value, the location, and the method; the inspection plan names the tester, the calibration, and the sampling; and the certificate or the report records the result with the same terms. The test plan should also cover the part preparation: the surface at the test location is cleaned and prepared so the indentation reads the material, and the minimum thickness is confirmed for the test and the load. The hardness specification that is built with its test plan is enforceable; one that names a number without the method leaves the verification to whoever tests it first. The buyer and the shop should agree on the method before the parts are made, so the acceptance is a check rather than a dispute.
The test plan should also connect the hardness to the material condition that the design needs. If the hardness verifies the heat treatment, the test location and the acceptance range should match the heat-treatment specification; if it verifies the wear surface, the test should measure the surface that wears. The records should tie the hardness to the lot and the heat-treatment batch, so a failure or a question traces to the material history. When the hardness specification and the test plan are aligned, the hardness number is a controlled verification of the part’s condition — and the part that passes is the part whose material and process are confirmed.
The hardness chart and the specification should also be connected to the part’s design intent, because the hardness number exists to serve a function. A wear part is specified to a hardness that the sliding or the abrasive service needs; a structural part is specified to a hardness that verifies the heat treatment and the strength; and a machined part may be specified to a hardness range that balances the wear and the machinability. The review should ask what the hardness is controlling and confirm that the value and the test serve that function. A hardness specification that is copied from a similar part or a general table may not match the actual duty, and the mismatch shows up as the wear, the breakage, or the machining cost that the design did not intend. When the hardness is specified from the function and verified with the matching test, the number is a meaningful control — and the part’s service confirms the specification that the chart and the review produced. The hardness reference is the tool, and the function is the reason the tool is used.
Keep the hardness records with the part, including the scale, the location, and the heat-treatment batch, so the hardness history is traceable and the review is fast when the part or the process changes.
Confirm the tester’s calibration and the operator’s method with the inspection report, because the hardness number is only as good as the test that produced it. The report should state the scale, the load, the location, and the calibration date, and it should be checked before the acceptance is signed. The verification discipline is what makes the hardness specification meaningful across the supplier and the buyer.
The hardness spec is enforceable when the scale and the location are on the drawing and the report states the same terms.
Confirm the scale and the location with the supplier and the inspector before release, and keep the method and the record with the part so the hardness is verified the same way every time.
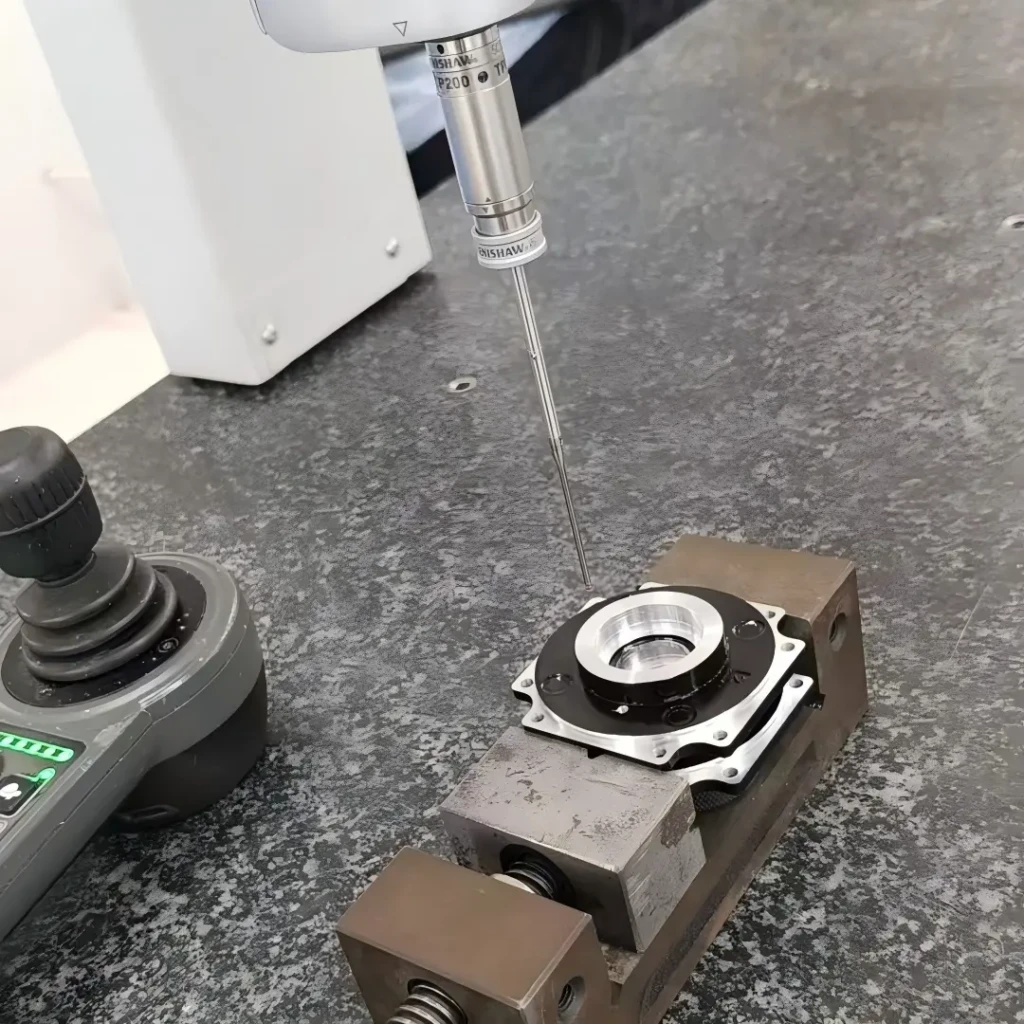
If you are specifying or verifying hardness on a machined part and want the scale, the range, and the method reviewed, the 6CProto quality and CNC teams can work from your material and service to the hardness specification and the test plan.