

Tooling orders are where prototype programs commit real money, and most tooling regrets trace to the same failure: the prototype passed a visual review instead of a validation gate. A part that looks right can still fail under load, in the environment, or after a hundred cycles — and the tool is cut before those failures are found. Validation gates are the answer: defined checkpoints between prototype stages, each with measurable criteria and recorded evidence, that decide whether the design is ready to move toward tooling. The gate framework turns “we think it is ready” into “we tested it and it passed.”
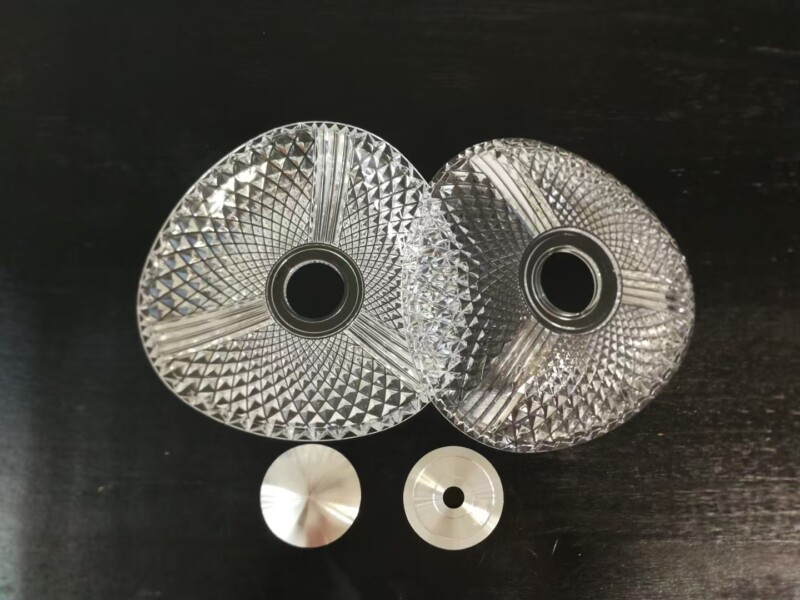
Mapping validation gates to prototype stages
Validation gates follow the prototype’s purpose. An appearance model answers visual and ergonomic questions; a fit prototype answers geometry and assembly questions; a functional prototype answers mechanical, thermal, or electrical questions; and a pre-production prototype answers manufacturing and repeatability questions. Each stage has a gate with its own criteria, and a design should not advance past a gate it has not passed. The map keeps the program honest: an appearance model that looks good does not clear the functional gate, no matter how impressive the finish.
The gate plan should be written before the prototypes are ordered, because the tests determine what the parts must be made from and how many are needed. A fit gate needs dimensional measurement; a functional gate needs test samples; a material gate needs the production grade. Ordering prototypes without the gate plan means ordering parts that may not support the tests the design actually needs.
What to test before committing to production tooling
Before tooling, the design should clear four families of gates. Geometry gates verify the fit, the clearances, and the assembly sequence. Functional gates verify the part does its job under the loads and conditions of use. Environmental gates verify survival in temperature, humidity, chemicals, or exposure. Manufacturing gates verify that the design can be produced repeatedly at the planned process and tolerance. The tooling decision is a claim that all four families are stable — and stability is shown by passing the gates, not by the absence of an obvious failure.
Tooling also validates the material transition: the prototype may be machined or printed in one material while the production part is molded or cast in another. The material gate should compare the properties that matter between the prototype material and the production material, because a design validated in machined aluminum does not automatically survive as a casting or a molded part.
Pass criteria that are measurable, not subjective
Every gate needs a criterion that two engineers can agree on. “Fits well” is not a criterion; “the shaft assembles by hand with measured clearance between X and Y” is. “Survives the environment” is not a criterion; “no visible corrosion after the specified salt-spray hours, assessed per the standard” is. Write the criteria before the test, name the measurement or test method, and record the result with the sample identity. A gate with subjective criteria is a discussion; a gate with measurable criteria is a decision.
Criteria should also name the acceptance limit and the sample size. A single sample that passes is evidence of one part; a gate that needs statistical confidence requires enough samples. The sample size belongs in the gate plan, and it should match the risk: a safety-critical function justifies more samples than a cosmetic check.
Documenting evidence: photos, data, and inspection reports
The evidence behind a gate decision is what makes it reviewable. Photographs document the condition at the test point; measured data documents the result; inspection reports tie the result to the drawing revision; and the test record documents the method and the date. The evidence file becomes the design-freeze reference, and it is what the next engineer, the quality team, or a future supplier can rely on when the original team has moved on. A gate that is passed without evidence is a gate that was not passed — the memory of the test is not the record.
Keep the evidence with the part number and the revision, and note which gates each revision cleared. When a revision changes a feature, the affected gates reopen and the evidence must be regenerated; the file makes the reopened gates visible instead of silently trusting the old result.
Gates that can be skipped safely and ones that cannot
Not every gate is mandatory at every stage. A cosmetic prototype can skip the fatigue gate, and a functional prototype that never leaves the lab can skip the outdoor-environment gate. The gates that cannot be skipped are the ones tied to the risk the tooling commits: if the part carries load, the load gate is not optional; if it seals, the seal gate is not optional; if it will be molded, the manufacturability gate is not optional. Skipping a gate is a decision, not an accident — write the skip and the reason in the plan, and review it at the tooling authorization, because a skipped gate that was never documented reappears as a surprise at production.
The tooling authorization should list the gates the design has passed and the skips that were accepted. If the list is short or the skips are broad, the authorization is premature, and the tooling order should wait for the evidence. The prototype testing methods page covers individual tests; this page is the sequence that decides when the program is ready to commit.
Why gates fail when they are skipped
A tooling example shows why the gates matter. A molded housing program reaches the tooling decision with a prototype that fits well and looks right, but the gate file shows that the functional test was run on a machined prototype in a different material than the production molding resin, and the environmental test was skipped because the schedule slipped. The tooling review stops the order: the material transition has not been validated, and the skipped environmental gate could return as a field failure that no tooling change can fix. The team runs the material comparison and the environmental test on samples of the production-equivalent material, finds a difference that changes the wall design, and revises the drawing before the tool is cut. The alternative — cutting the tool on the strength of the visual review — would produce a mold that needed modification after the first trials, costing more than the test that was skipped. The example is the core of validation gating: the gates are not paperwork between the design and the tool; they are the checkpoints where the program learns what it does not know while the changes are still cheap.
The gate framework also changes how the team plans prototype quantities. When the gates are defined before the parts are ordered, the count is set by the tests: a fit gate needs one set, a functional gate needs enough samples for the load or cycle test, and an environmental gate needs its own samples at the service condition. A program that orders prototypes without the gate plan discovers that it has too few parts for the tests it needs, and the second order adds lead time. The gate plan also assigns evidence to each revision, so the design-freeze review can confirm that every risk the tooling commits has been tested. The tooling authorization becomes a review of evidence rather than a decision by confidence, and the difference shows in the first production trials: the parts meet the drawing because the drawing was validated before the tool was cut, not because the tool was lucky.
The gate plan also protects the budget. A tooling change after the tool is cut costs more than the test that would have caught the problem, and a field failure after production costs more still. The program that budgets the gates — the samples, the tests, the evidence — is spending a small, planned amount to avoid a large, unplanned one. The budget should be part of the project plan from the start, with the gate tests listed and priced, because a gate that is skipped for schedule is usually a gate that was never budgeted. When the gates are in the plan and the budget, the schedule pressure stops being an argument for skipping the evidence and becomes a reason to run the tests in parallel where the samples allow. The tooling decision then rests on evidence that was planned, funded, and executed, and the program moves into production with the design validated rather than hoped for.
A useful gate plan fits on one page: the stage, the criterion, the test, the sample count, the evidence, and the owner. Keep that page with the project plan and update it when the criteria change, so the review always reads the current gates. The one-page plan is also the tooling authorization’s checklist — the sign-off lists the gates passed and the evidence attached, and a missing line stops the order until the evidence exists. That discipline is what makes the framework usable on a real schedule.
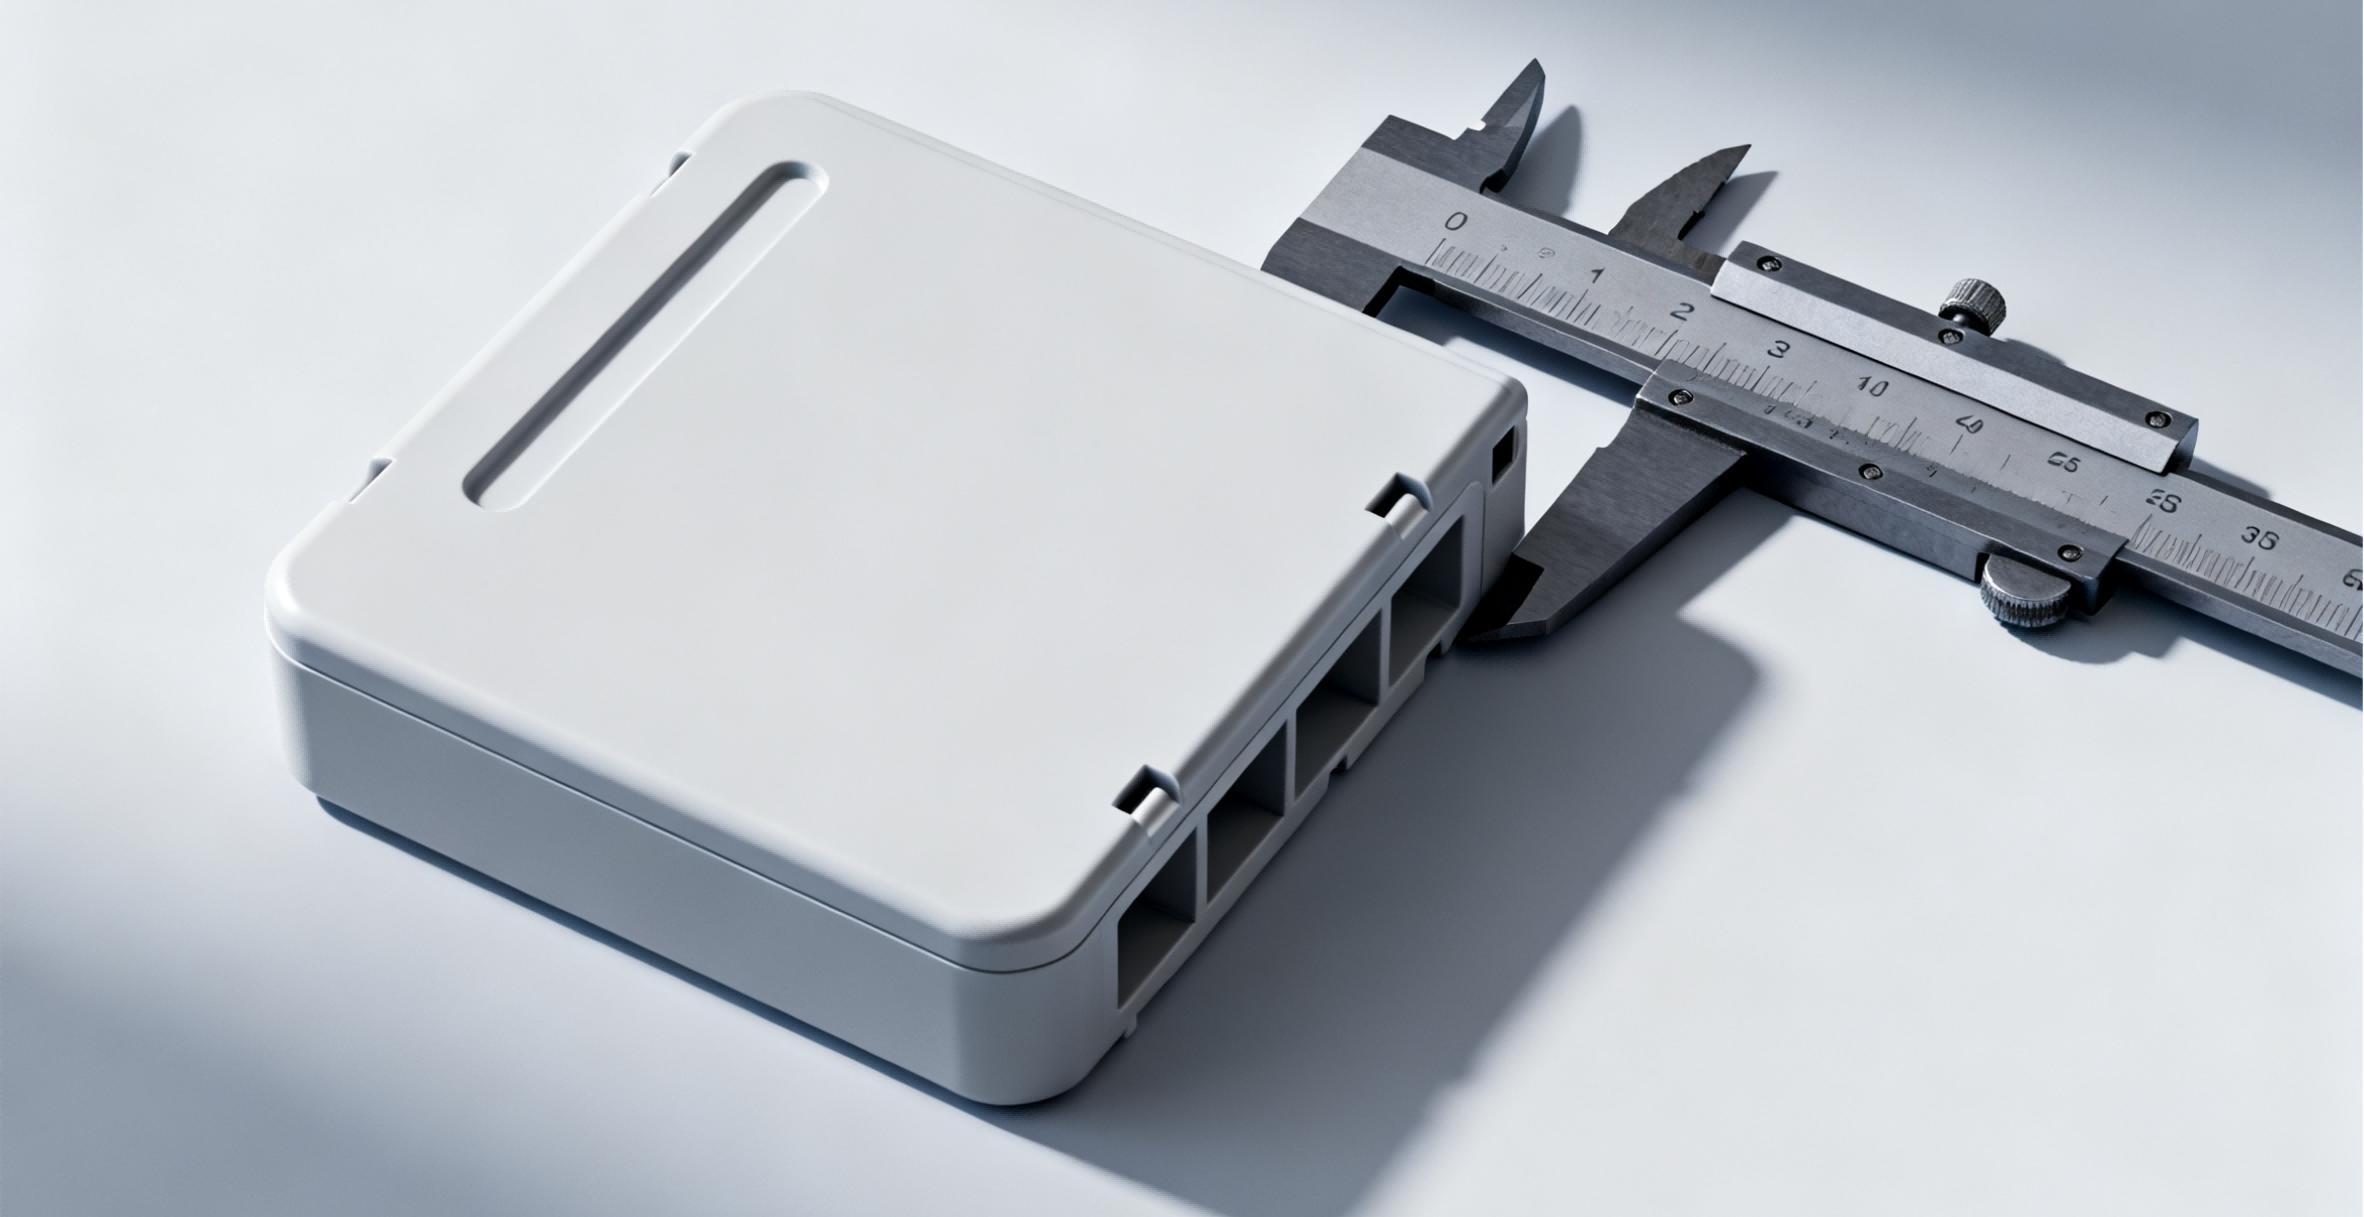
If you are approaching the tooling decision and want the gate plan reviewed before the commitment, the 6CProto team can review the prototype stage, the criteria, and the evidence file together — the review is cheaper before the tool is cut.