

Planning Medical Implant Production Around the Clinical Need
Medical implant production combines material selection, precision forming, machining, surface finishing, inspection, and validation to create parts that must perform reliably inside the body. The right route depends on the implant geometry, the material, the regulatory pathway, the expected volume, and the team’s risk tolerance. In practice, teams compare machining, additive manufacturing, molding, and hybrid methods before committing to prototype or production tooling, and they qualify the material together with the process rather than picking a material by name alone.
Production usually starts with the clinical need: imaging or CAD data for patient-matched implants, engineering drawings and material specifications for standard ones. The work then moves through design controls, feasibility checks, prototyping, verification, validation, and controlled production. The critical goal is not simply making a part but proving it can be made consistently and safely, which is why the plan matters more than the first article.
Manufacturing Methods and Their Real Boundaries
| Method | Best fit | Strengths | Common limits |
|---|---|---|---|
| CNC machining | Metals, PEEK, precision parts | Tight tolerances, surface control, mature process | Material waste, limits on deep internal features |
| Additive manufacturing | Custom geometry, lattices, patient-specific | Complex shapes, faster iteration | Post-processing, anisotropy, inspection challenges |
| Injection molding | High-volume polymer components | Low unit cost at scale, repeatability | Tooling cost, design constraints |
| Hybrid route | Complex parts needing multiple operations | Balances geometry, cost, precision | More steps, more validation burden |
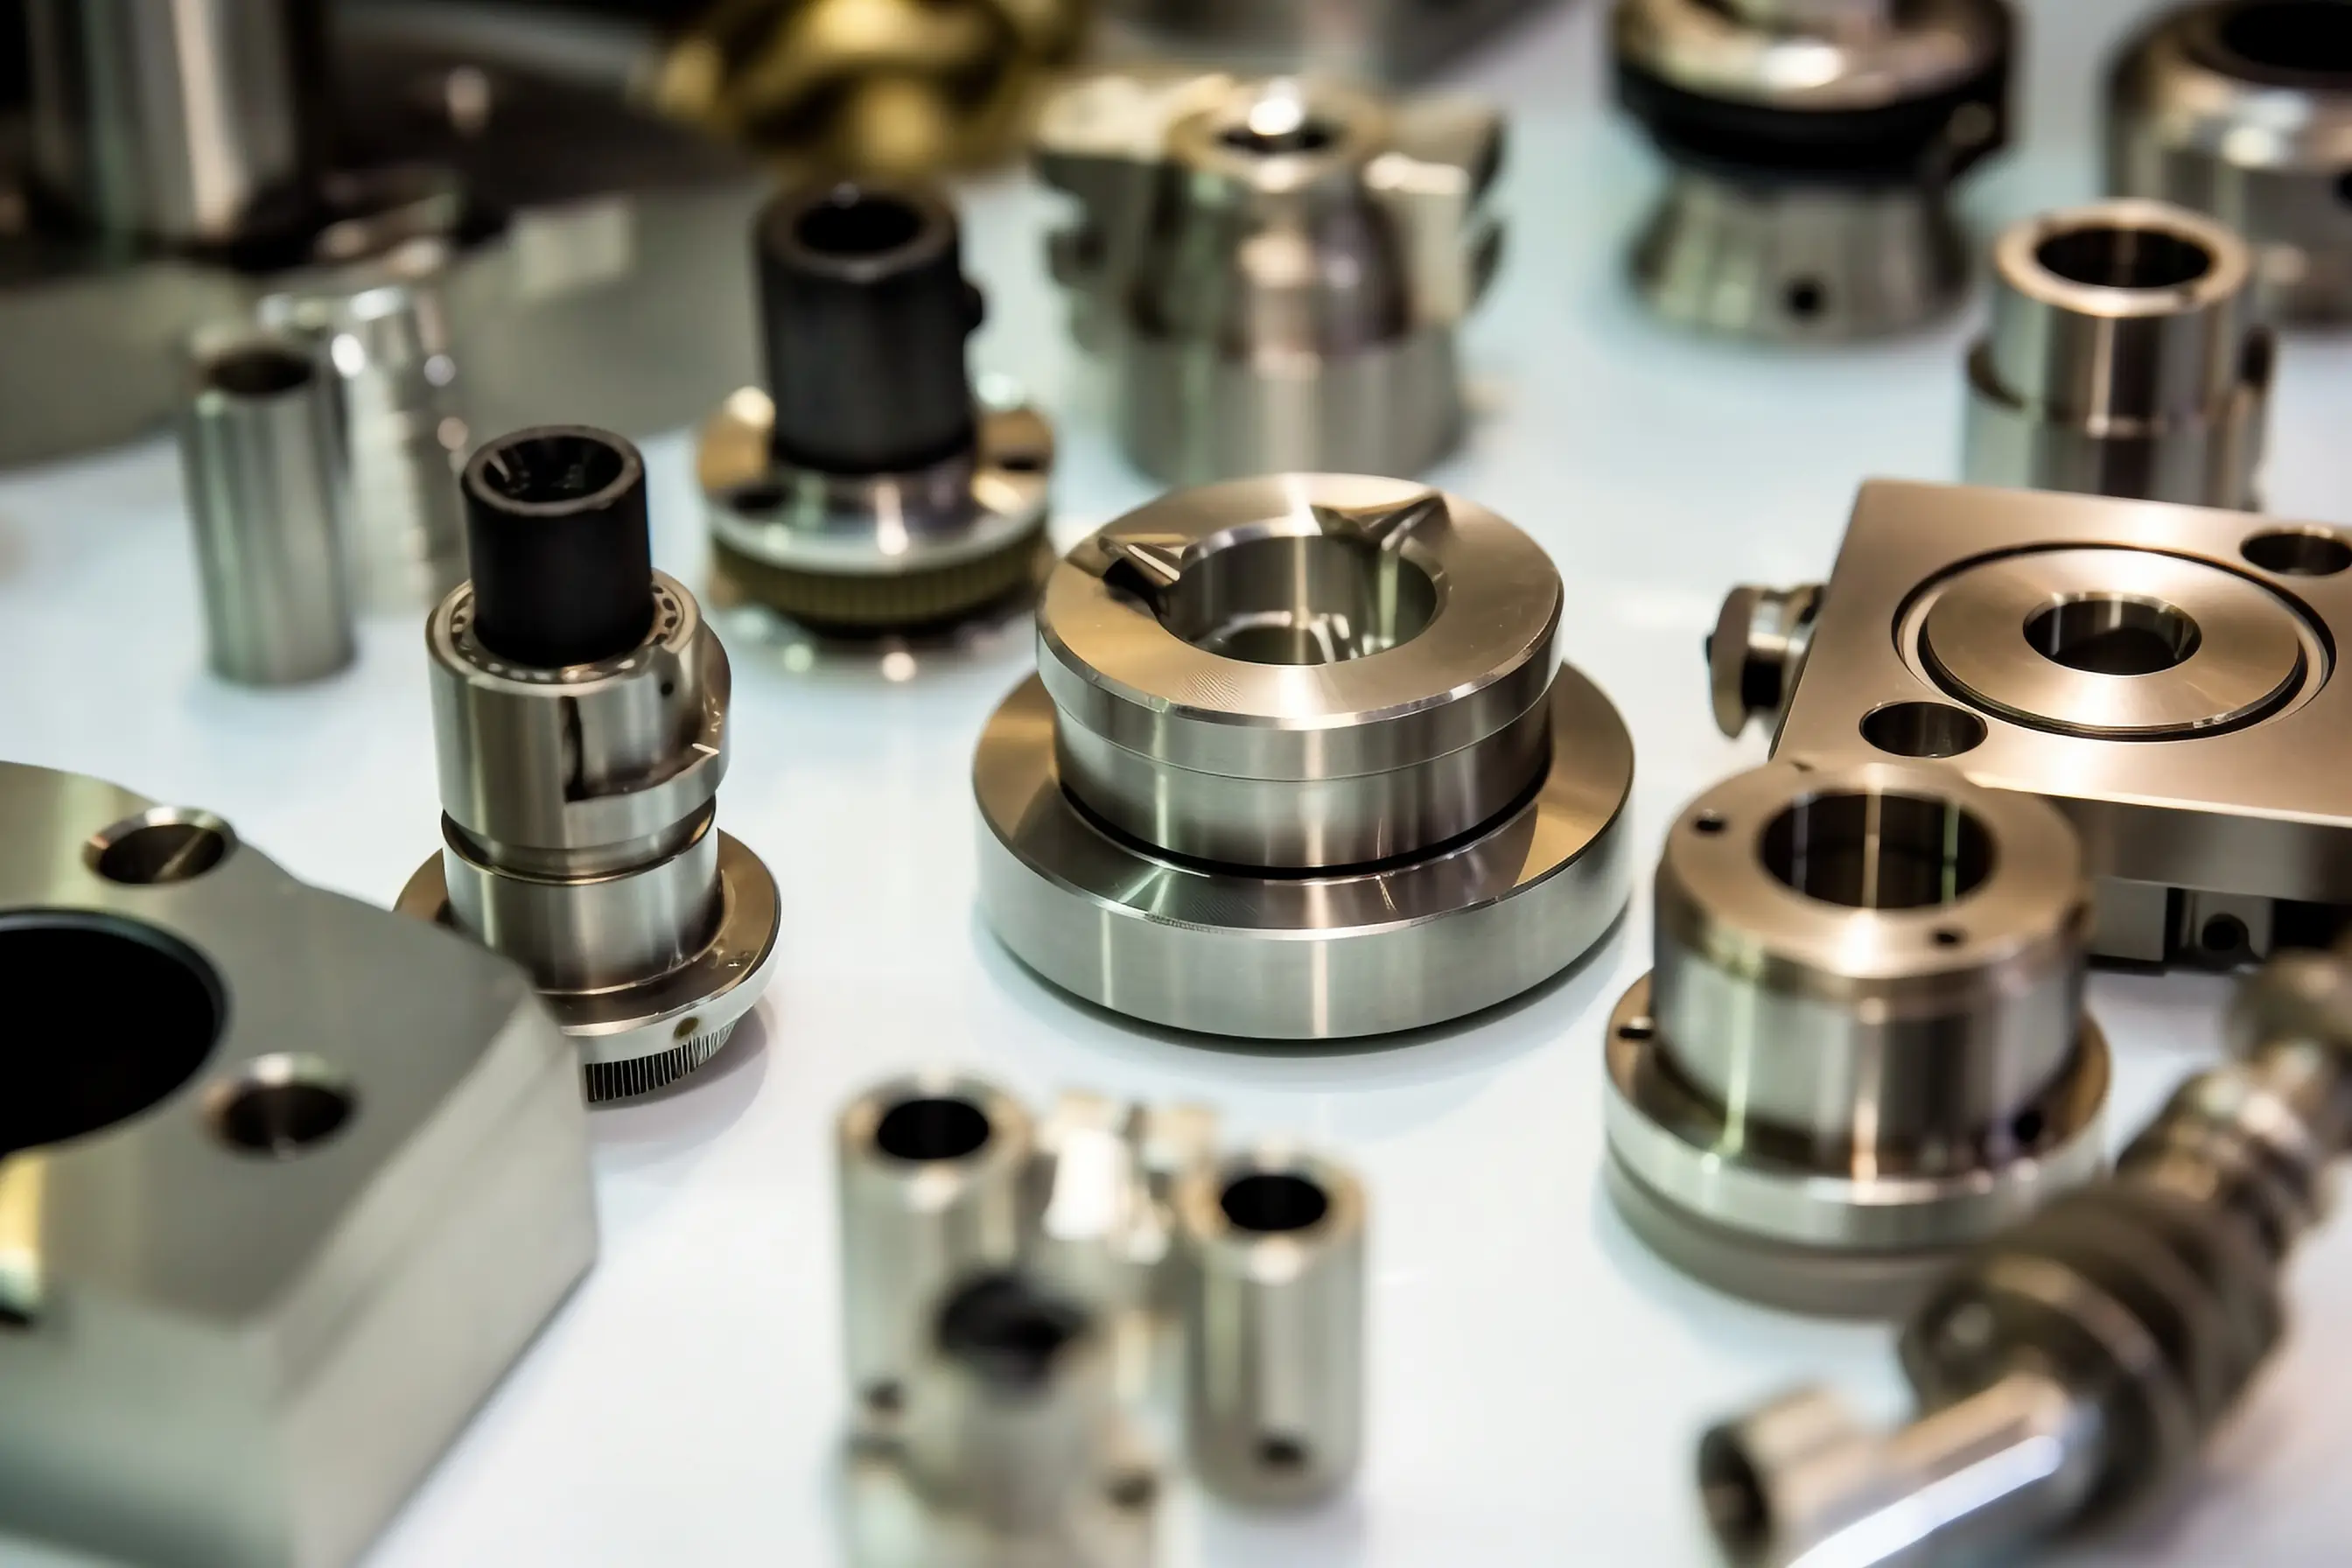
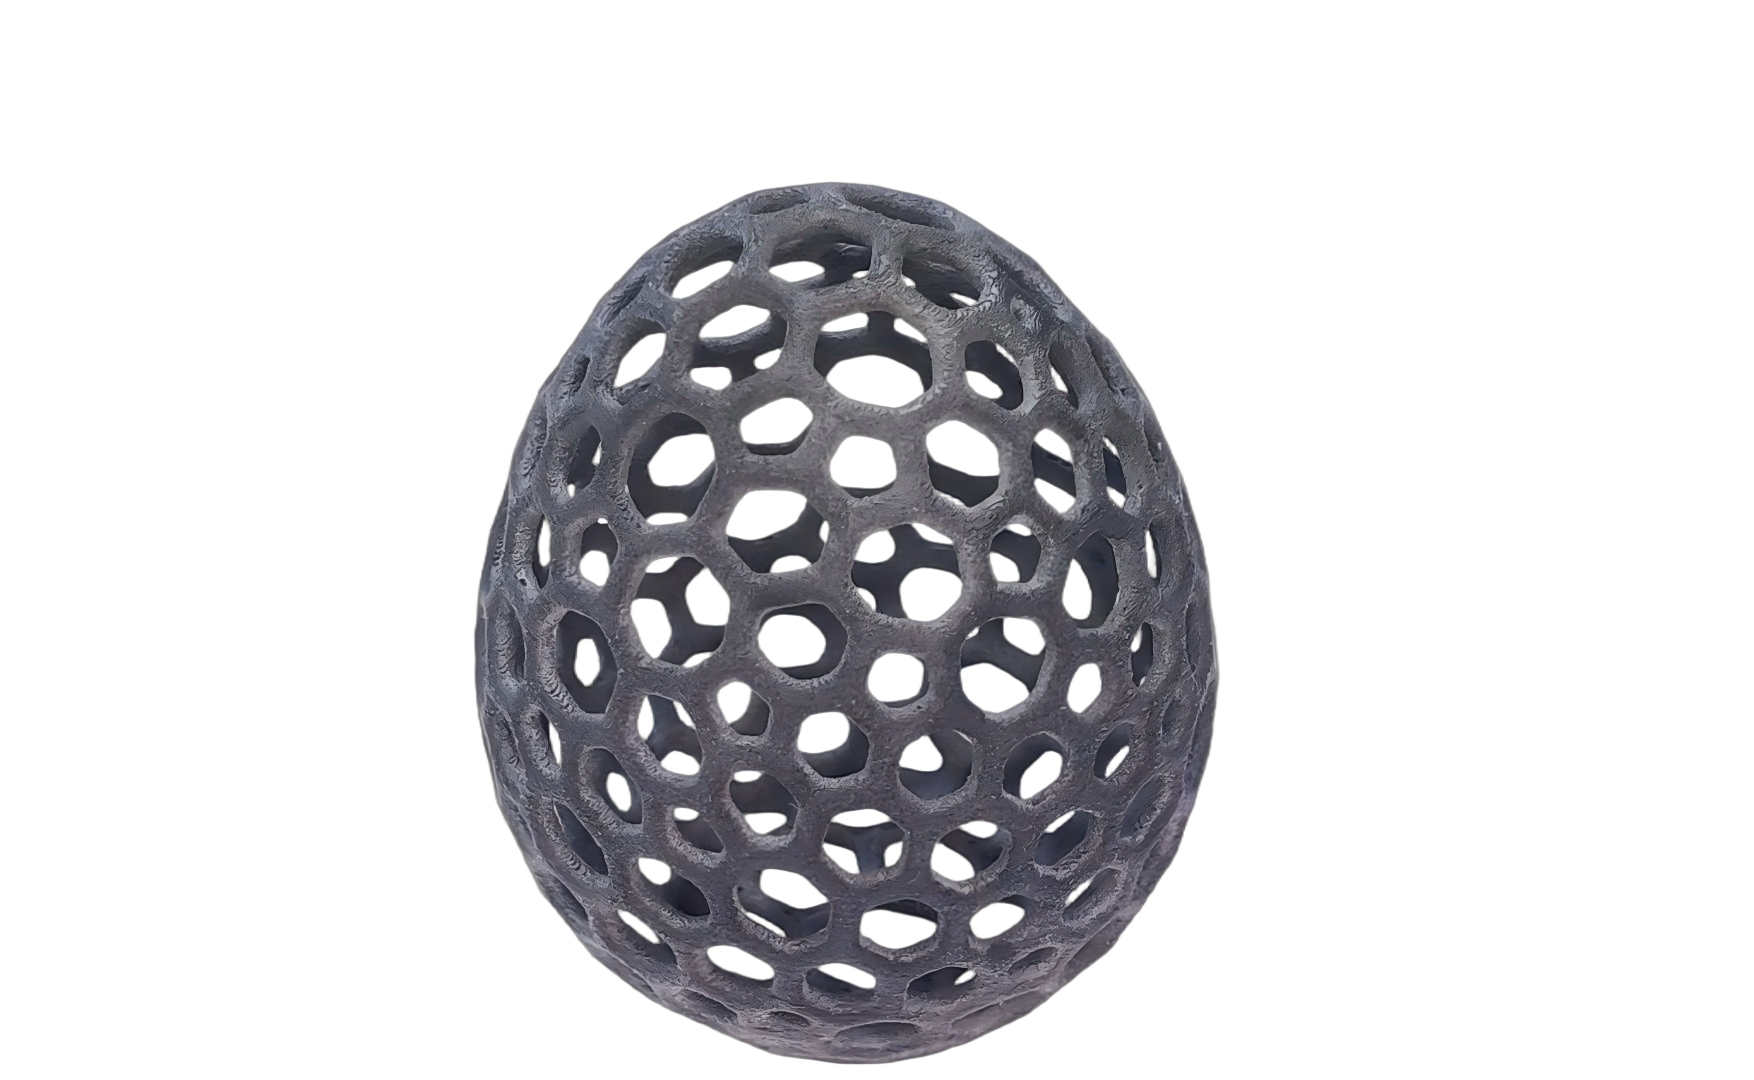
CNC machining is the workhorse for metals and engineering plastics that need tight dimensional control, and it is where most implant prototypes start because the tolerances transfer directly to later stages. Additive manufacturing earns its place when the geometry cannot be machined, such as lattice structures for bone ingrowth or patient-matched shapes, and the trade is heavier post-processing and a longer validation chain. Molding applies to housings, trial components, and accessories rather than load-bearing implants. The method should match the clinical requirement, not the novelty of the technology; a 3D printing service and a precision machining workflow side by side let the process follow the part.
Materials: Qualifying the Pair, Not Just the Name
The right implant material meets mechanical, biological, and process requirements together. Titanium alloys offer the strongest balance of strength and biocompatibility but are harder to machine and need careful finishing. Cobalt-chromium provides excellent wear resistance at the cost of more demanding tooling and inspection. PEEK suits applications where radiolucency or a lower modulus matters, and medical-grade polymers cover non-load-bearing and disposable parts. The selection must also account for sterilization compatibility, corrosion behavior, and the effect of post-processing on surface and microstructure.
A material that performs well in a test coupon can behave differently after machining, heat treatment, surface texturing, or sterilization, so the qualification should pair the material with the exact process and finish. Buyers should ask for material traceability, process notes, and DFM feedback before approving a build. For machined titanium and PEEK, the CNC machining material options page lists the practical grades; for printed implants, the additive material range is the matching reference.
Design for Manufacturability in Implants
DFM matters because a clinically sound implant can still fail if it cannot be produced consistently, inspected reliably, or cleaned and finished correctly. Small geometry choices drive stress concentration, tooling access, powder removal, surface roughness, and assembly accuracy. The usual problem areas are thin walls that distort during machining or post-processing, sharp internal corners that create stress risers, features that standard gauges cannot inspect, and a poor datum strategy that makes alignment inconsistent. Catching these in a DFM review is far cheaper than discovering them at first article.
The Prototype-to-Production Path
The transition from prototype to production should be planned as a sequence of increasing representativeness. Early prototypes validate fit and surgical handling and can be made at prototype speed; the later builds must use production materials, production processes, and the intended finishing and sterilization route, because those steps change the part. When a single partner supports rapid prototyping and regulated production runs, the material, fixture, and inspection standard stays continuous across the transition, which reduces the risk that a validated prototype cannot be reproduced.
Process risk usually appears in the finishing and cleaning steps rather than in the basic shape. Surface finish, residual stress, powder removal from internal channels, and cleanliness before sterilization are the steps where an implant parts from a prototype. Each one needs a method, an acceptance criterion, and a record, and the inspection plan should cover the surfaces that matter clinically, not just the easy ones to measure. Standards for quality systems and measurement traceability, such as the frameworks maintained by NIST, are the reference points for how that evidence is documented.
Quality and Compliance Responsibilities
Quality is shared between the implant team and the manufacturer. The team owns the intended use, the design controls, and the regulatory pathway; the manufacturer owns the process, the records, and the change control. The handoff is most reliable when both sides agree on the validation package before production: material certificates, process records, first-article inspection, cleanliness evidence, and the list of changes that trigger revalidation. A supplier that can show the same discipline across prototypes and production runs, as described in the inspection framework guide, is a partner in the compliance work rather than a vendor of parts.
Surface Finish and Post-Processing for Implants
Surface finish is a clinical requirement for implants, not a cosmetic preference. A porous or rough surface on a lattice intended for bone ingrowth is a design feature, while the same roughness on an articulating surface accelerates wear. The drawing should separate the surfaces that stay as-built or textured from the faces that must be machined or polished, and the inspection plan should cover both with the appropriate method. Residual stress from machining, heat-treat distortion, and the finish of internal channels all change the part, so the post-processing sequence should be specified together with the material rather than added at the end.
Cleanliness is the companion requirement. Implant channels and lattice interiors can trap process residue, and the cleaning method must reach them; the cleaning process, the acceptance criteria, and the record belong in the validation package. The same logic applies to sterilization compatibility, because gamma, ethylene oxide, and steam affect polymers and metals differently and repeated cycles can shift dimensions and properties. Selecting the material, the cleaning chemistry, and the sterilization route together avoids a chain of late surprises.
Supplier Selection and DFM Feedback
Supplier selection for implants should verify the process records, not just the sales capability. Ask which machines, materials, and post-processing steps will be used, how the lot is traced, and what the change-control agreement covers, because a change to powder, machine, or parameters can require revalidation. A DFM review early in the program is the cheapest way to test the manufacturability assumptions: thin walls, internal corners, datum strategy, and inspectability. The same discipline that governs material selection and the tolerance plan applies to the implant supplier, and the review should be grounded in the specific geometry rather than generic advice.
Process Risk and Where It Appears
The differences between a prototype and a production implant appear in the aspects that are easiest to defer: surface condition, residual stress, cleanliness, and sterilization response. A machined prototype can look identical to the production part while using a different finish route, and the finished surface, not the basic shape, is what changes clinical behavior. The process validation should therefore cover the finishing, cleaning, and sterilization steps with the same rigor as the machining or printing, because these are the steps where an implant program fails late.
The inspection plan should target the features that carry clinical risk: the mating surfaces, the porous zones, the internal channels, and the dimensions that position the implant relative to anatomy. A coordinate measuring program that checks these features against the intended datum scheme is the practical tool, and the same discipline applies whether the part is machined or printed. Medical buyers should confirm which dimensions are reported, how many pieces per lot are inspected, and what triggers a revalidation, before the order, because the process record is what makes the shape a device.
FAQs
Which manufacturing method is best for implants?
The best method depends on the geometry, material, volume, and validation plan. CNC machining suits tight-tolerance metals and PEEK, additive manufacturing suits complex or patient-specific geometry, and molding fits high-volume polymer components and accessories.
What is the role of DFM in implant production?
DFM checks whether the design can be produced, inspected, cleaned, and finished consistently. It catches thin walls, stress risers, uninspectable features, and poor datums before tooling, which is where medical rework is most expensive.
How should prototypes transition to production?
By making the later builds increasingly representative: production materials, production processes, and the intended finishing and sterilization route, with the same inspection standard throughout, so the validated prototype can be reproduced.
Who is responsible for validation?
The implant team owns intended use and design controls; the manufacturer owns process records and change control. The validation package, material traceability, process notes, first article, and cleanliness records, is agreed before production.