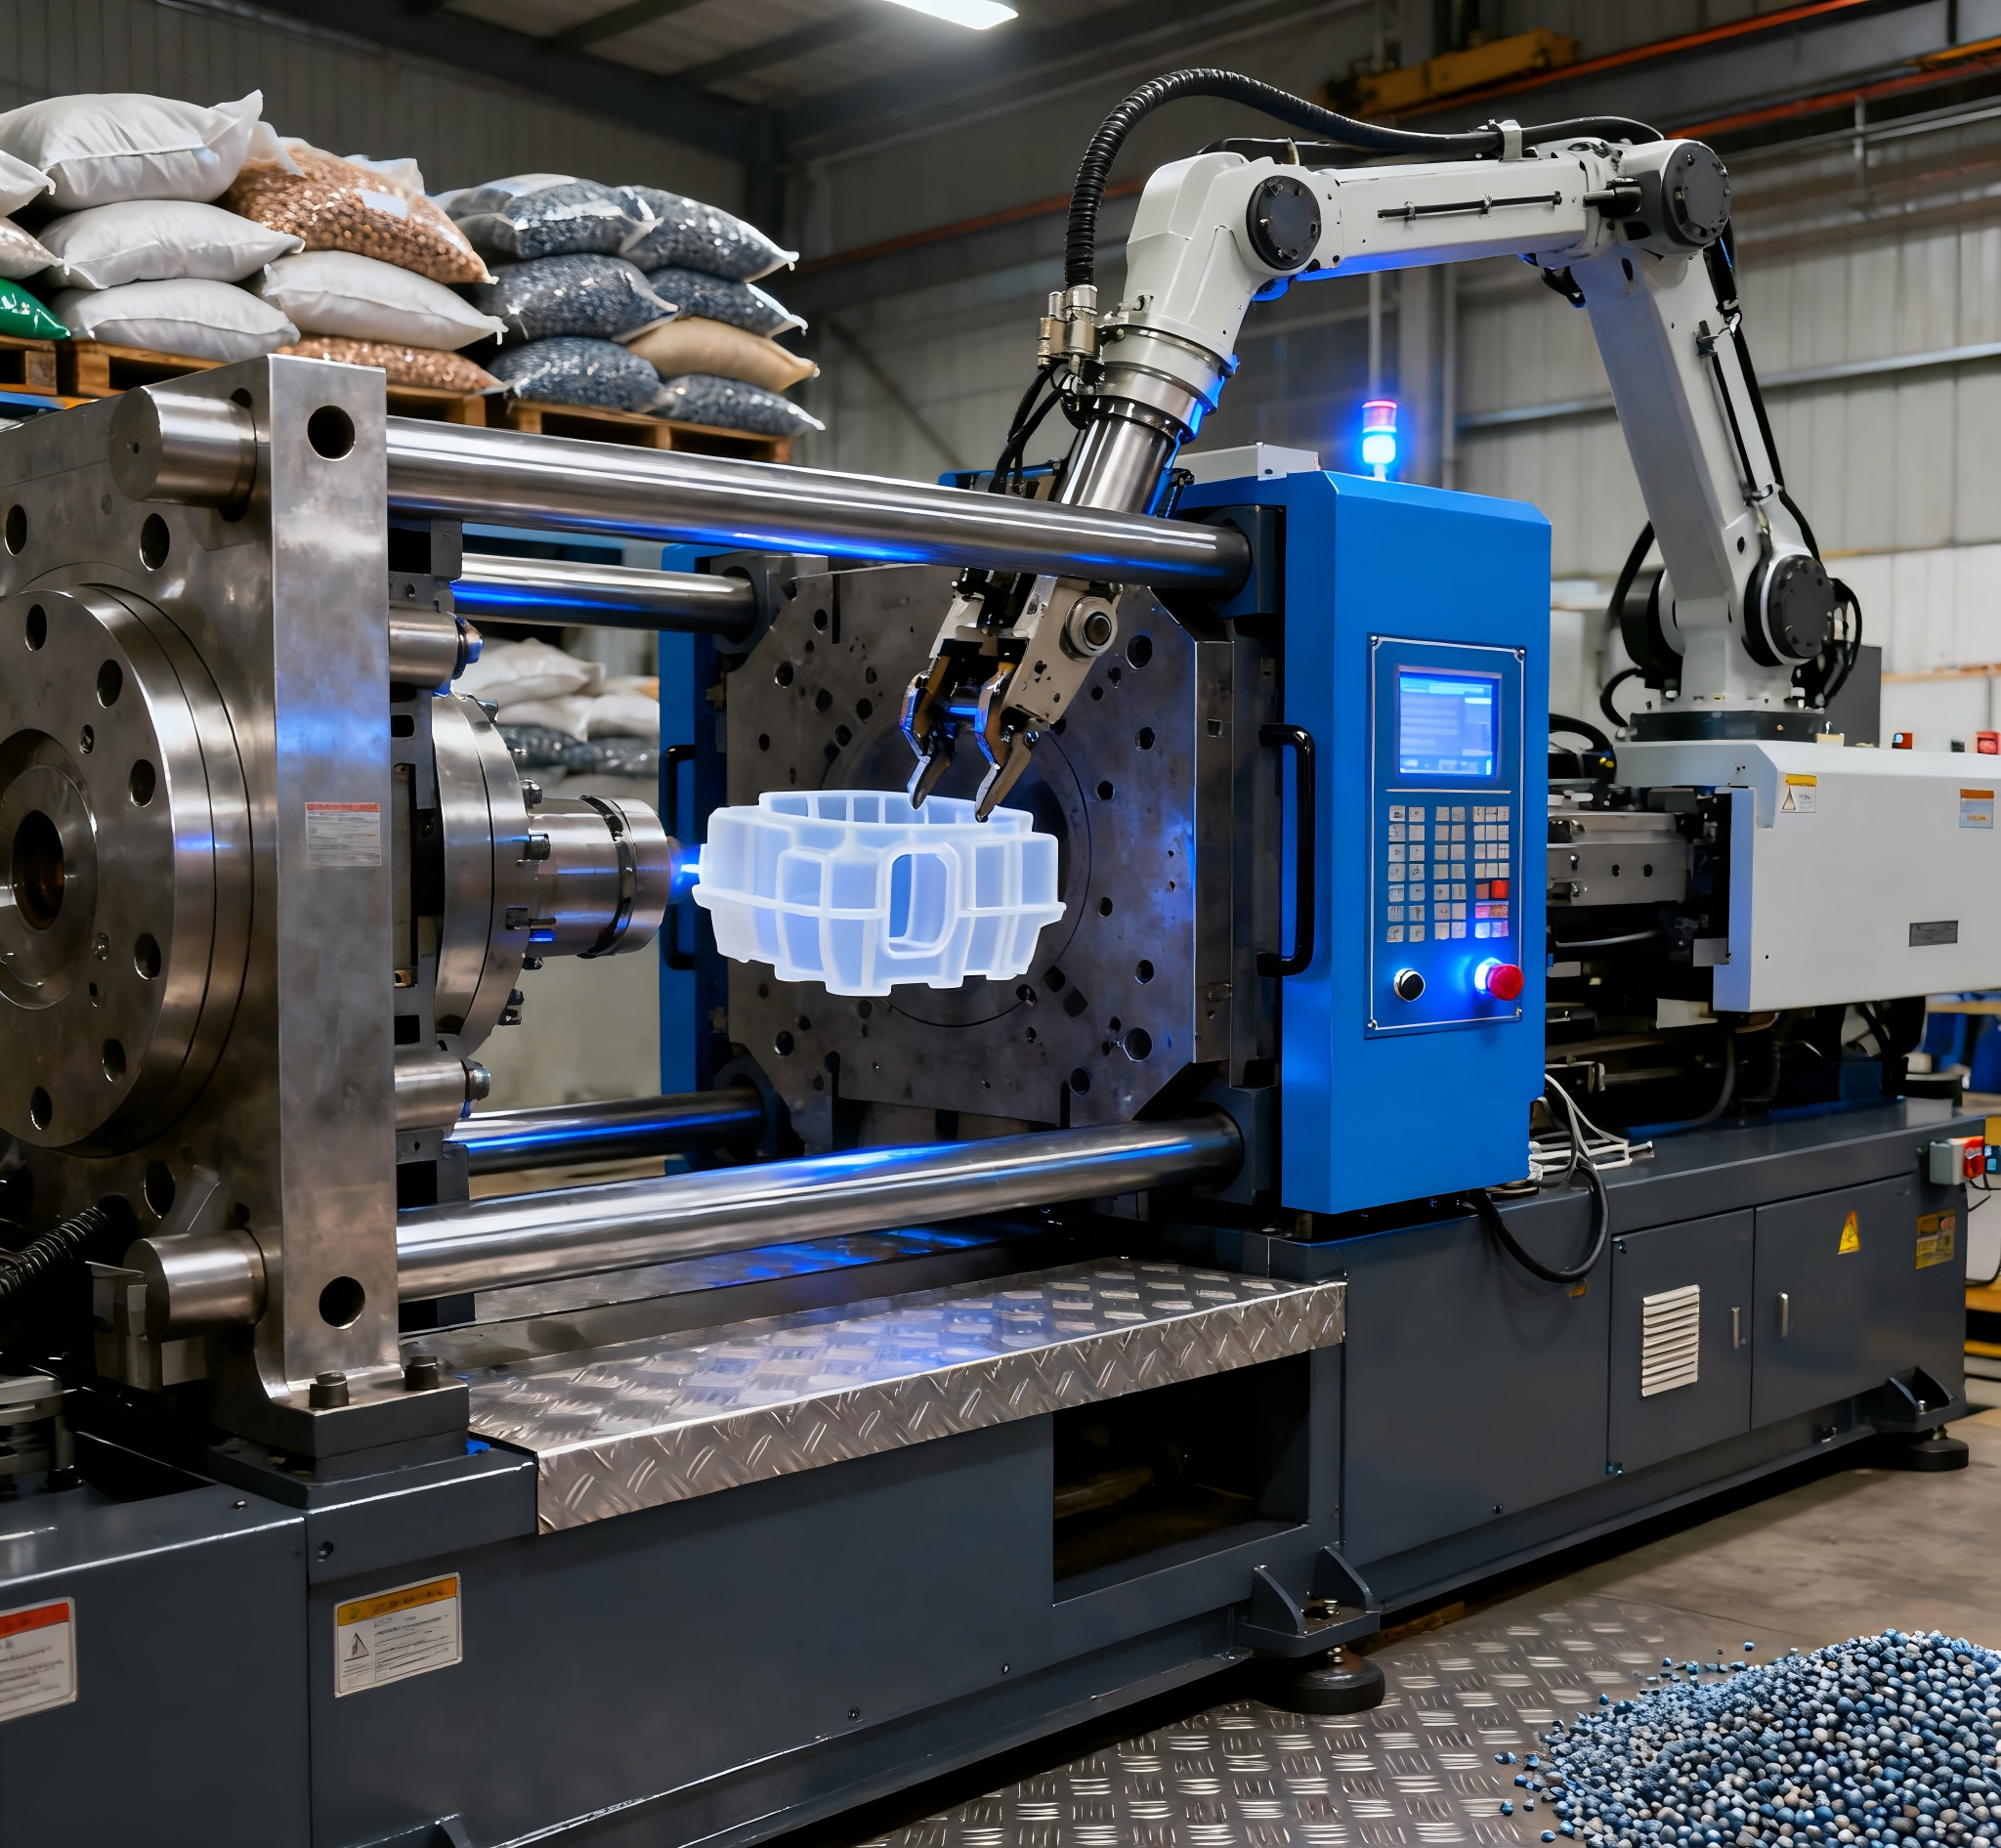
Why Injection Molding Matters
Injection molding is one of the most important and widely used processes in modern manufacturing. From the smartphone cases we hold every day to the dashboards inside our cars, countless products are created through this highly efficient process. According to industry statistics, more than 80% of plastic parts used in everyday applications are produced by injection molding.
Material Selection
- ABS (Acrylonitrile Butadiene Styrene): Strong, impact-resistant, widely used in consumer electronics.
- PP (Polypropylene): Lightweight, flexible, excellent chemical resistance; popular in packaging and automotive parts.
- PC (Polycarbonate): Extremely tough and heat-resistant, ideal for lenses and safety equipment.
- POM (Acetal): Low friction and high dimensional stability, suitable for gears and moving parts.
- TPU (Thermoplastic Polyurethane): Flexible and durable, used for seals, gaskets, and protective cases.
- LSR (Liquid Silicone Rubber): Flexible, heat-resistant, and biocompatible, often used in medical devices.
- Mechanical properties: Tensile strength, impact resistance, flexibility.
- Thermal properties: Heat deflection temperature, melting point.
- Chemical resistance: Suitability for environments involving oils, acids, or cleaning agents.
- Cost and availability: Balancing performance with budget.
- Recyclability and sustainability: Meeting environmental regulations and customer expectations.
Mold Design
- Single-cavity molds: Produce one part per cycle, suitable for prototypes or small batches.
- Multi-cavity molds: Produce multiple identical parts per cycle, increasing efficiency for mass production.
- Family molds: Different parts are molded together in one cycle, useful for assemblies.
- Insert and overmolds: Allow metal parts or secondary materials to be integrated into plastic parts.
- Parting lines and draft angles: Ensure easy ejection without damaging surfaces.
- Cooling channels: Reduce cycle times and minimize warping.
- Gate design: Determines how plastic enters the mold cavity and affects surface quality.
- Vents: Allow trapped air to escape, preventing burn marks and voids.
Mold materials: P20 tool steel, H3 hardened steel, and S136 stainless stel are common choices, depending on production volume and part requirements.
Tips: An automotive dashboard mold often uses multi-cavity design with complex cooling systems to ensure uniform shrinkage and cycle efficiency.
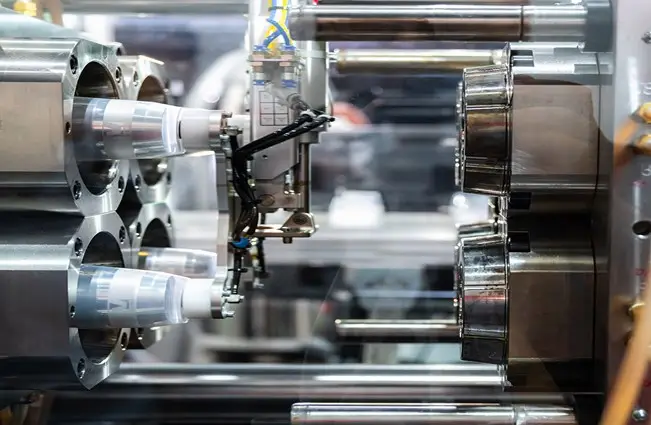
Injection
- Plasticizing: The plastic pellets are heated and melted inside the barrel.
- Injection: The molten plastic is pushed into the mold cavity.
- Packing/Holding: Additional pressure ensures the cavity is completely filled and compensates for shrinkage.
- Injection pressure: Must be high enough to fill the mold completely.
- Injection speed: Controls surface finish; too fast may cause flash, too slow may cause short shots.
- Melt temperature: Different plastics require specific heating ranges.
- Holding time: Affects dimensional stability.
Tips: For a laptop casing, consistent injection speed is crucial to avoid sink marks on visible surfaces.
Cooling
After injection, the molten plastic must cool and solidify inside the mold. Cooling is one of the longest stages of the cycle and directly impacts cycle time and part quality.
- Cooling channels: Proper placement ensures uniform cooling.
- Cooling methods: Water channels are most common, while oil is used for high-temperature plastics.
- Cycle time: Faster cooling increases productivity but risks internal stresses if not uniform.
Tips: A thick automotive part may require specialized cooling to prevent warping, while thin-walled packaging products rely on rapid cooling for faster cycles.
Ejection
Once the part has cooled sufficiently, it is ejected from the mold. The ejection system must remove the part without causing deformation or leaving marks.
- Ejector pins: Most common, push the part out of the mold.
- Air ejection: Uses compressed air for delicate parts.
- Stripper plates or sleeves: Useful for cylindrical parts.
- Ejector marks or scratches on visible surfaces.
- Warping if the part is not cooled evenly.
- Sticking if draft angles are insufficient.
Tips: Medical device housings often require air ejection to avoid visible marks on the product’s surface.
Post-Processing
After ejection, parts may need secondary operations to achieve the final appearance or functionality.
- Trimming: Removing flash or excess material.
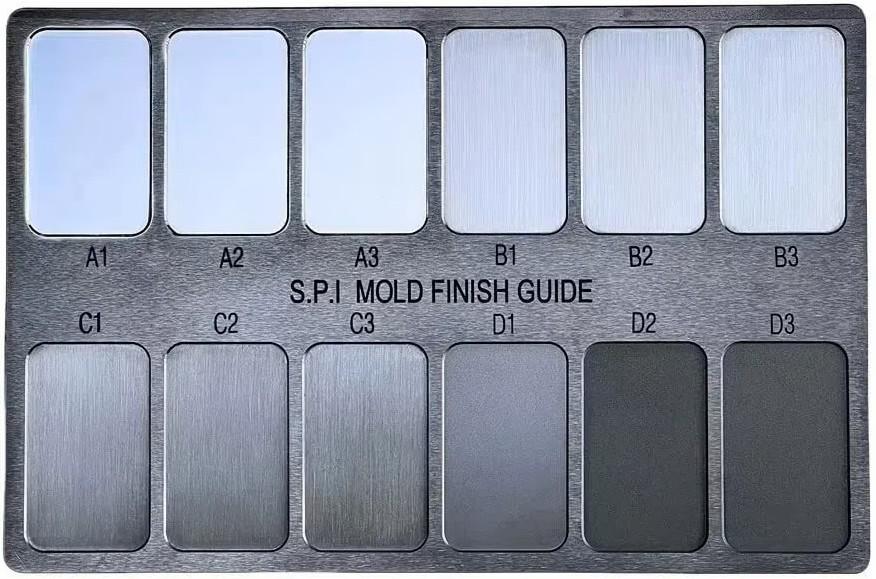
- Surface finishing: Sandblasting, polishing, painting, plating.
- Assembly: Adding inserts, fasteners, or secondary components.
- Quality inspection: Measuring tolerances, checking for defects.
Common Defects and How to Avoid Them: Even with precise equipment, defects can occur. Knowing the causes helps in prevention.
- Short shots: Mold not completely filled → Increase injection pressure or temperature.
- Warping: Uneven cooling → Optimize cooling system or mold design.
- Sink marks: Excessive thickness or low packing pressure → Adjust holding time.
- Flash: Excessive pressure or mold damage → Reduce injection pressure or repair mold.
- Optimize mold design early: The majority of problems come from poor mold design.
- Regular maintenance: Clean molds and machines to prevent defects.
- Use simulation software: Mold flow analysis helps predict filling and cooling issues.
- Balance cost and quality: Sometimes a higher-quality mold saves money long-term
Recent Innovations in Injection Molding: The injection molding industry continues to evolve with new technologies.
Smart manufacturing: IoT-enabled machines that monitor pressure, temperature, and cycle time in real time.
Sustainable materials: Bioplastics and recycled resins are becoming more common.
Rapid tooling: 3D printing is used to create prototype molds faster and cheaper.
Automation and robotics: Robots are increasingly used for part removal, assembly, and inspection.
Conclusion
Injection molding is a complex yet highly efficient process that transforms raw plastic into millions of precise, reliable products across industries. By understanding every step—material selection, mold design, injection, cooling, ejection, and post-processing—you gain insights into how quality and efficiency are achieved.
As the industry advances with sustainable materials, smart manufacturing, and faster prototyping methods, injection molding will continue to be the backbone of modern manufacturing. Whether you’re a product designer, engineer, or manufacturer, mastering this process is essential for creating cost-effective, high-performance products.
Latest Post

Liquid Silicone Rubber Molding: Process, Benefits, Applications, and Design Considerations

What is a 5-axis machine? The differences from 3-axis machines and their applications.

What Is a Tack Weld? Definition, Purpose, and Applications

How to Remove Burrs from CNC Machined Parts: Common Deburring Methods Explained