

A machined batch arrives with a clean certificate of conformance, and the first assembly jams because the bore is 0.02 mm undersized at depth. The supplier’s report shows the bore “within tolerance” — measured at the mouth, where the gauge could reach. Incoming inspection exists to catch exactly this gap between the certificate and the functional part: it is the buyer-side gate that verifies what the supplier shipped against what the drawing requires, produces the evidence needed for a claim, and feeds measurements back into the supplier relationship. Done as a defined workflow, it catches problems while they are cheap to fix; done as an afterthought, it either misses defects or rejects good parts on inconsistent criteria.
A receiving workflow assigns who inspects, what, and how
A receiving inspection workflow should be written down and repeatable: identify the part and revision, gather the documents, inspect against the drawing, record results, and decide disposition. It must say who inspects, what gets measured, and how a nonconformance is escalated. For a small team the workflow can be a checklist per part number; the point is that the same checks happen every time, because a one-off inspection gives anecdotes, not data.
The workflow also assigns responsibility for the three documents that matter: the drawing revision being inspected, the supplier’s inspection report, and your own measurement record. When those three disagree, the workflow should say which one wins and who resolves it. Without that rule, the argument happens at the assembly line, where it costs the most.
Measure risk-driving features at the functional location
Do not measure every dimension on every part; measure the dimensions that matter and the features that tend to drift. Functional fit dimensions, thread sizes, and critical tolerances deserve full checks on the first article, with sampling afterward based on risk. Standard handheld tools handle most features, while bores, positions, and complex geometry may need gauge pins, bore gauges, or coordinate measurement. Record the measurement method with the result, because two methods can disagree at tight tolerances, and the record is what resolves the dispute.
Measure at the functional location. A bore that is correct at the mouth can be tapered at depth; a flat surface can be correct at the edge and hollow in the middle; a thread can gauge fine at the entrance and strip at the third turn. The drawing should identify the critical section, and the inspection plan should measure there, not where the gauge happens to fit easily.
Finish and function belong in receiving checks, not just dimensions
Dimensions are only part of the story. Check surface finish where the drawing calls it out, and compare visible surfaces against the agreed standard: anodized color, texture, tool marks, and edge condition are acceptance criteria even when they are not numeric. For assemblies, do the functional check at receipt: fit the mating parts, run the test that matters, and record the result. A part can pass every dimensional check and still fail because a burr blocks assembly or a coating is too thin on a functional surface.
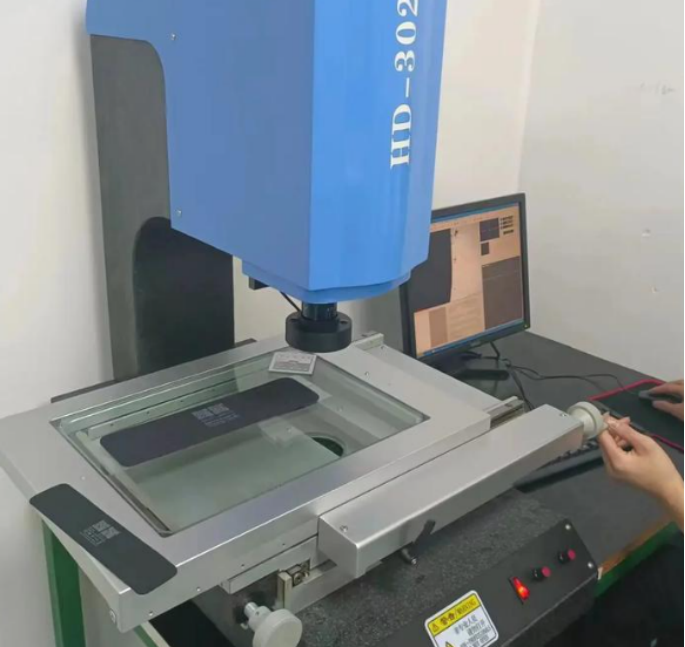
Appearance checks need a standard to compare against, not a memory. Keep a signed sample or reference plate for color, texture, and edge condition, and inspect under defined lighting. If the supplier changes its process, the reference sample becomes the fastest way to see the difference before it becomes a field problem.
When should you inspect 100 percent instead of sampling?
Choose the sample size from risk, not habit. First articles, new suppliers, and features that caused past problems deserve full inspection; stable repeat orders can move to statistical sampling. Inspect 100 percent when the failure is expensive, safety-relevant, or detectable only by inspection, and when the supplier cannot demonstrate process control. Document the sampling decision so it can be tightened after a failure or relaxed after a long clean run.
| Situation | Suggested approach | Why |
|---|---|---|
| First article from new supplier | Full dimensional and document check | Establishes the baseline and the evidence chain |
| Critical safety or fit feature | 100% inspection or supplier PPAP-style data | Failure cost exceeds inspection cost |
| Stable repeat supplier, clean history | Statistical sampling | Balances cost against demonstrated control |
| After a nonconformance | Tightened sampling until root cause fixed | Confirms the correction before relaxing |
The table is a starting policy; adjust it with your quality history and the supplier’s process data. Sampling is a tool for managing risk, not a ritual, so the plan should change when the risk changes.
Nonconformance is resolved with evidence, not opinions
When a part fails, separate the evidence from the opinion. Record what was measured, how, and against which requirement; keep the part and the records; and notify the supplier with the specific discrepancy. Use a defined disposition path — accept, rework, return, or use-as-is — and require corrective action from the supplier for repeat defects. If the same defect appears again, escalate from part-level correction to process-level review, because the second occurrence means the fix did not address the cause.
The most effective buyers publish their inspection criteria to the supplier in advance. When the supplier knows which features will be checked and how, it measures the same features before shipping, and the receiving inspection becomes a confirmation instead of a surprise. The incoming inspection process is most useful when the drawing, the supplier, and the inspector are all working from the same definition of “done.”
Inspection equipment is only as good as its calibration and its operator. A micrometer that is dropped, a bore gauge that is not zeroed to a ring standard, or an inspector who measures at the wrong depth produces numbers that look authoritative and are wrong. The receiving workflow should include a calibration check on the instruments used for acceptance, a written measurement procedure for the features that matter, and a simple gauge repeatability check when two people measure the same part differently. If the supplier’s report and your measurement disagree on a critical feature, the first question is not “who is right” but “how do the two methods differ”: different gauge types, different measurement locations, different temperature conditions, or different interpretation of the datum. Resolve method differences before accusing anyone of shipping bad parts. When the disagreement persists, a third measurement on a calibrated instrument with both parties present settles it faster than correspondence. The goal is not to win arguments but to produce numbers both sides trust, and that trust comes from written procedures and calibrated tools, not from confidence.
Incoming inspection data has a second life as supplier scorecard input. Track defect rates by supplier, by part family, and by feature type, and the pattern will show where the real risk sits: one supplier may drift on plating thickness, another on thread depth, a third on cosmetic finish. Feed the data back in supplier reviews with specific evidence, and require corrective actions that address the feature pattern rather than the individual part. When a supplier improves, relax the sampling and recognize the improvement; when defects recur, tighten the inspection and escalate. The scorecard also protects the buyer during audits and contract reviews, because it replaces opinion with a documented quality history. Keep the records in a form that can be summarized by month and by supplier, and connect each record to the purchase order and the drawing revision. A receiving inspection that only accepts or rejects parts is a gate; one that feeds data back into supplier development is a management system, and the difference shows up in the trend line.
Frequently asked questions
Should incoming inspection be performed by quality or by engineering?
Quality should run the repeatable checks, and engineering should own the interpretation of critical features. A small team can combine both, but the role must be clear: the inspector records measurements against the drawing, and engineering decides dispositions that involve deviation from the drawing. Separating the recorder from the decision-maker prevents one person from accepting their own measurement errors.
Can a certificate of conformance replace inspection?
No. A certificate says the supplier claims the parts conform; it does not prove that the critical features were measured correctly, or that the measurement matches your method. Use the certificate as the starting document, then verify the risk-driving features yourself, especially on first articles and after process changes. The certificate’s value is in the traceability it provides, not in replacing verification.
What should be done with the inspection records?
Keep records by lot with the drawing revision, the supplier report, and your measurements, for as long as the part is in service or the contract requires. Records are the evidence base for claims, corrective actions, and supplier scorecards. Without the lot linkage, a field failure cannot be traced to a process change, and the corrective action starts from zero.
Conclusion
Incoming inspection turns receiving from a handshake into a verification: check the documents, measure the risk-driving features at the functional location, compare appearance against a sample, and escalate with evidence. Sample by risk, tighten after failures, and publish your criteria to the supplier so the inspection is a confirmation rather than a surprise. The workflow costs minutes per lot; the defects it catches would cost hours on the line.
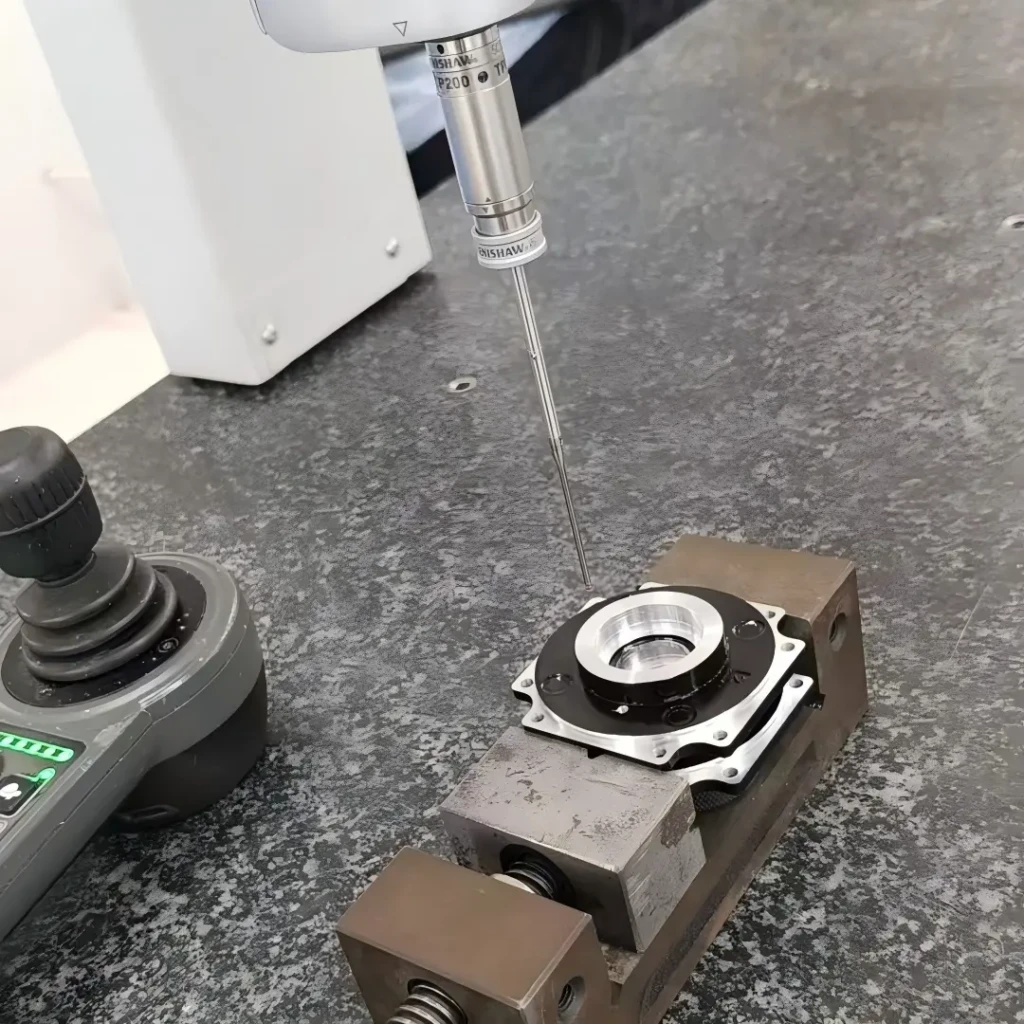
If you are setting up receiving inspection for machined parts, the quality control page and the CNC machining team can show you the inspection methods used on parts before they ship. Matching your incoming checks to the supplier’s outgoing checks is the fastest way to align the two sides of the same gate.