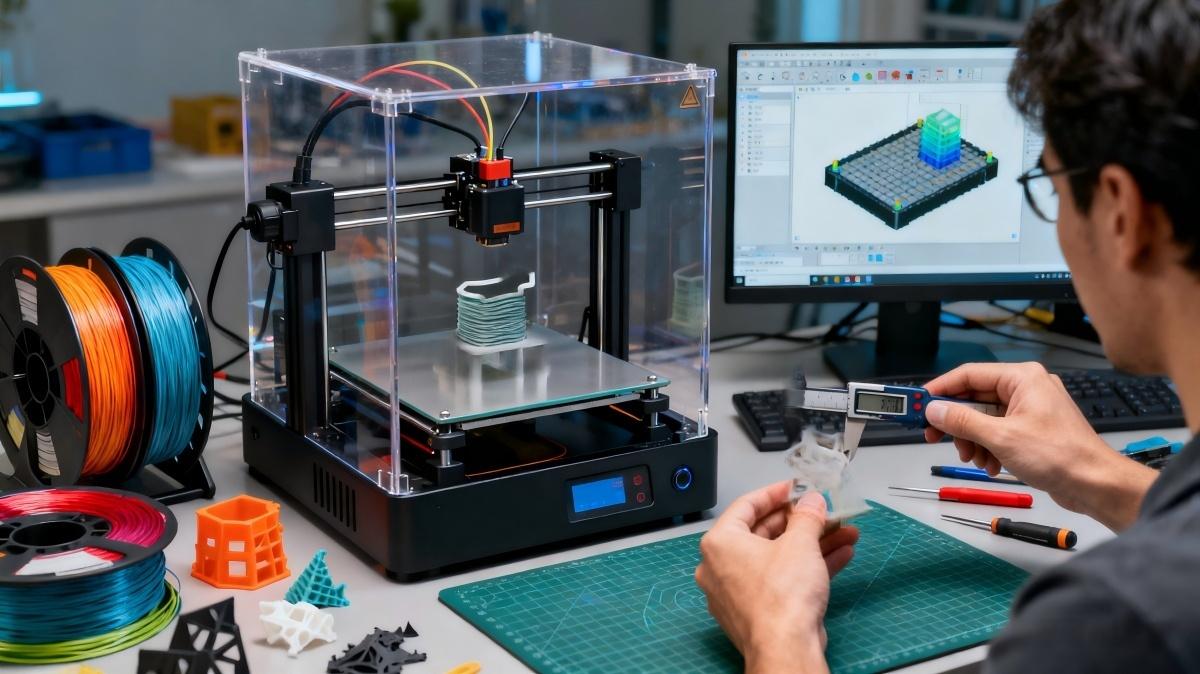
As 3D printing technology continues to mature, more and more engineers and designers are using additive manufacturing processes to create high-quality prototypes and end-use parts. Whether it’s SLA, SLS, FDM, SLM, or MJF, the variety of processes and material options brings rich possibilities to design.
However, in actual printing, some tricky issues often arise. Below, we have compiled a list of common challenges along with practical tips for solving them.
Choose High-Resolution STL Files for 3D Printing
Using low-resolution STL files in 3D printing can result in noticeable faceting on curved surfaces and a rough appearance, which may compromise the quality and aesthetics of your printed parts. To ensure smooth, high-quality prints, most CAD software allows you to adjust the STL export resolution when saving or exporting your models.
For even better precision and flexibility, we also accept other 3D CAD file formats such as SolidWorks (.sldprt), STEP (.stp/.step), and IGES (.igs/.iges), which preserve the original parametric surface data and help maintain the highest printing accuracy.

Avoid Too Small Feature Sizes and Gaps
We have the freedom to design products as we wish, but in actual production, some designs may be impossible to print due to the limitations of 3D printing equipment. Therefore, it is important to avoid feature sizes that are too large or too small during the design stage. The minimum printable feature size varies depending on the 3D printing technology used.
SLA prints offer not only high dimensional accuracy but also excellent surface quality, making them a reliable choice for high-fidelity projects. Our equipment can print walls with a minimum thickness of 0.4–0.6 mm. For holes, we recommend a diameter greater than 0.6 mm. If the hole diameter is smaller than 0.6 mm, it may become blocked during printing. If smaller holes are required, we provide post-processing services to resolve this issue.
Metal 3D printing can be more challenging in terms of wall thickness, and it varies depending on the type of metal and the printing orientation. Typically, we can print walls with a minimum thickness of 0.8–1.5 mm. For hole features, we recommend a diameter greater than 0.8 mm. If smaller holes are necessary, our post-processing services can help achieve the desired results.
We have also encountered potential geometric issues, such as threaded holes or blind holes placed too close to outer walls. When printing with nylon materials, insufficient spacing may cause features to fuse together during the sintering process.

Prevent Warping
In 3D printing, warping of printed parts is a common issue. Materials shrink in volume as they cool after being heated, melted, or sintered. Different materials have varying coefficients of thermal expansion and shrinkage rates, which affect their susceptibility to warping.
For example, SLS (Selective Laser Sintering) powder printing uses heat to fuse powder into solid parts. However, the heat generated during manufacturing can cause parts to warp. Part size and overall thickness are key factors affecting the risk of warping:
- Larger parts are more likely to warp.
- Thinner or unevenly thick parts are closer to the minimum feature size and therefore have a higher risk of warping
If warping could impact your design, we recommend the following solutions:
Maintain uniform thickness
Design parts with a near-uniform thickness of approximately 3 mm to improve structural stability.
Choose filled materials
Use glass-filled or mineral-filled nylon, such as PA 12 with 30% glass fill, to effectively reduce the risk of warping.

Avoid parts with large overhangs
In actual production, overhang issues are frequently encountered. For example, when printing the letter “Y”, the branching part is a typical overhang structure, as it needs to extend layer by layer into midair. If the overhang angle is too large (exceeding about 45° or approaching horizontal) and no support is provided, problems such as sagging, collapse, or even print failure may occur.
Common methods to address overhang issues include:
- Optimizing the part orientation: Adjust the model’s position on the build platform before printing to minimize overhang areas and reduce risks from the design stage.
- Adding support structures: Generate supports for overhanging sections to provide adequate reinforcement during printing, and remove them after the build is complete.
Choosing the Right Material
Nowadays, 3D printing is quite popular, with a wide variety of materials available. These materials have properties similar to injection-molded plastics, but they are not exactly the same and are often referred to as “ABS-like.” This distinction is very important and must be clearly understood.
When selecting printing materials, the first step is to understand the purpose of the printed part: is it for structural verification, appearance, or functional requirements?
Appearance and prototype: The SLA process uses photosensitive resin for printing. The printed parts have high-quality appearance and high structural fidelity. It is an excellent choice for appearance and prototype verification.
Functional requirements: When parts require certain strength, toughness, or chemical resistance, engineering plastics are the optimal choice, such as ABS-like or PA-like materials.
Metal parts: For scenarios requiring high strength or replacing metal components, metal materials can usually be chosen for 3D printing. For example, if the usage environment requires corrosion resistance or chemical resistance, stainless steel can be used; if biocompatibility is required, titanium alloy can be chosen. Materials can be selected according to the actual usage scenario.
Latest Post

Liquid Silicone Rubber Molding: Process, Benefits, Applications, and Design Considerations

What is a 5-axis machine? The differences from 3-axis machines and their applications.

What Is a Tack Weld? Definition, Purpose, and Applications

How to Remove Burrs from CNC Machined Parts: Common Deburring Methods Explained