

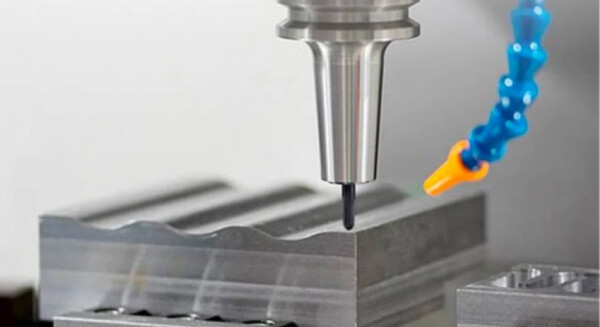
A machined pocket comes off the mill with a washboard pattern on the wall, and the sound during the cut was the giveaway: a harsh, rhythmic vibration that no one wants to hear. Chatter is the machine, the tool, and the part vibrating against each other instead of cutting cleanly, and it leaves a surface that fails inspection and a tool that wears early. Chatter is not random noise; it has causes that can be diagnosed from the symptom pattern, and most of them can be fixed with process changes before the tooling or the part design is blamed.
Reading chatter symptoms: marks, sound, and finish patterns
Chatter leaves a signature. The surface shows a regular pattern of marks spaced along the tool path — the washboard — and the spacing and the location point to the cause. Chatter at the tool’s natural frequency sounds high and sings; chatter at the machine or the part resonance sounds deeper; and chatter that appears only in certain depths of cut follows the stability behavior of the process. The finish pattern tells the story: marks that appear on one wall but not another point to a directional stiffness issue, marks that worsen with depth point to tool deflection, and marks that appear at a consistent spindle speed point to a resonance. The first step in fixing chatter is reading the symptom, because the fix is different for each cause.
Record the symptom with the process data — the tool, the speed, the feed, the depth, and the sound — so the diagnosis is repeatable and the fix can be verified.
Root causes: tool deflection, resonance, engagement, and workholding
Four root causes cover most chatter. Tool deflection: a long, small-diameter tool bends under the cutting load and vibrates, especially in deep pockets. Resonance: the tool, the holder, the machine, or the part vibrates at a natural frequency that the cutting excites. Engagement: the tool enters and leaves the material in a way that creates a variable cutting force — full-width cuts, interrupted cuts, and corners are common triggers. Workholding: a part that is not rigidly held vibrates instead of cutting, and the chatter follows the unsupported section. Each cause has a signature, and the diagnosis separates them before the fix is chosen.
The causes also combine: a long tool in a rigid part can chatter from deflection, while the same tool in a flexible part can chatter from workholding, and the fix that works for one may not work for the other. The diagnosis should identify the dominant cause by the symptom and the setup.
Quick fixes ordered by likelihood
Work the fixes in order of likelihood and cost. Reduce the depth or width of cut first — a lighter cut usually stops chatter and confirms the load is the trigger. Change the spindle speed: moving away from a resonant speed can eliminate the vibration with no other change. Shorten the tool or increase its diameter where the geometry allows, reducing deflection. Improve the workholding: add support under the thin section, clamp closer to the cut, or use a different fixture. Change the tool geometry or the coating if the chatter persists. Each fix is cheap to test, and the order moves from the process settings to the tooling to the setup, stopping at the first fix that works.
The quick fixes are also the diagnostic: if a lighter cut stops the chatter, the load was the trigger; if a speed change stops it, the cause was resonance; if neither helps, the tool or the workholding is the suspect.
Long-term process changes to prevent recurrence
When chatter recurs on the same feature or part family, the fix moves from the individual cut to the process. Tooling changes — shorter holders, larger tools, or variable-pitch cutters that break the resonance — prevent chatter across many jobs. Programming changes — trochoidal or peel milling paths that keep the engagement constant — avoid the variable load that triggers chatter. Workholding changes — fixtures that support the part at the cut — remove the flexible-section cause. The process changes are justified when the chatter is a recurring problem, and the documentation of the fix — the tool, the speed, the path, and the result — turns a one-off correction into a standard practice.
The long-term fix also includes the inspection: the surface finish and the dimensional result should be checked at the feature that chattered, so the recurrence is caught early rather than at the end of the batch.
When chatter signals a deeper part-rigidity problem
Sometimes chatter is the part telling you the design is too flexible. A thin wall, a long unsupported section, or a part with too little material around the cut will vibrate no matter how the process is tuned, and the fix belongs in the design: add a rib or a boss for support during machining, machine the feature before the thin section is created, or change the machining sequence so the part is stiffer while the critical cut is made. The design-for-machining review should catch these features before the program reaches production, because a part that must be machined in a flexible state is a part that will chatter, deflect, and fail tolerance run after run.
The deflection and machining guides on this site cover the related causes; this page is the chatter diagnosis. When the symptom is read and the cause is fixed, the process returns to a clean cut — and the surface that comes off the machine is the one the drawing promised.
Turning a chatter fix into a process standard
When a chatter fix works, the next step is making it repeatable. The fix — the tool, the speed, the depth, and the path — becomes a standard process note for the feature or the part family, and the note travels with the setup sheet so the next run starts from the proven parameters rather than from the trial. The process standard should include the inspection point: the surface finish and the dimension at the feature that chattered, checked at the interval that catches the recurrence. The standard also carries the warning signs — the sound, the finish, and the tool-life signal — so the operator can stop the process before the chatter becomes a reject. A shop that documents its chatter fixes builds a library of stable processes, and the library is what makes the next part quote with confidence instead of with a trial built into the schedule.
The process standard should also be reviewed when the inputs change. A new material lot, a different tool supplier, a new machine, or a modified part geometry can shift the stability window, and the standard parameters that worked before may chatter on the new input. The review triggers when the symptom reappears, and the fix is re-documented with the new condition. The chatter history — the original symptom, the fix, and the reoccurrence — is the process memory that prevents the shop from re-solving the same problem. When the fix is standard and the memory is kept, chatter becomes a controlled process variable rather than a recurring production surprise.
The chatter review should also look at the toolholder and the spindle interface, because the stiffness of the connection is part of the system. A tool that chatters in one holder and runs clean in another points to the holder’s stiffness or condition, and a spindle that has lost its rigidity can chatter across many tools. The review should confirm the holder, the collet or the shrink-fit condition, and the machine’s health before the tooling and the process are changed. The tool and the part are the visible suspects; the holder and the machine are the hidden ones, and the hidden causes are the ones that repeat across jobs. When the whole stiffness chain — the tool, the holder, the spindle, and the part — is reviewed, the chatter fix addresses the system rather than the symptom.
The chatter fix should also be verified on the production part, not just on a test coupon. The production geometry — the wall thickness, the pocket depth, and the workholding — determines whether the fix holds, and the first production part after the fix is the real verification. The part should be measured and the finish inspected at the feature that chattered, and the fix should be adjusted if the production part still shows the symptom. The test coupon can confirm the theory; the production part confirms the process.
Document the chatter fix with the part number and the feature, so the same geometry on the next order starts from the proven parameters. The note should include the tool, the holder, the speed, the depth, and the inspection point — the complete recipe that produced the clean cut. When the recipe is documented, the next operator does not re-solve the problem, and the part quotes with a known process instead of an experiment. The process library is the shop’s memory, and the memory is what makes the machining consistent.
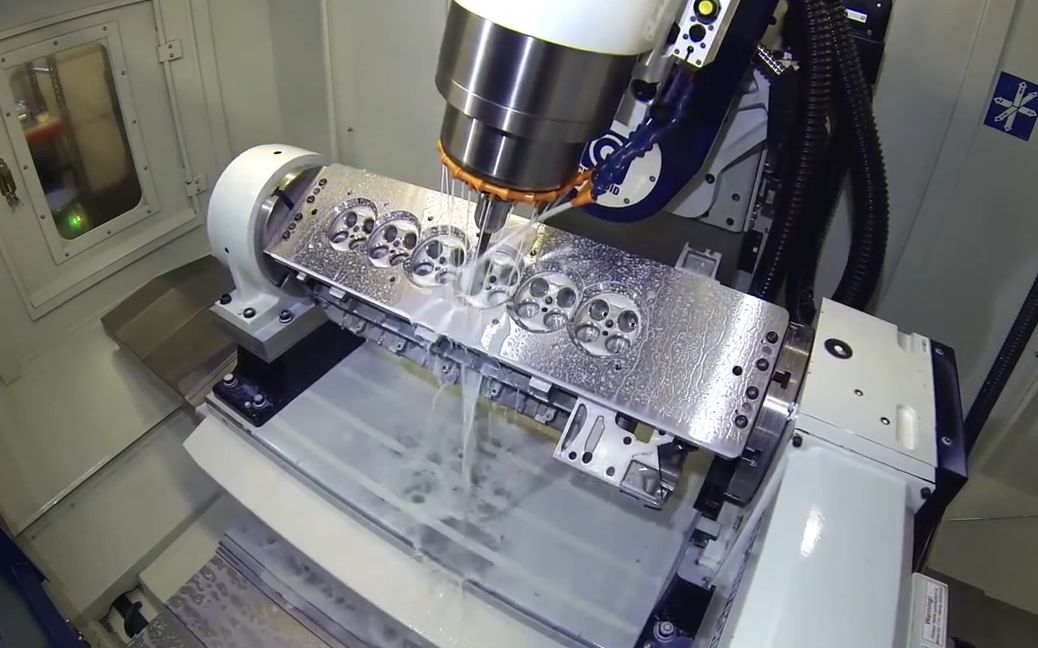
If chatter is appearing in a milling process and you want the symptom and the setup reviewed, the 6CProto CNC team can work from the tool, the speed, and the part geometry to the fix.